
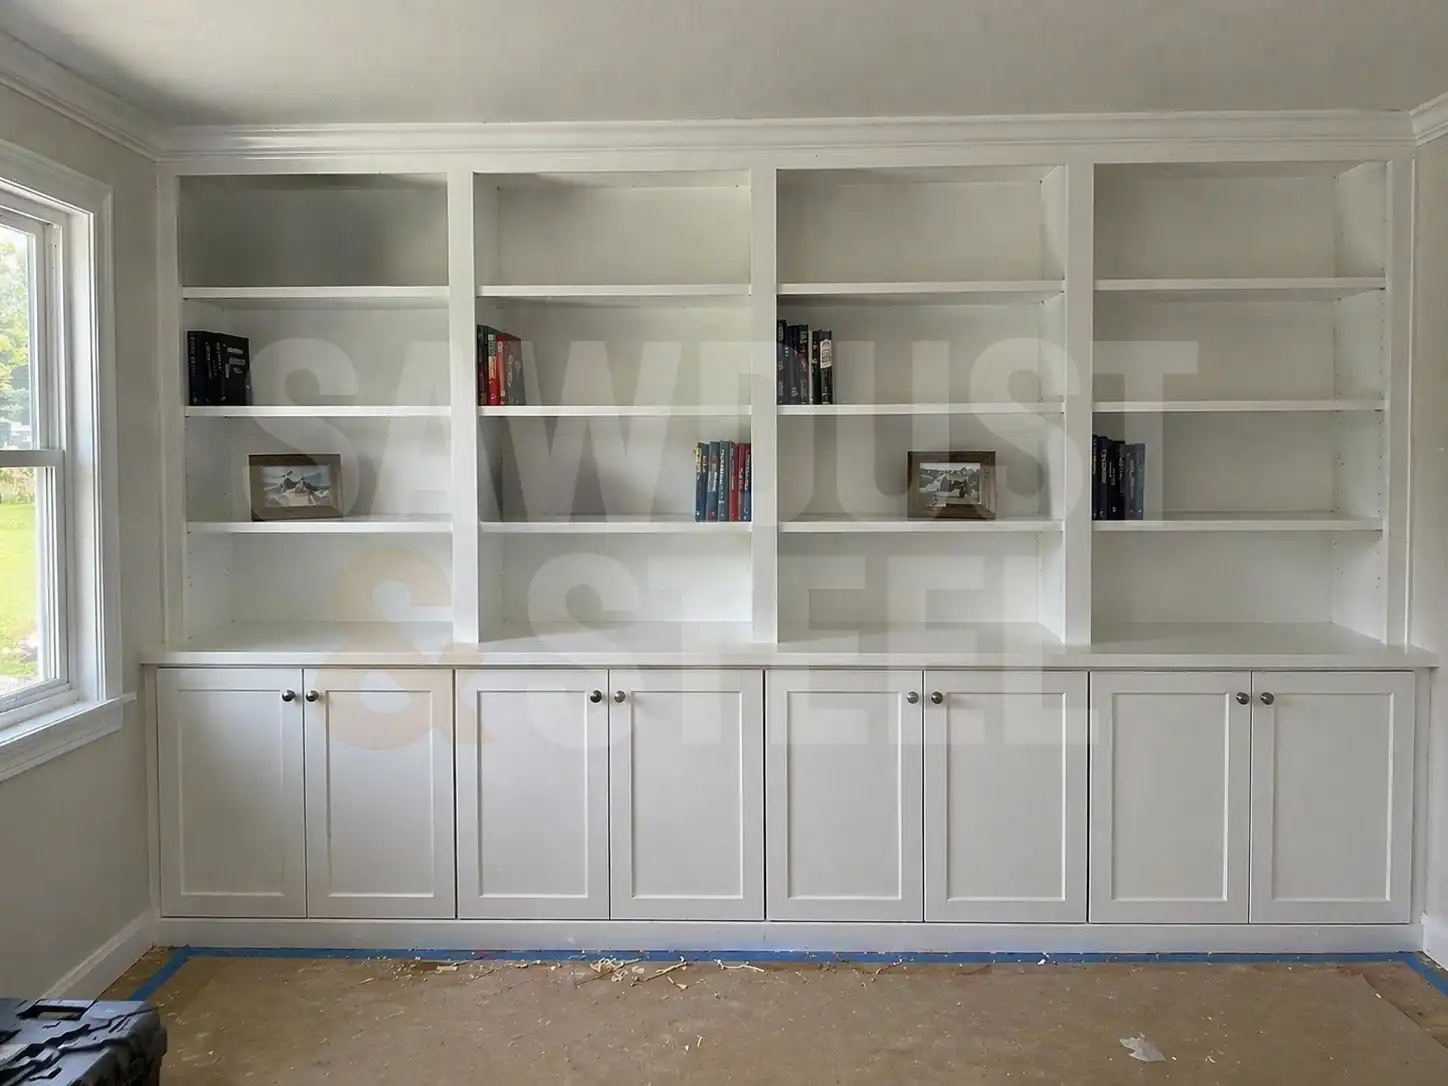
Melamine-faced shelving can look tidy straight from the shop and disappoint you after one rough cut. The hard decorative face chips at the edge while the core underneath offers little forgiveness. Tape can help with marking or surface protection, but it will not rescue a dull blade or a moving panel.
If you need only a few visible cuts and cannot support the stock safely, having a cabinet shop cut and edge it is a sensible option. Bring finished dimensions, identify the visible edges and allow for whatever edging will be applied.
Choose a blade for the material and the saw
Check the saw manual for compatible blade diameter, arbor, speed rating and intended use. Then select a blade whose manufacturer names melamine or the relevant laminated panel. Tooth count alone is not a complete specification: tooth geometry, condition and the saw setup also affect the result.
Diablo's D0760A listing identifies plywood and melamine among that model's applications. It is an example of material-specific selection, not a recommendation to put that particular blade in any saw. Confirm your machine's requirements before buying or fitting a blade, and disconnect power as directed when changing it.
Inspect the panel for damage and embedded debris. A chipped factory edge is not a reliable starting reference. Mark which face and which edges will be visible after installation, then plan the cutting sequence around those finished surfaces.
Support the whole operation
Set up stable support for the panel and offcut without trapping the blade or interfering with guards. The work must not tip, sag into the cut or close around the blade. Use the saw's appropriate guide or fence and dust extraction arrangement. Keep your body and hands positioned according to the tool instructions, with eye, hearing and respiratory protection appropriate to the work.
Do not balance a long shelf on a narrow stool and hope the last few centimetres cooperate. Also avoid trying to hold a small offcut near the blade. A safe support arrangement is part of the cut, not something to improvise once the panel begins moving.
| Check | Reason |
|---|---|
| Blade and saw compatibility | Avoids relying on tooth count while overlooking fit or permitted use. |
| Visible face identified | Lets the test establish which face receives the cleanest result with this setup. |
| Guide secured and aligned | Prevents wandering and a second corrective cut through a damaged edge. |
| Panel and offcut supported | Reduces movement while avoiding blade trapping. |
| Scrap from the same stock | Tests the actual coating and core before committing the usable piece. |
Test the face orientation
There is no useful universal instruction to put the good face up for every saw. The way the teeth enter and leave the material differs between cutting arrangements. Use the tool and blade instructions, then confirm the result on scrap using the same setup you intend to use for the shelf.
Make a test cut across the full thickness. Inspect both faces in good light. If one side is acceptable and the other chips, decide whether the hidden side really will remain hidden. A shelf viewed from below may need both faces clean. Change the setup, use appropriate backing or have the piece professionally cut if the test cannot meet the visible requirement safely.
Do not reverse a saw blade, disable a guard or improvise a backward scoring pass to imitate a production panel saw. Equipment designed with a scoring system is a different arrangement. A neat edge is not worth making the tool behave in an unintended way.
Cut once, then deal with the edge
Measure from a trustworthy reference and account for the blade's kerf, the width it removes. Mark the waste side. For example, when two shelves must finish at the same width, verify the guide setting on scrap rather than alternating which edge of a pencil line you follow. The line itself can be wider than the fit tolerance you hoped to achieve.
Follow a steady feed appropriate to the saw and material; do not force the cut or pause to reposition while the blade is engaged. Let the tool stop as instructed before moving the work. Inspect the resulting edge before repeating the setup for the remaining shelves.
Apply suitable edging and trim it with the method specified for that product. Edging thickness can change the finished dimension, especially between close-fitting sides. Existing loose edging is covered separately in peeling cabinet edge banding.
Finally, check the shelf span and intended contents. A beautifully cut shelf can still bow if its design is inadequate; shelf sag and support addresses that next decision. For a closet, confirm the usable shelf depth before cutting a whole stack to dimensions that make the back half awkward to reach.