
Storage, floors & trim4 min read
MDF vs Poplar vs Pine Trim for Ontario Homes
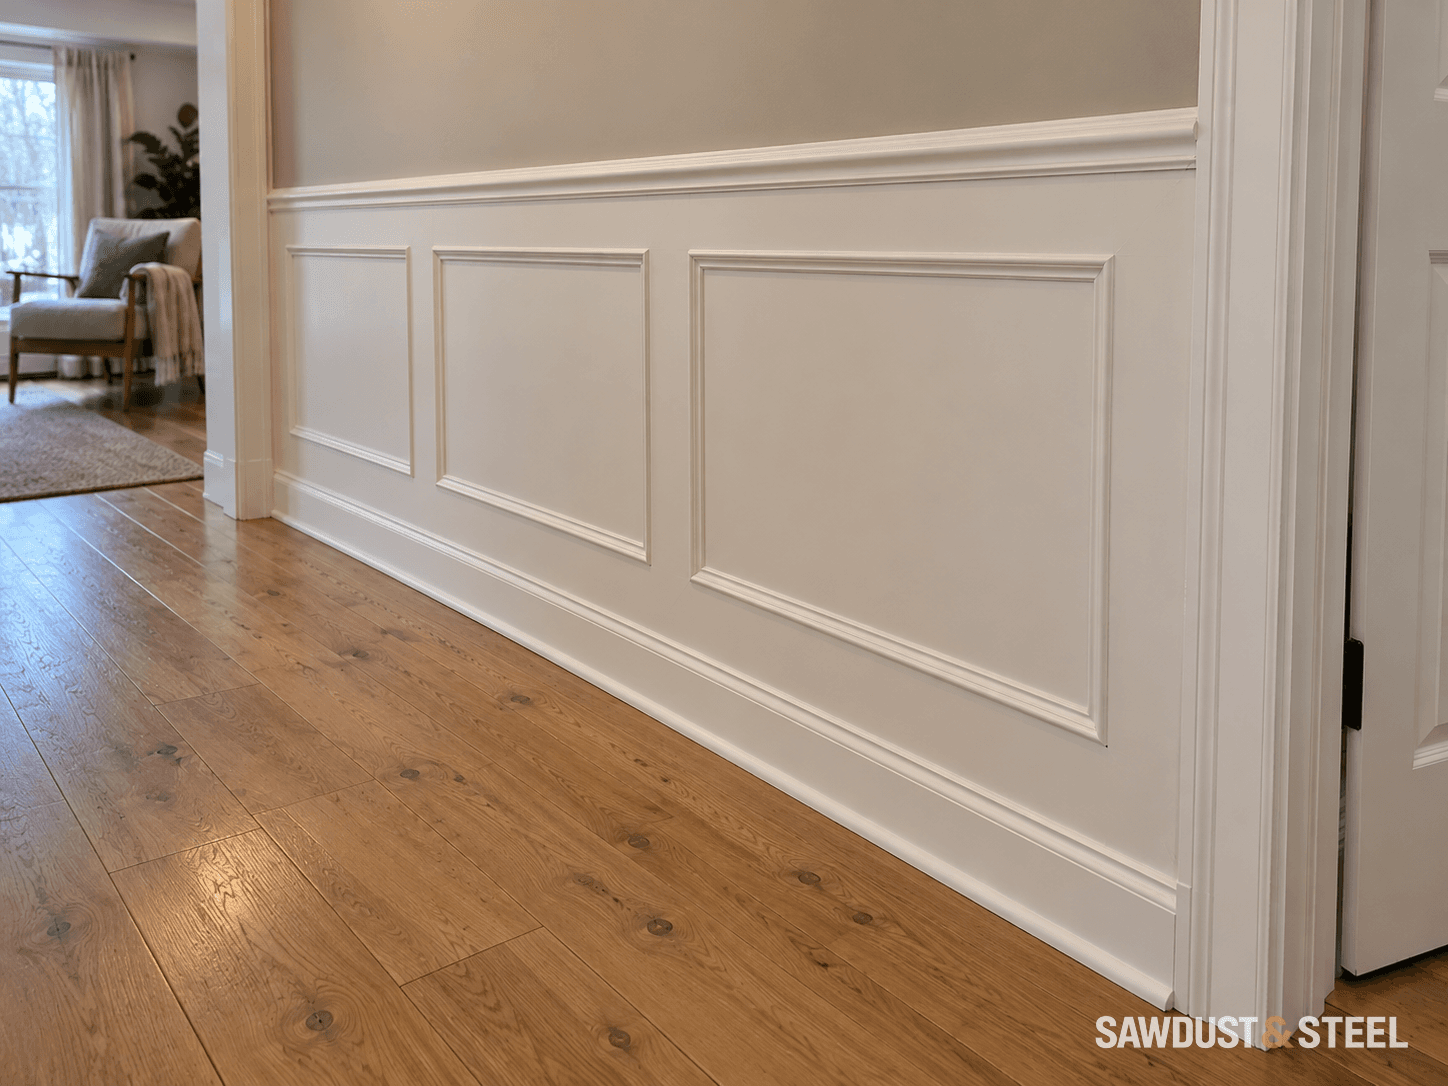
Choose trim for its location and finish. MDF is smooth, poplar is workable, and pine is useful when its joints and grain suit the job.
Read the guideBuilt-ins, trim, mantels, and fitted storage. The details you notice every day, made to suit your space.
The best fitted storage earns its space. A mudroom bench should leave room for boots; a bookcase should fit the books; trim should sit neatly against the house you have. We build and install the details you see and use every day.
Finish carpentry brings the room together after the larger work is done. Profiles, proportions, joints, and the paint or stain finish all affect how it feels.
Older walls and floors may need careful fitting. Scribing follows an uneven surface while preserving the intended visible lines. New or changing movement should be assessed before trim conceals it.
Agree on materials, profiles, removal, wall repairs, and finishing before installation. Those choices matter as much as the number of metres of baseboard.

Tessa’s office drawing had everything except somewhere for the printer. Bookshelves, a desk by the window, drawers, a carefully chosen green. On paper it was a very calm room. On the actual desk sat a large grey printer with an even larger paper tray.
A lower cabinet became its home, with access and clearance planned around the machine. The first shelf spacing changed too, after Tessa brought over the tall art books that never fitted her old bookcase. Measuring the contents was more useful than measuring another inspiration photo.
The wall bowed near the window, so the installation needed fitted edges rather than a straight box pushed hard against the plaster. A finish sample viewed in the room’s evening light also changed the green. The showroom version had looked much cooler at home.
The completed shelves left enough open space for books to arrive later. Tessa put one plant on the desk and stopped there. For once, the working surface stayed a working surface.
“It looks like the room I imagined, and it holds the things I actually own.”
Scribing follows an uneven surface so the visible edge fits neatly. It can be useful beside old plaster, sloping floors, or masonry. Small paint joints may still need a suitable sealant. If movement is new or worsening, assess the cause before fitting trim over the evidence.

Matching one damaged length of trim starts with its shape, thickness, material, and finish. A stock profile may work, or custom milling may be needed. Compare a sample beside the original and agree where the repair will end before ordering the full run.
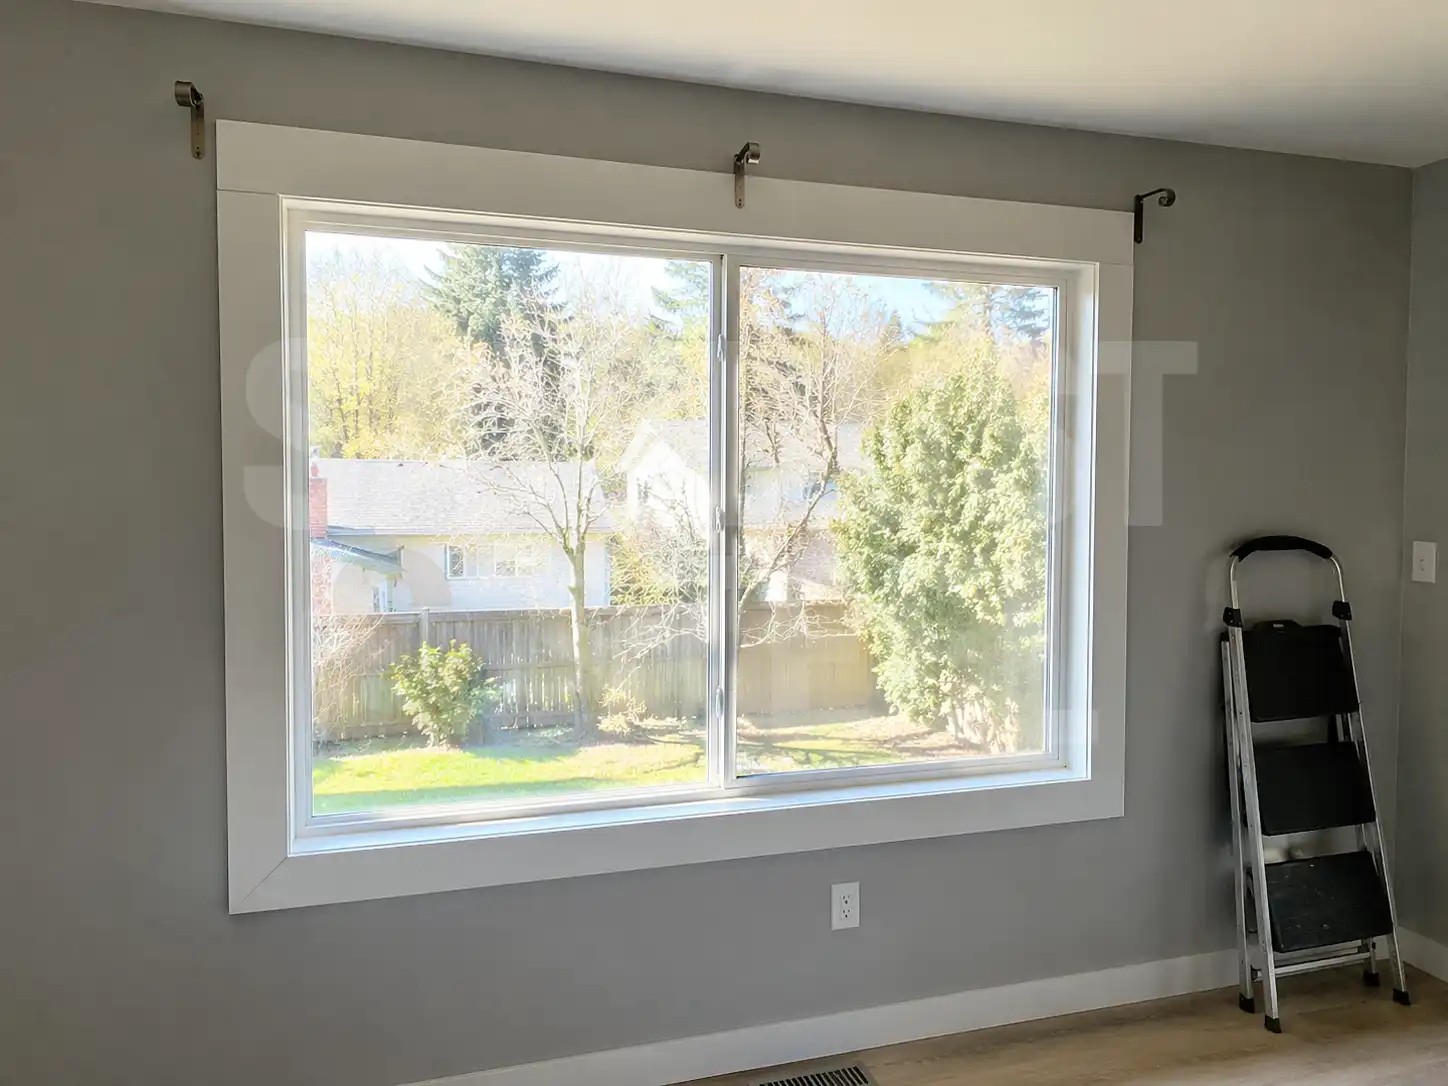
A fitted piece is only part of the finished result. Include surface preparation, filling, compatible sealant, primer, paint or stain, and adjacent touch-ups in the scope. Choose the sheen and inspect a sample where it will actually live, in the room’s light.
For an existing trim match, send a clear profile photo with a ruler and a wider view of the room. An offcut can help establish the shape, thickness, and material.
The options may include a stock profile, a custom-milled match, or replacement along a defined run. Compare how each meets the original trim and what finishing work is required.
For new built-ins, start with function and dimensions. Our material comparison explains where MDF, poplar, and pine make sense.
Painting and staining belong in the scope from the start. Confirm which pieces are finished before installation, which are fitted on site, and who handles filling, caulking, final coats, and adjacent wall touch-ups. For kitchen cabinetry, include the junctions with counters, backsplash, and appliances as well.
Baseboards, crown moulding, window and door casing, wainscoting, panel details, built-in shelving, mantels, window seats, mudroom benches, and closet storage. Bring a reference image if you have one, along with what the space needs to do.
A close match may be possible using a stock or custom profile. Send a profile photo with a ruler, the required length, and an offcut if available. Material, tooling, and finish determine the options and lead time.
New trim usually needs finishing, and removal can disturb adjacent paint or plaster. Agree the touch-up area before work starts. Older or faded wall paint may not blend invisibly.
Allow for measurement, design decisions, materials, fabrication, fitting, and finish curing. The quote should separate the production lead time from the days of work inside your home.
It depends on the profile, finish, moisture exposure, and likelihood of knocks. MDF offers a smooth painted surface; solid wood can be easier to shape and repair. Neither should be treated as a solution to an unresolved moisture problem.
Choose trim for its location and finish. MDF is smooth, poplar is workable, and pine is useful when its joints and grain suit the job.
Read the guide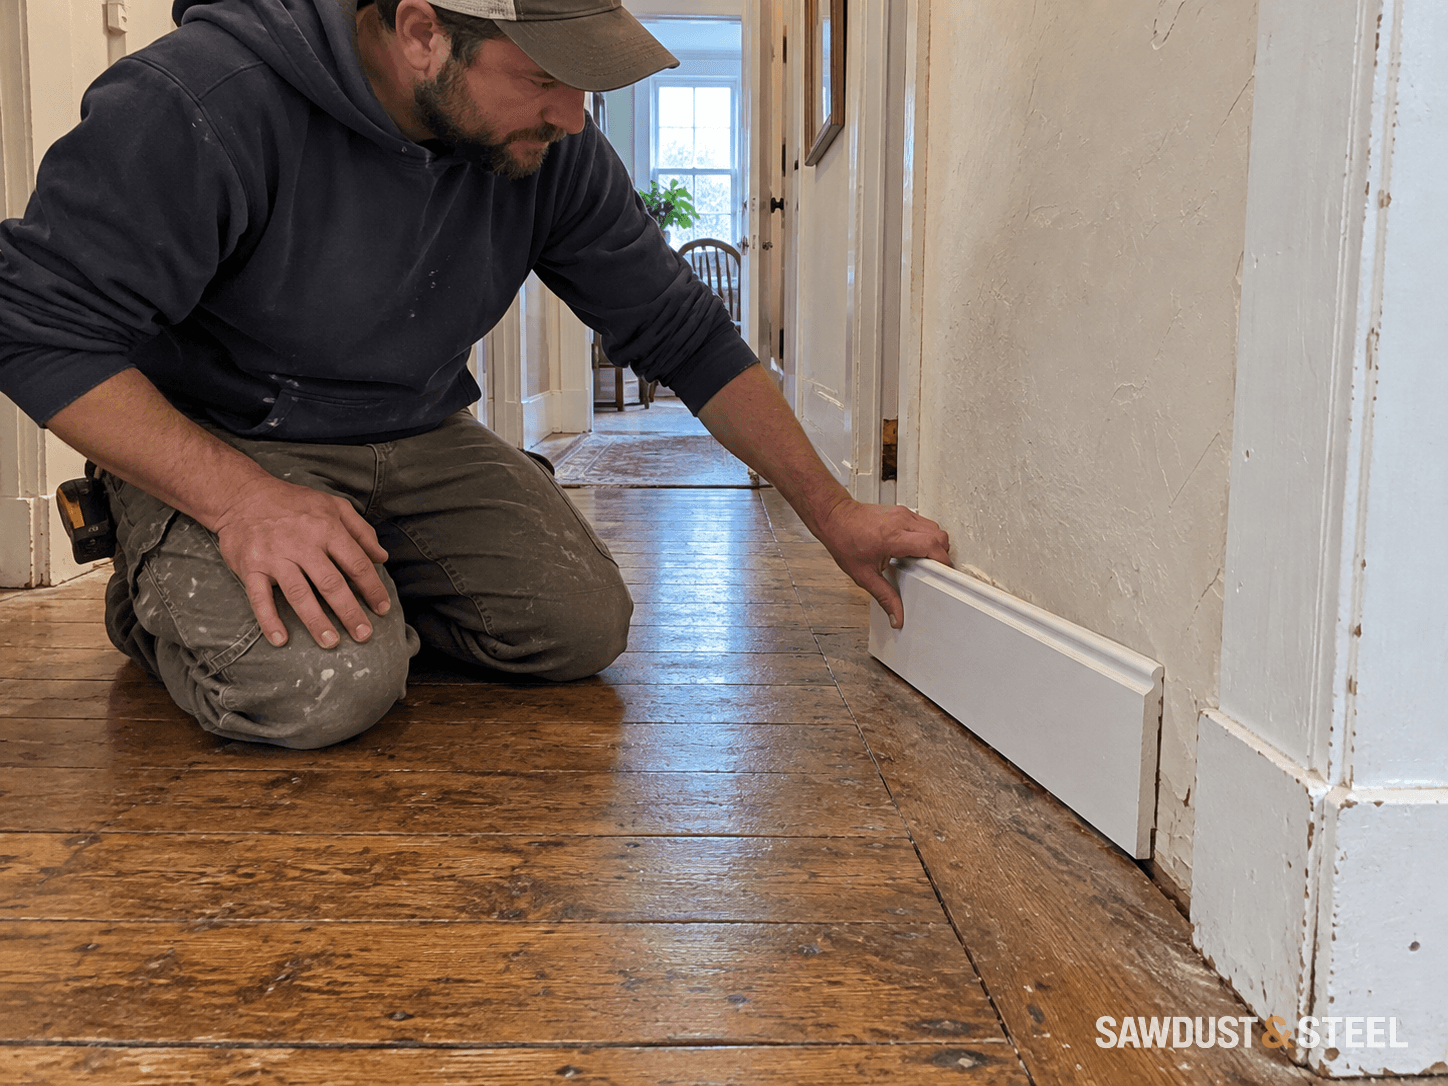
Uneven walls and floors can leave gaps around new trim. Scribing transfers the wall or floor shape onto the trim so the visible edge fits cleanly.
Read the guide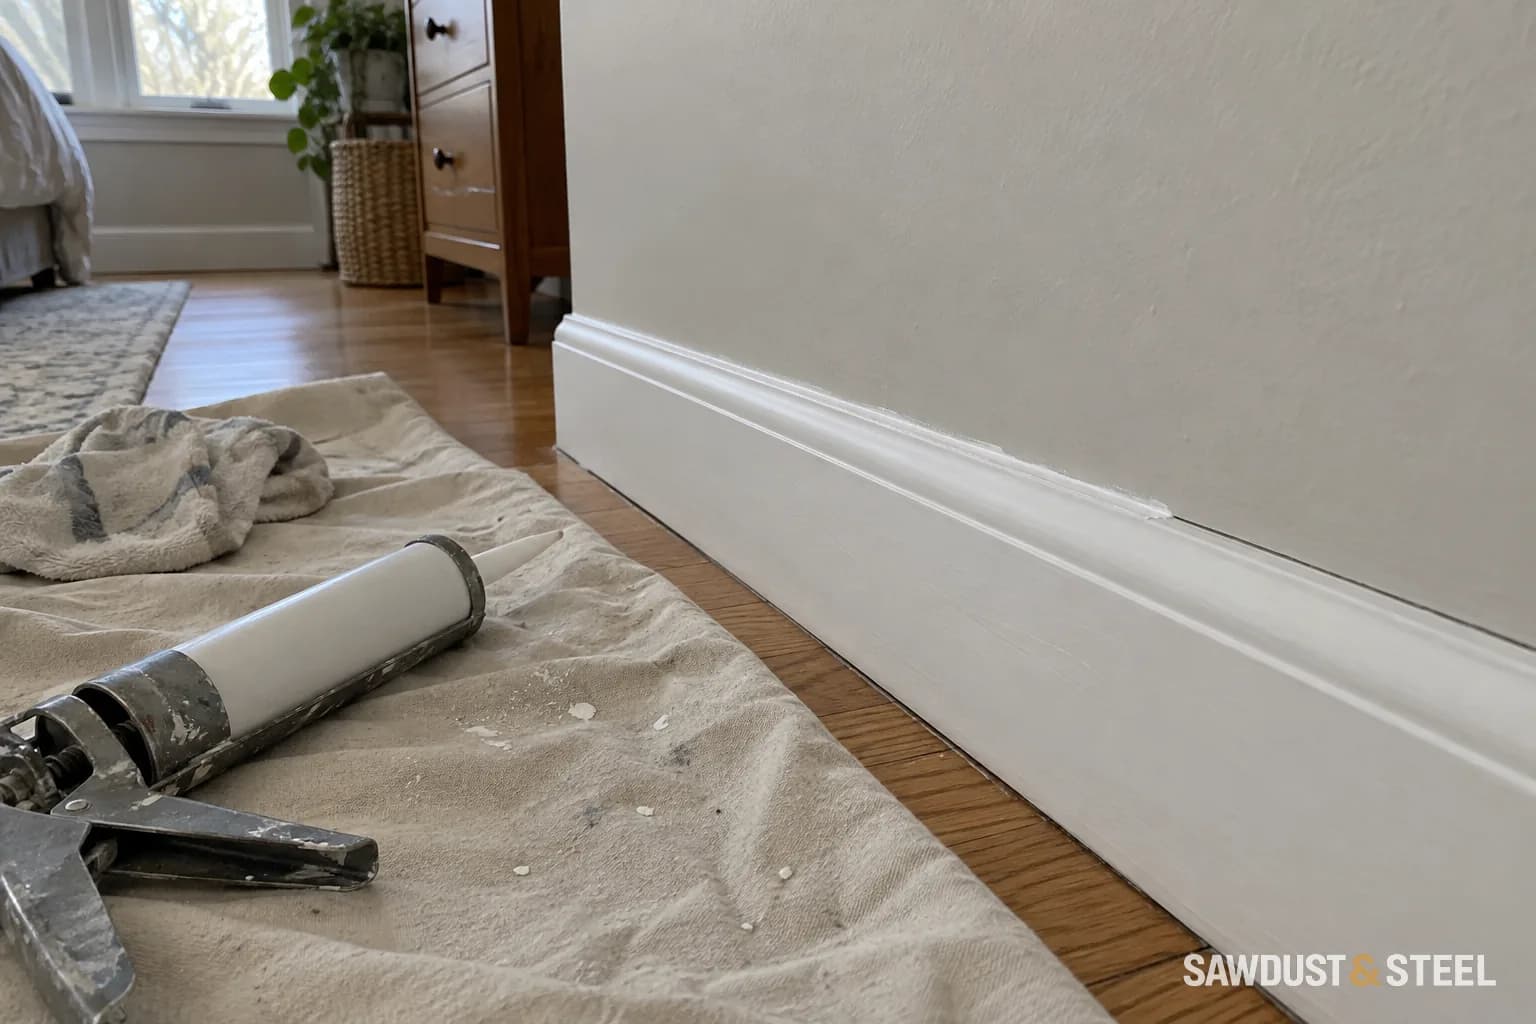
The paint is flawless until a shiny line refuses to take colour. The tube label was part of the job.
Read the guidePractical guides to built-ins, flooring, doors, windows, wall repairs and finishing: identify the problem, compare materials, and plan the next step.