
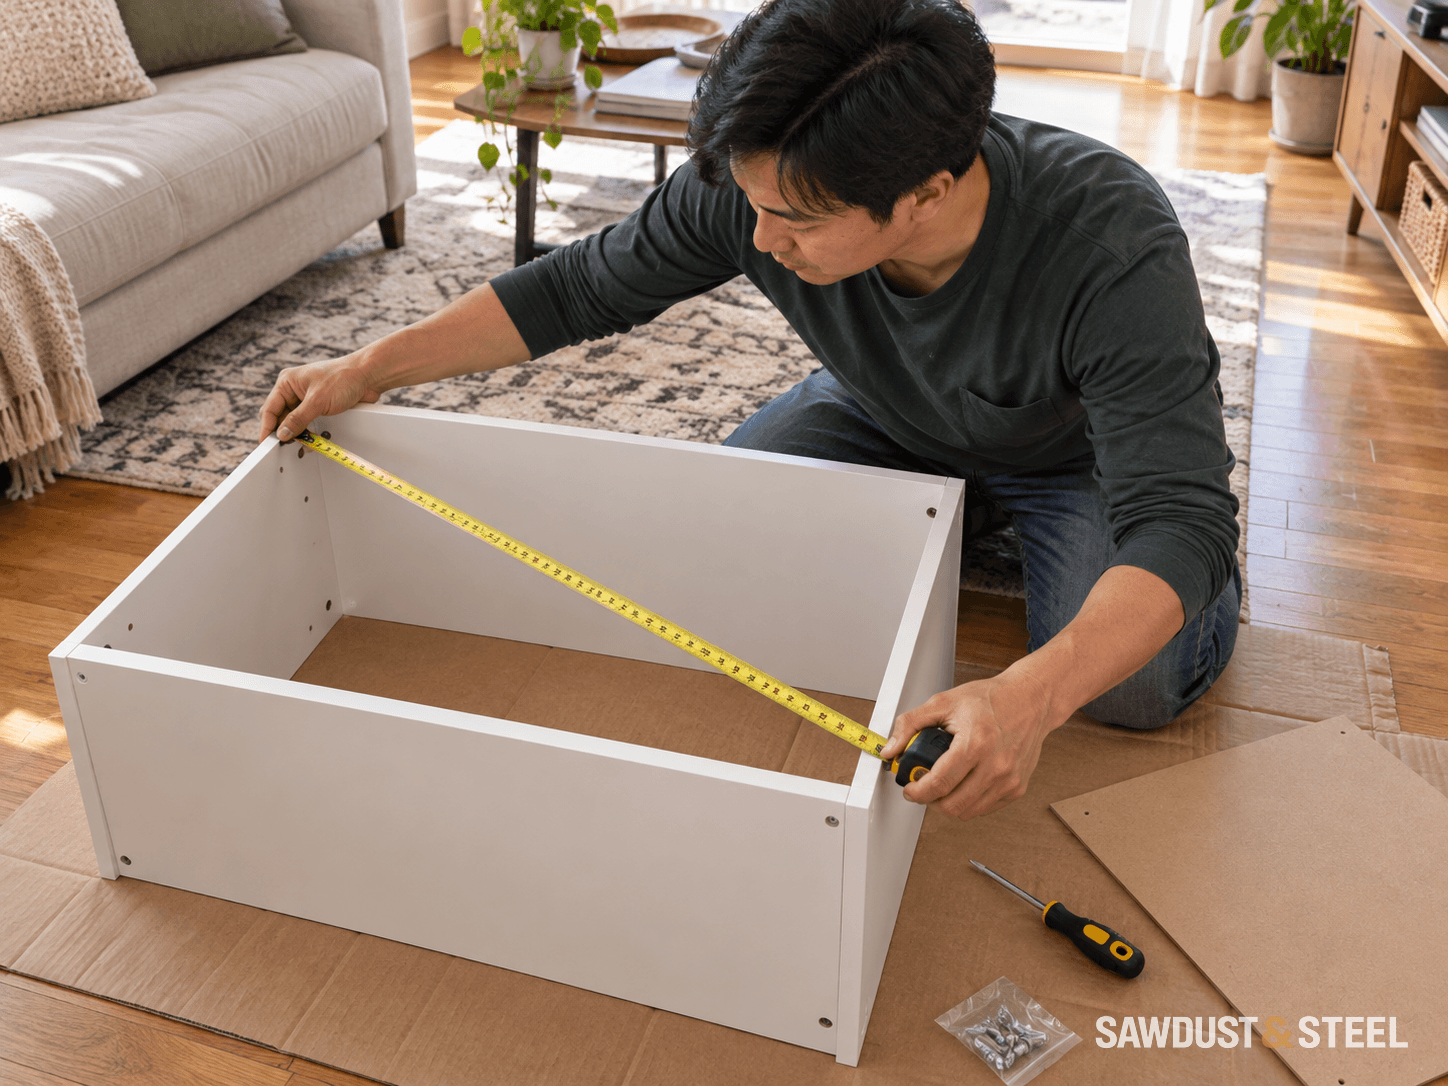
One door has a generous gap at the top and almost none at the bottom. Before spending the evening adjusting hinges in increasingly small circles, check the cabinet box. A parallelogram is an interesting shape. It is a less useful starting point for a rectangular cupboard door.
During assembly, the thin back may do more than keep the wall out of sight. It can help hold the cabinet's shape once secured. That makes the moments before final fastening worth a deliberate check, especially when the frame can still rack sideways.
Read the sequence for this cabinet
Use the instructions matching the product number and version in front of you. Some backs slide into grooves while the frame is assembled; others are fixed afterward with nails, screws or clips. A video showing a different generation may get the order wrong even if the finished cupboard looks familiar.
As one current example, the IKEA Canada SEKTION 902.653.88 instructions show the frame at 90 degrees before the back-fastening sequence. The product page identifies the back as part of the cabinet's stability. Use those drawings for that frame, not as a universal nail pattern for other furniture.
Start on a supported, even surface
Protect the visible faces and support the cabinet as the manual shows. Remove stray screws, packaging folds and other lumps underneath. A frame balanced across an uneven pile of cardboard can twist while you are carefully correcting its diagonals.
Check the components before applying force. The top, bottom and side panels must be the correct way round, with dowels and connecting hardware properly seated. A closed front joint and an open rear joint can indicate a fitting problem. Do not hammer the back into position to pull an incorrectly assembled box together.
Compare diagonals from the same reference points
For a rectangular opening, measure from one corner to the opposite corner, then across the other pair. Use corresponding points on the same plane: inside corner to inside corner, for example. Mixing the outside of one panel with the inside of another produces an impressively precise answer to the wrong measurement.
Write both readings down instead of remembering the first while leaning across the second. Keep the tape straight and supported rather than allowing it to bow into the opening. A helper can hold the far reference point consistently. Compare the corners with a suitable square as well, and check that the frame is not twisted.
Suppose the two diagonals read 1,002 mm and 1,010 mm from consistent points. That difference is a reason to investigate the geometry, not to average the readings and continue. Adjust only as the assembly allows, remeasure, and stop if joints are opening or parts must be forced. Equal diagonals are a useful check in a correctly assembled rectangular frame, not proof that arbitrary damaged panels have become square.
Seat the parts
Correct orientation, closed joints and the specified frame fasteners.
Check the shape
Consistent diagonals, right-angle corners and no twist.
Seat the back
Correct groove or overlap, without forcing or trimming to hide a mismatch.
Secure and recheck
Use the supplied fastening pattern; keep checking while access is easy.
Keep the back on the support it belongs to
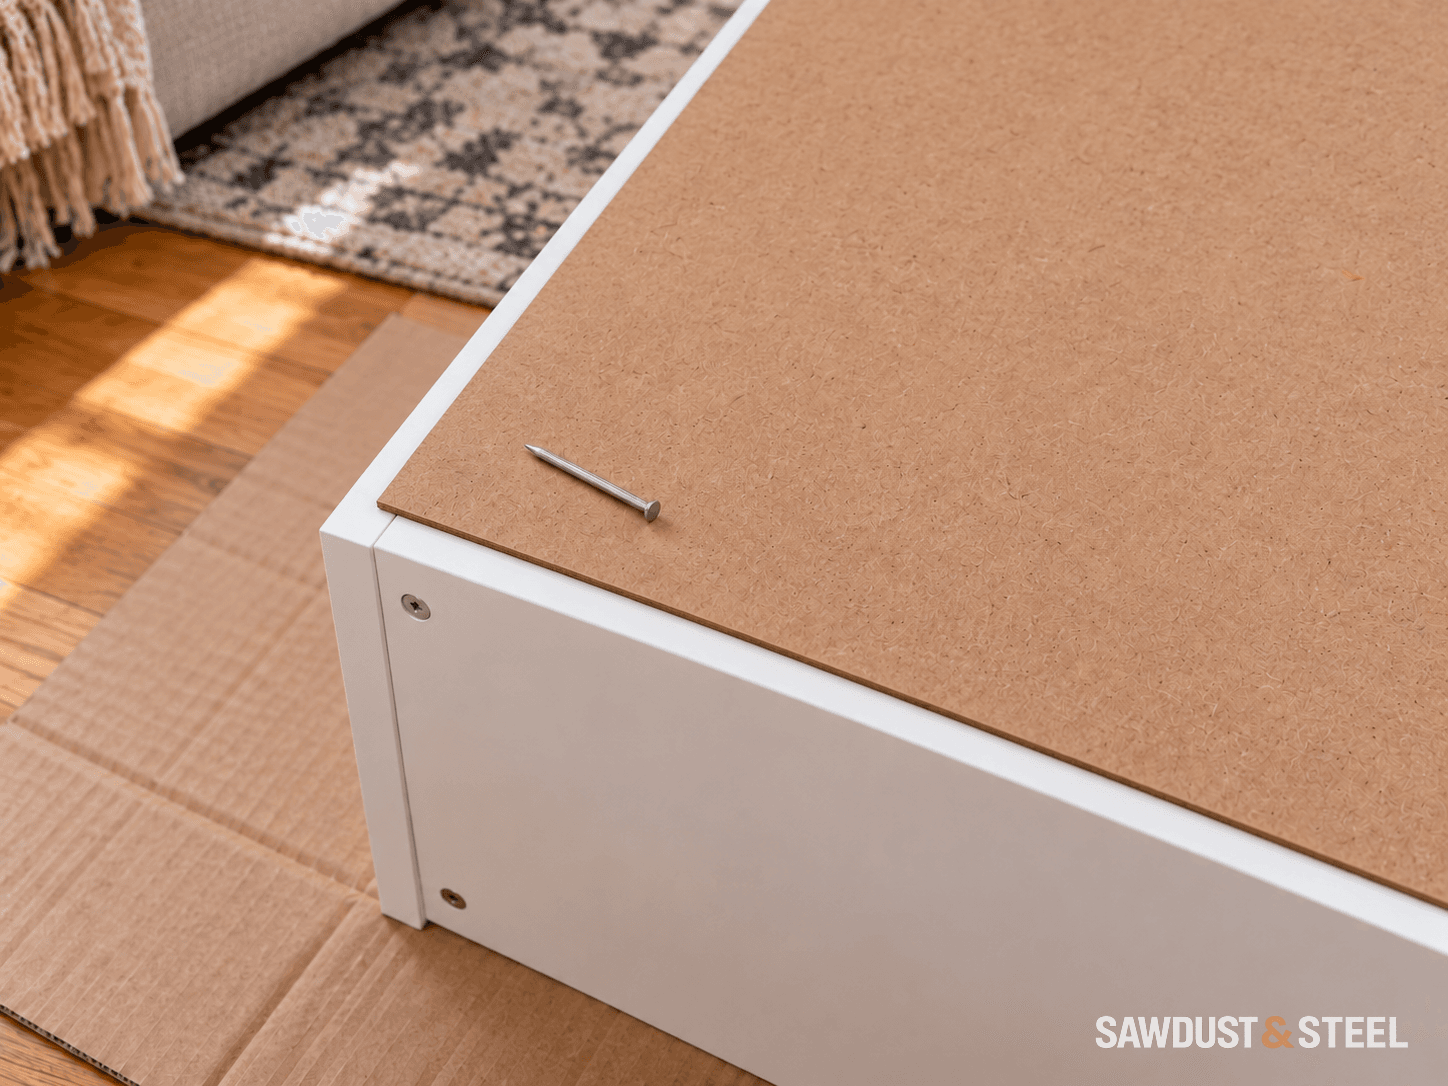
A back that will not sit properly deserves a pause. Check its orientation, the frame dimensions and any groove for debris or a displaced fitting. Do not immediately trim the panel. Removing a narrow strip can conceal the wrong assembly while leaving less material for the intended fastening.
Where a back overlaps a cabinet rim, keep its fasteners over the supporting material as the drawing specifies. Where it is captured in a groove or uses clips, complete that system instead. Recheck the frame during the fastening sequence so a shift at the first corner does not become a fully secured mistake.
Level and anchor before judging the doors
Move and raise the cabinet with the help required by its size and instructions. Then complete levelling, joining and wall attachment as specified. A square box can be twisted by an uneven floor or by pulling it hard against a bowed wall. Settle the support and anchoring before using hinge adjustments to chase the gaps.
Do not omit the required anti-tip attachment because the unit feels heavy or the doors close neatly. Use the correct wall fixing for the wall and furniture. For tall units, the separate wardrobe assembly-clearance guide checks whether the frame can be raised and the final fixings reached.
If the back is already secured and the box is badly out of shape, ask the maker about safe correction or replacement parts. Repeatedly pulling small fasteners from damaged fibreboard can leave a back that no longer holds properly. Once the frame is sound, level and anchored, turn to the cabinet-door alignment guide. The hinges will have a fairer chance.