
The holiday bins could go overhead, which would finally leave room for the car. The rack looks substantial and its advertised capacity sounds generous. Before converting that number into permission to drill, identify what is above the drywall and how the proposed load reaches it.
Resolve two separate capacity questions
The rack maker specifies its components, attachment arrangement and use. The building assessment establishes whether the particular joists, trusses or other supports can accept the proposed loading at those locations. Both need to work. Dividing the total weight by the number of screws does not check the member, connection or load path.
SafeRacks' overhead-rack manual ties its stated limits to particular wood-framed installation conditions and says to stop if the ceiling structure is questionable. Its details are for that system; they are not a calculation for an unknown Ontario garage. Obtain the current instructions for the exact rack and give them to the person assessing the structure.
Look for building records and truss drawings before ordering. From safe existing access, identify the framing type without disturbing suspect insulation or walking on ceiling drywall. A stud finder can help locate something behind the finish; it does not tell you whether that member is a roof-truss chord, an engineered joist or suitable backing.
Show where the load will land
Give the structural reviewer the rack footprint, proposed bracket positions, drop height and contents. SBCA's explanation of truss load paths describes how truss forces depend on the design and support arrangement. The attachment location matters; a row of convenient-looking members is not a universal storage grid.
Do not cut, notch or improvise reinforcement to make a rack fit. Engineered joists and trusses need their own accepted attachment detail. Where the garage ceiling forms part of the separation from the house, coordinate any penetrations or disturbed lining with the required repair. The attached-garage boundary guide explains why that ceiling has more than one job.
Identify the support
Framing type, drawings, condition and existing loads
Define the proposal
Rack model, attachment positions, rack weight and stored contents
Confirm the arrangement
Suitable structure and exact manufacturer-compatible connections
Check use
Clearance, retrieval method and a recorded storage limit
Weigh the things you actually intend to store
Make a short inventory with the bins packed normally. Include container weight, the rack itself and any permitted accessories or items hanging below it. Empty luggage and boxes of books can occupy similar space with very different weight. Avoid a plan whose future contents are described only as miscellaneous.
Keep the approved arrangement and limits with the rack records. Follow the maker's distribution instructions rather than piling everything in the easiest corner to reach. SafeRacks' manual also prohibits climbing or hanging from the rack. A storage shelf is not a platform for reaching the next shelf.
Measure everything that moves below it
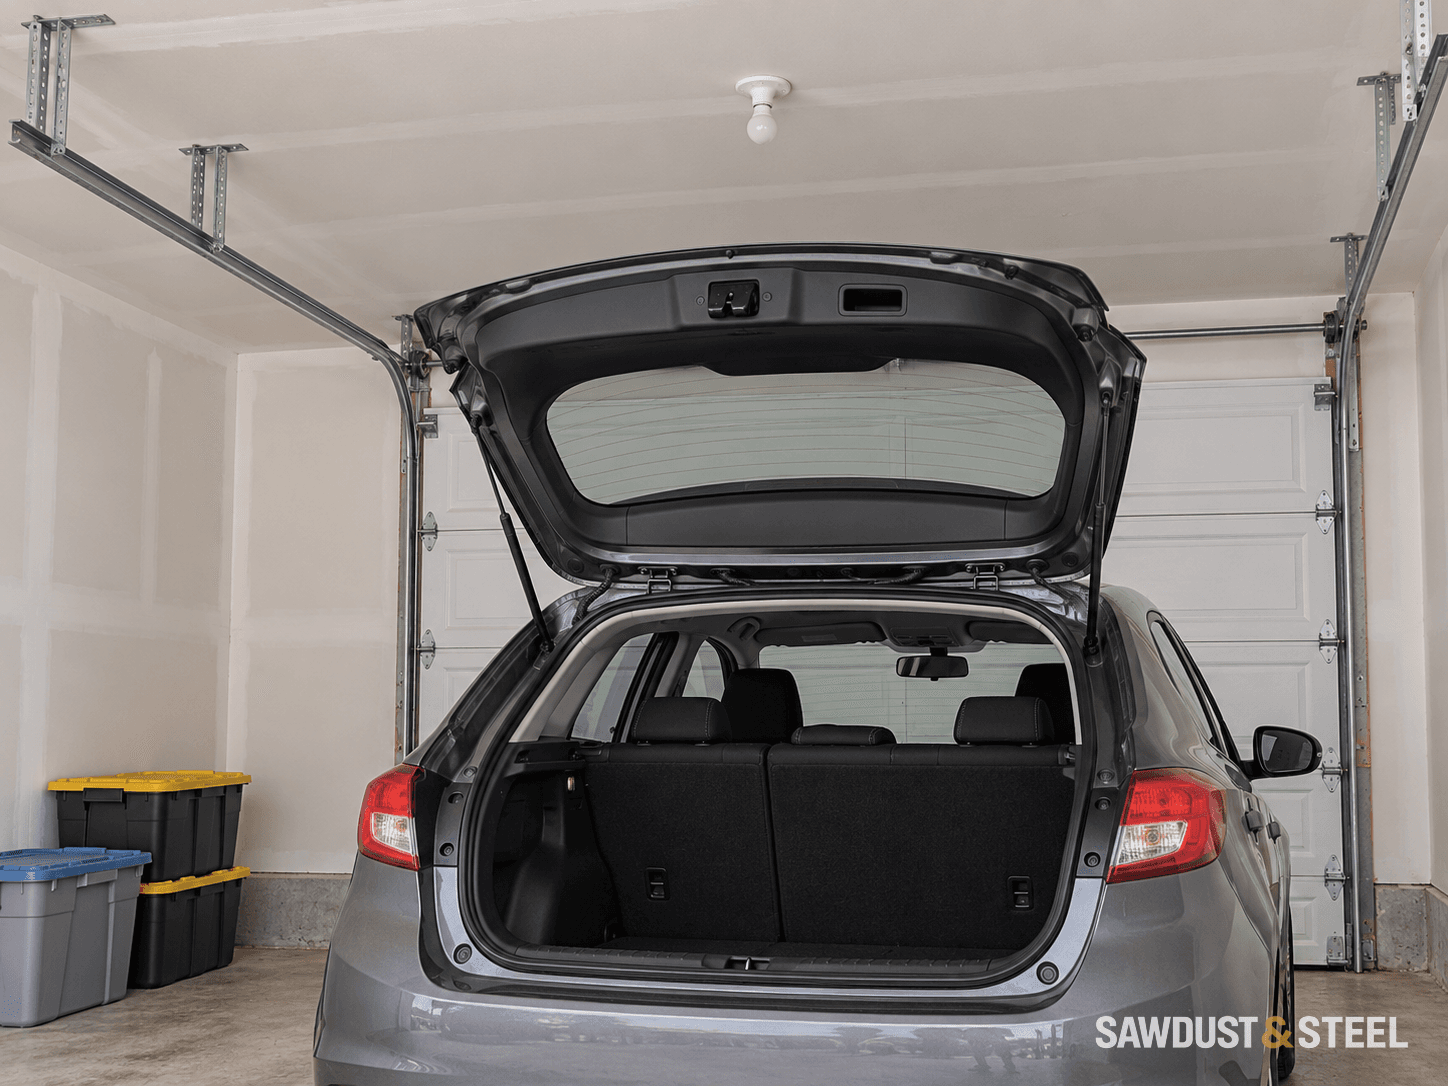
Sketch the garage door's full travel, opener, lights, services, vehicle roof and raised tailgate. Check the intended storage depth too: a tall bin needs room above the deck and space to tilt or slide out. SafeRacks' drop-range guide specifically calls for measuring around obstructions such as an open garage door. Use the clearances for the selected system, including any hanging accessories.
A rectangle clear of a stationary closed door can still obstruct it as it rises. Do this planning without placing a temporary object in the door's path. Include future service access to the opener and ceiling fixtures so routine maintenance does not begin with unloading a small warehouse.
Plan the trip down as carefully as the storage
Choose items that can be handled safely from appropriate access equipment with the car moved where necessary. Check the standing area, reach and weight of each container. If retrieval requires balancing on a bumper, reaching over a vehicle or carrying an awkward heavy bin down a ladder, change the arrangement or use lower storage.
At completion, keep photographs of the accepted attachment and have the installation checked against the plan and manual. Inspect it at the intervals and points the maker specifies. If parts move, attachments pull away or the ceiling changes, stop using the affected area and arrange assessment. The floor space is only useful if getting the decorations back down remains ordinary.