
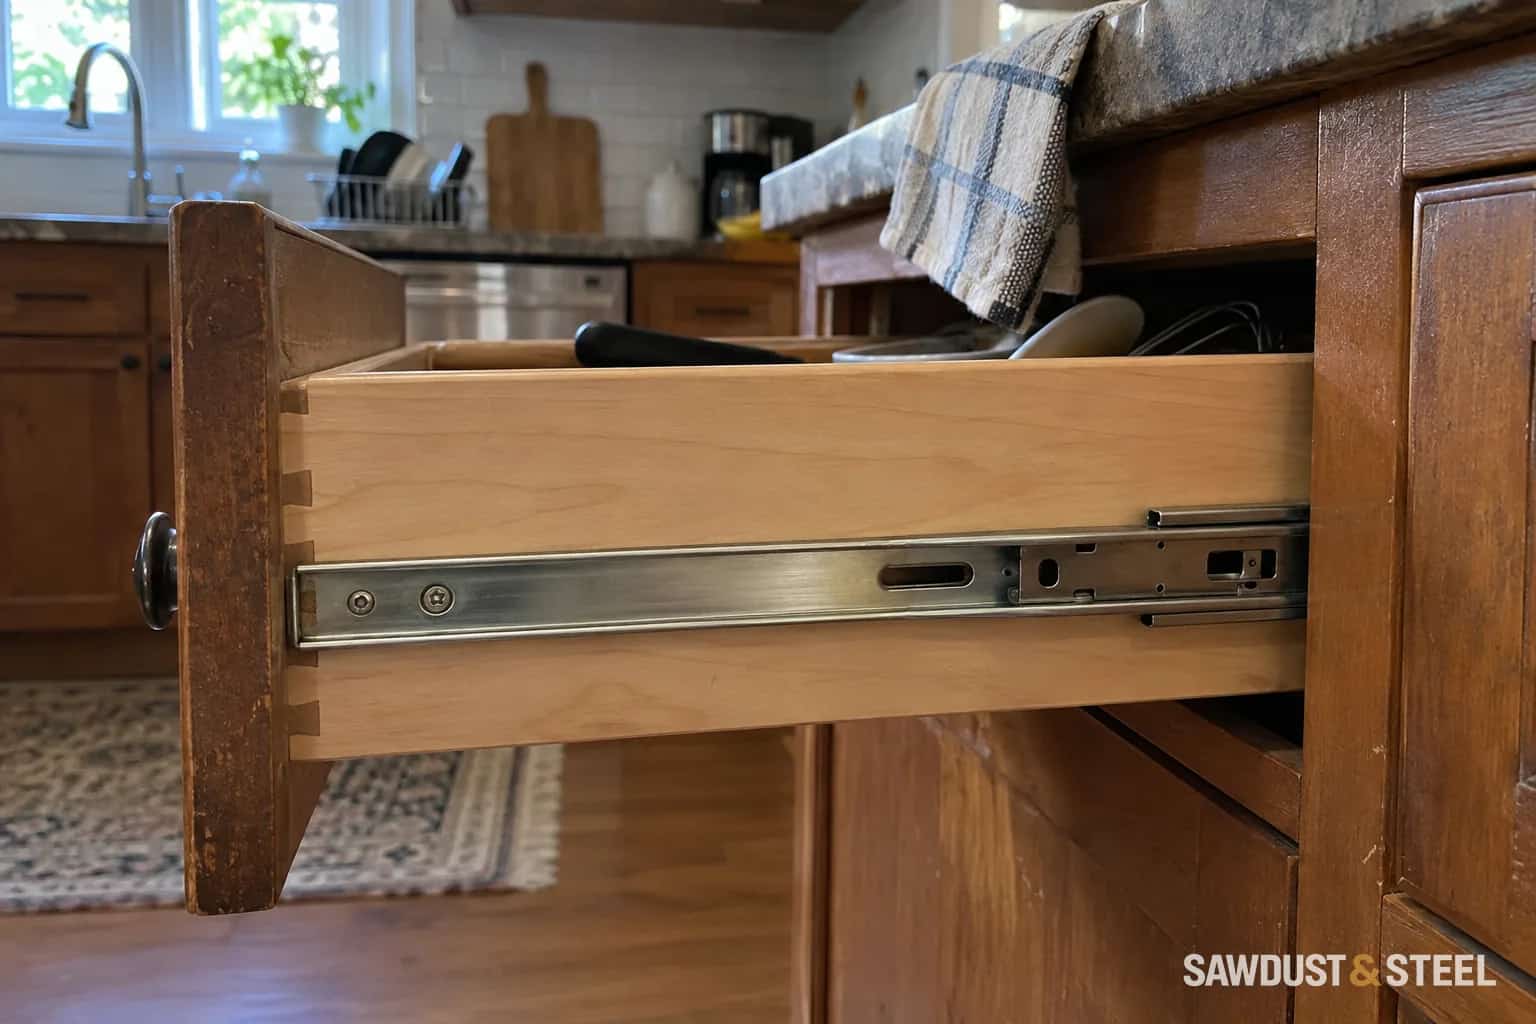
A cutlery tray is an unusually effective way to discover that a wide drawer front does not mean a wide flat floor. Sloping metal sides, concealed hardware and the space above the back can all take a bite out of the dimensions.
Measure the space at the organizer's height
Empty the drawer and measure width and depth at the bottom, then again at the height of the proposed tray. Note rounded corners, screw heads and any lip inside the front. Measure the closed height available above the drawer floor; a tall utensil can fit in the tray while preventing the drawer from shutting.
Blum: AMBIA-LINE drawer insert planning matches AMBIA-LINE arrangements to particular drawer families, cabinet widths and nominal lengths. Those tables are system-specific, not universal insert dimensions. Identify your drawer and runner system before ordering a branded fitted insert.
Usable floor
Width and depth after taper, corners and obstructions.
Closing height
Clearance for the tray and the tallest stored item.
Compartment length
The whisk, knife or serving spoon must fit inside a division.
Sort the contents before choosing the compartments
Lay the everyday utensils on the counter and separate rarely used tools. Measure the longest pieces you intend to keep in this drawer. A tray with many neat small compartments may be worse for a ladle and rolling pin than a few adjustable dividers. Keep sharp knives in a suitable protective holder rather than mixed loose with cutlery.
Use paper outlines to test the proposed compartment layout. Try taking out one item without lifting three others. Leave a little deliberate spare capacity for the tool that arrives next month; every centimetre occupied on day one is not necessarily efficient storage.
Choose the adjustment you will actually use
A fixed insert is simple to remove and wipe when it fits well. An expanding tray can adapt to width but may create narrow side compartments or creep as the drawer moves. Separate dividers can suit awkward utensils, provided their attachment is compatible with the drawer and does not interfere with its operation.
Do not trim a product unless its maker allows it and provides cutting limits; some fitted inserts are designed to be cut, others are not. Avoid driving screws through a thin drawer bottom to stop a tray moving. A suitable removable non-slip liner may be enough when the drawer maker permits it.
The final test happens with the drawer full
Load the actual utensils and close the drawer gently. Watch tall handles and anything that can slide towards the rear. Check that the drawer remains within its load rating and that the organizer lifts out for cleaning. If you are also adding bins, measure their removal path with the same care; fitting inside is only one part of useful storage.