
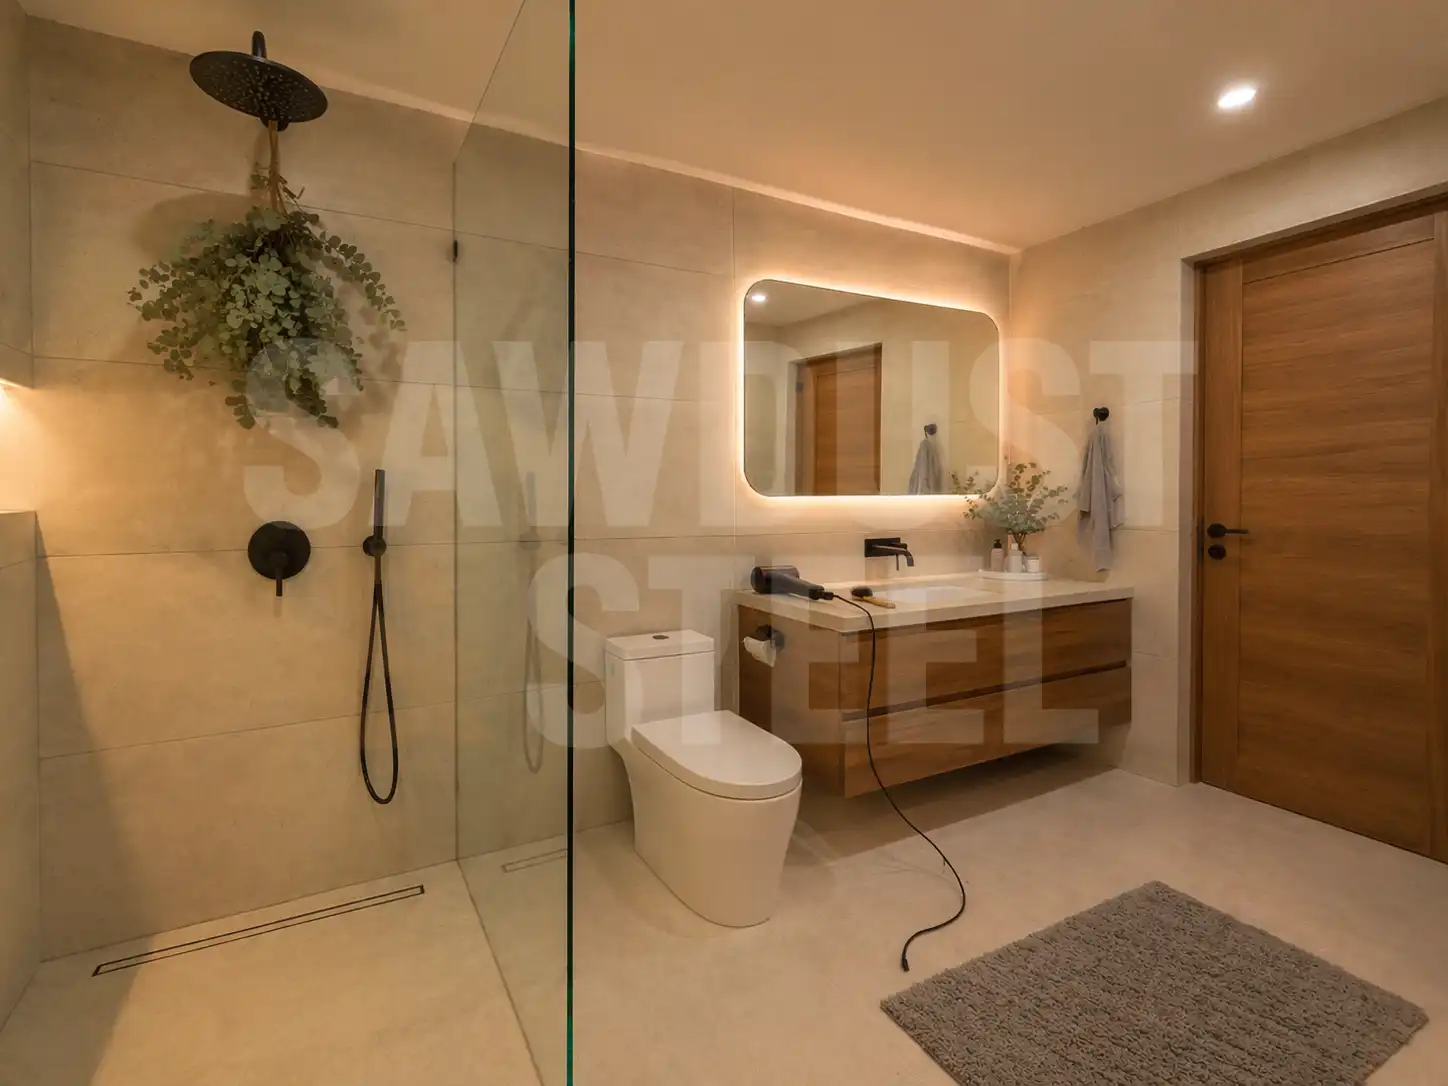
The long drain looks wonderfully simple in the photograph. The floor underneath it is doing rather a lot of work. Drain position determines where the tile slopes, how pieces are cut and how the waterproof layer meets the outlet.
Choose between a linear drain and a point drain while the shower floor is still being designed. Leaving the decision until after the tile order can produce awkward cuts, an impractical floor height or a drain outlet directly above something that cannot be moved.
Draw the slope before choosing the grate
Floor planes
Draw how all floor areas fall toward the chosen drain.
Structure and outlet
Locate framing, trap and the exact drain-body connection.
Waterproof assembly
Use the compatible membrane-to-drain detail and testing sequence.
Tile and maintenance
Approve cuts, grate removal and cleaning access together.
A point drain receives water from several directions. The floor needs falls toward it, whether it is exactly central or offset. Small tiles can accommodate changing planes through their joints; larger tiles may need deliberate cuts at plane changes. Draw those cuts rather than expecting the installer to make a flat large tile follow a folded surface.
Schluter's KERDI-LINE information describes a linear drain for bonded waterproofing assemblies and the possibility of a single-plane floor slope. That arrangement can suit larger tiles. It is a feature of an appropriate layout, not a promise that every linear-drain location produces one simple plane.
A linear drain across the middle of a shower, or one shorter than the area it serves, may require additional slope decisions. Ask for a plan showing where every part of the floor sends water. Include the entrance, corners and any bench or obstruction. The grate shape alone cannot demonstrate that the floor drains.
Check the structure and outlet position
Locate the joists, beams and existing plumbing before fixing the drain position. The visible channel and its outlet may not share the same centre, and different drain bodies have different connection arrangements. Use the actual product drawing, including the space needed for the trap and connection below.
Do not cut structural members to match a preferred drain photograph. If the desired position conflicts with framing, have the structural and plumbing solution designed or choose a different layout. In a renovation, the less glamorous option that works with the existing structure may preserve both budget and floor height.
Compare the complete vertical build-up from structure to finished tile. Curbless work especially needs coordination with the bathroom floor outside the shower. A low-profile drain does not by itself establish that the whole assembly can be recessed sufficiently. Use the shower-system instructions and the project's applicable requirements for the slope and floor detail; do not borrow a dimension from another installation.
Coordinate the waterproof connection
Schluter's shower-system overview treats drains and waterproofing components as parts of an assembly. Choose a drain compatible with the waterproofing approach and follow its connection detail. Similar-looking flanges from different systems should not be assumed interchangeable.
Ask the installer to show how the membrane joins the drain and how the perimeter, corners and penetrations are handled. Confirm the required testing stage before tile covers the work. The attractive metal cover is removable; the waterproof connection underneath should not depend on a final bead of surface caulk.
Grout choice is separate from this connection. Our cement-versus-epoxy grout guide helps with that finish decision, but neither grout family corrects a missing or poorly executed waterproofing detail.
Think about cleaning while you can still choose
Lift a sample grate or watch the manufacturer's removal method. Check how hair and debris are reached and whether any tool is required. A tile-in cover may look quiet in the finished floor but still needs a practical way to lift it. Keep the removal tool somewhere the household can find it.
For a linear channel, ask how the entire channel is cleaned and whether the chosen location makes access awkward behind glass. For a point drain, check that the grate and any strainer can be serviced without damaging adjacent tile. A beautiful drain that nobody knows how to open will not remain beautiful for long.
Approve the tile layout, drain position and waterproofing detail together. Then verify drainage during the appropriate testing and final-use stages. If an existing floor already holds water, our shower-floor pooling diagnosis addresses diagnosis. Replacing the grate alone will not change a floor that slopes the wrong way.