
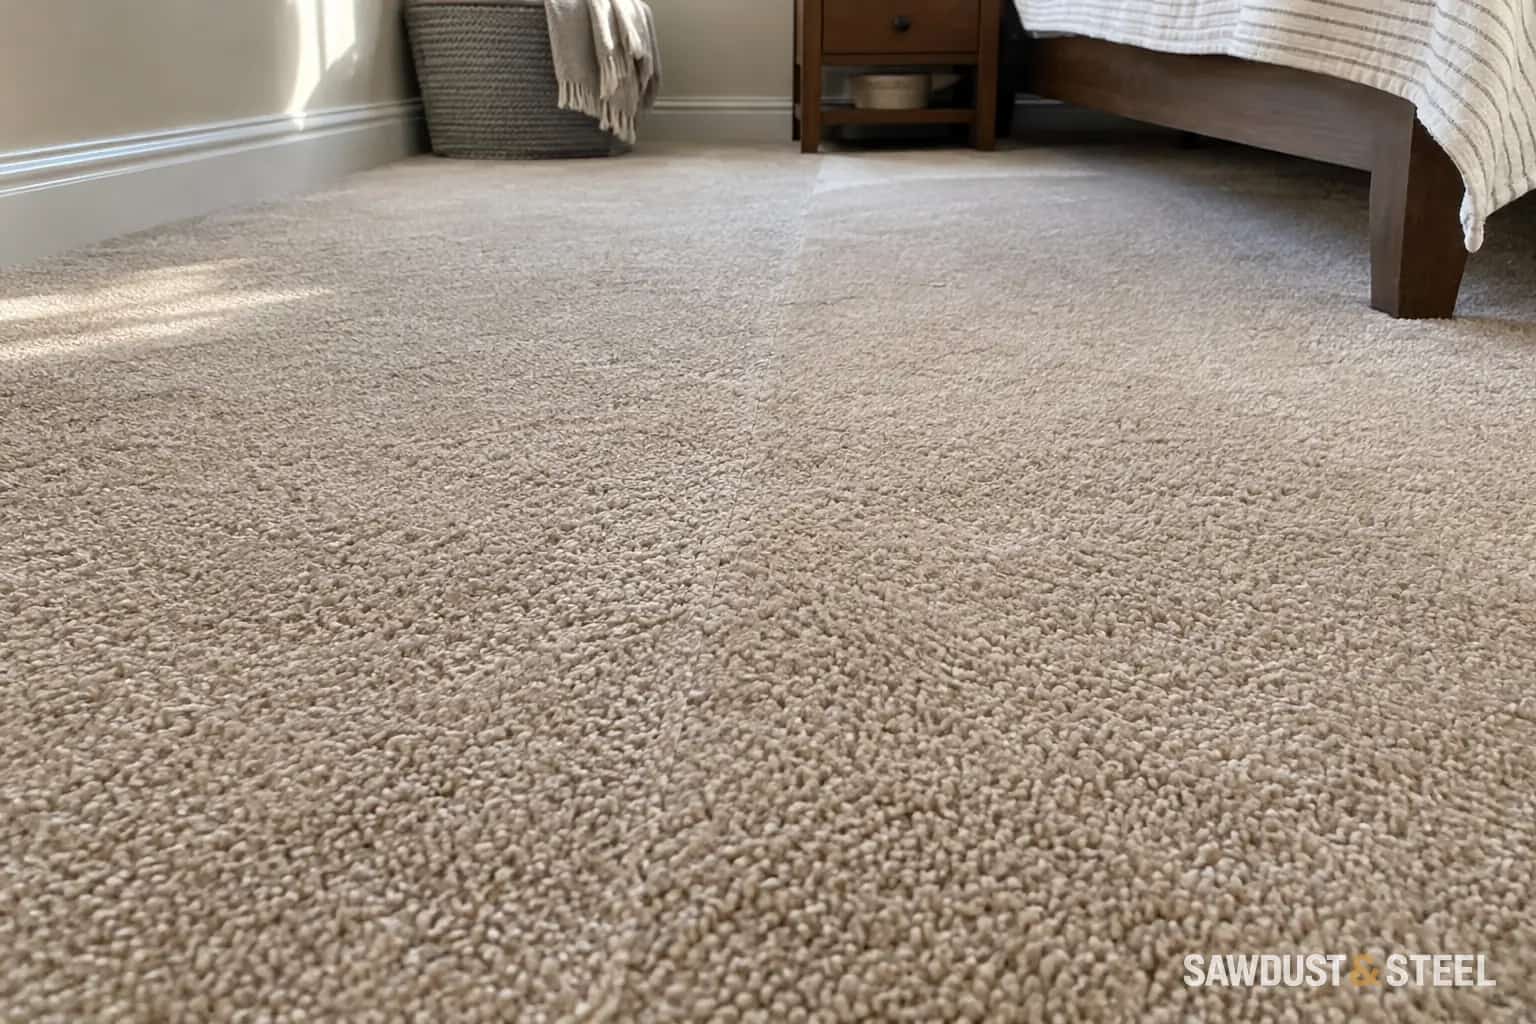
The carpet looked like one continuous surface at breakfast. By late afternoon, the window throws a line across the room exactly where two pieces meet. Before deciding that the whole job has failed, find out whether you are seeing the joint's profile, a change in pile direction or edges that are actually coming apart.
Start with light, then look at the edges
Photograph the line from both ends and from the side, with the room's ordinary lamps and with daylight. Record where the window is. Look closely without picking, tugging or pushing a tool into the seam. Note whether the line is a shadow over closed edges, a difference in colour or texture, a ridge you can feel, or an actual opening exposing the backing.
| Observation | Useful question for the installer |
|---|---|
| Line changes strongly with viewing direction | Is pile direction or side light making the joint conspicuous? |
| Narrow raised profile along an otherwise closed seam | Is this seam peaking, and what correction is appropriate here? |
| Gap, frayed yarn or an edge lifting away | Is the joint losing integrity? |
| Broad waves extending beyond the seam | Is the stretch or attachment also at fault? |
A closed seam can still cast a shadow
The Carpet and Rug Institute's seam-peaking bulletin explains a mechanical effect in stretch-in carpet: tension acts through the seaming tape beneath the backing, and the joint can develop a slight upward profile. The angled pile then catches light differently. The bulletin also makes clear that invisible seams cannot be guaranteed.
That explanation is specific to the seam and installation system. It does not mean every prominent ridge is acceptable, nor that a loose glued-down joint can be dismissed as ordinary peaking. Construction, light direction, seam placement and workmanship all belong in the assessment. A photograph is useful evidence but cannot show all of those conditions.
Shadow
Closed edges; appearance varies with the light and viewing position.
Peaked profile
A narrow raised joint in stretched carpet; installer assesses tension and seam construction.
Open or unraveling joint
Edges separate or yarns loosen; ask for a repair assessment rather than cosmetic brushing.
Ask for an assessment with the carpet details in hand
Send the installer the product name, installation date, room photographs and a close view of the joint. Say when you first noticed it and whether its condition is changing. Ask them to identify the installation method and whether the seam remains bonded and its edges properly prepared. If you have an agreed seam layout, include it.
The CRI bulletin discusses choices such as seam orientation and tape selection that can help reduce peaking during installation. Those are not a homeowner recipe for applying more heat or pulling the carpet harder. Correction depends on the existing seam, backing and room; unnecessary heat or adhesive can add damage and complicate the original installer's assessment.
CRI installation guidance also identifies edge sealing as part of preventing raveling and delamination. Ask the installer about the edge preparation when yarn is coming loose; appearance and joint integrity need separate answers.
If a complaint is dismissed as 'all carpet does that,' ask for the product manufacturer's written seam expectations and the installer's findings for this joint. Equally, do not judge the installation against a promise of a perfectly invisible seam unless that promise was actually part of the sale. Keep the physical findings and the appearance concern clearly recorded.
Do not turn an appearance concern into a damaged edge
Avoid pulling fibres, cutting along the joint, injecting glue or covering the line with tape. Follow the carpet's vacuum instructions; stop a rotating brush if it catches loose yarn. A localized pull needs a different response from normal new-carpet shedding.
A broad bump away from the seam belongs in the carpet restretching guide. For the seam itself, finish the callback with a written diagnosis, the proposed correction and what appearance to expect afterward. Then inspect it under the same light that first revealed the problem.