
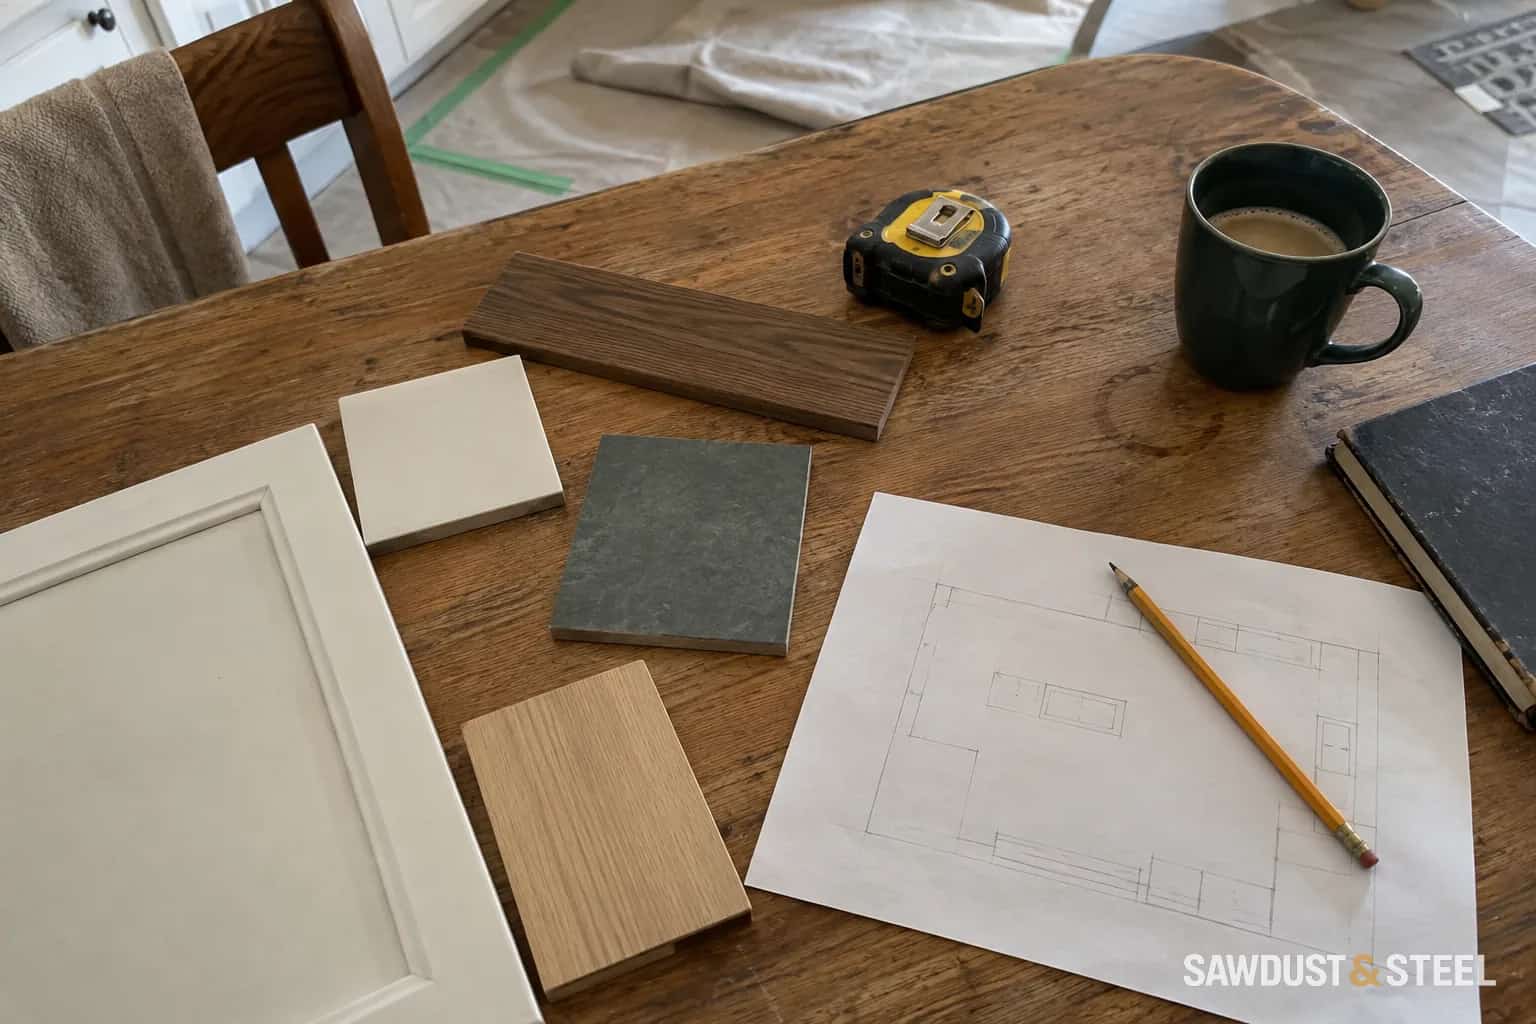
A room described as twelve feet wide sounds straightforward until one end is narrower, the door casing projects and the radiator occupies the best cabinet wall. The useful survey records those differences instead of averaging them away.
Start with a sketch you can understand later
Draw the room outline and label each wall. Choose one unit system and write it on the page. Record the date and whether measurements are to finished surfaces or exposed construction. Show which side of a door is hinged and which way it opens.
IKEA: measuring a kitchen recommends recording room heights, opening locations and fixed services. Use a consistent starting point for related dimensions. Do not switch between a wall face, skirting edge and trim edge without saying so.
Plan dimensions
Wall lengths, widths, opening offsets and usable projections.
Vertical dimensions
Ceiling height, opening height and sill above the floor reference.
Services and obstacles
Mark fixed items and access zones on the correct wall.
Uncertainty
Label concealed conditions and dimensions that need professional rechecking.
Plan: locate the opening
Choose a fixed corner as your starting point. Record the wall length, the opening width and its position from that corner.
Elevation: record the heights
Measure floor-to-sill, opening height and ceiling height. Note a sloping floor or ceiling instead of assuming every point matches.
Survey sketches, not permit drawings. Record actual dimensions and label whether each measurement includes frames and finishes. IKEA room measurement guidance.
Measure the room in more than one direction
Record wall lengths and overall widths at useful locations. Check diagonals where the room shape makes that meaningful; unequal measurements may reveal that a sketch drawn as a perfect rectangle needs revisiting. Do not infer structural movement from one rough measurement.
For each door or window, record width, height and its distance from a known corner and floor reference. Include casing projections, window stools, sill height and any opening swing that affects the design. A cabinet needs the usable space, not just the glass width.
Add the fixed obstacles
Locate outlets, switches, vents, pipes, radiators and service access points. Note ceiling slopes, soffits and changes in floor height. Photograph each wall with its label so a designer can connect the measurements to the room.
Do not remove covers, drill exploratory holes or disturb suspect materials simply to complete a sketch. Mark concealed or uncertain conditions as unknown. If a planned fit depends on them, arrange the appropriate investigation rather than converting a guess into a dimension.
Recheck before making anything irreversible
Use the survey to test layouts and full-size mockups. Then have the responsible installer or designer verify critical dimensions at the appropriate stage before ordering custom work. New wall layers and flooring can change the available space.
If the opened conditions differ from the design, resolve the drawing mismatch before continuing. Keep the revised sketch with construction photographs so the project has one current record, not several contradictory measurements on scraps of packaging.