
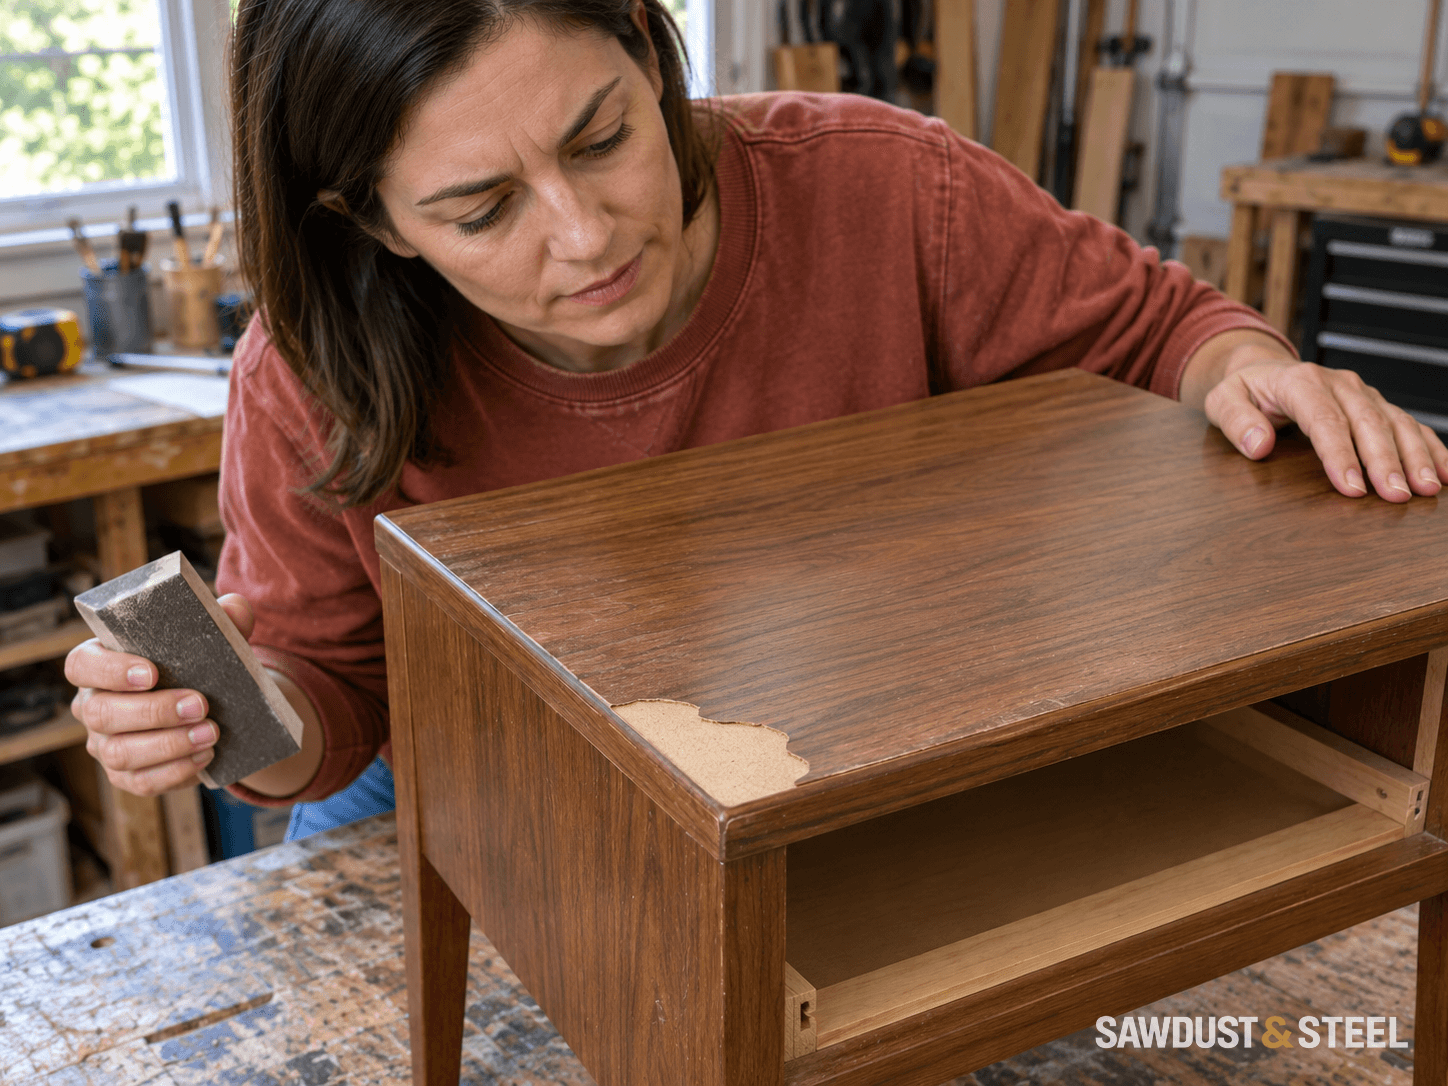
One corner of the tabletop has gone pale. You make another pass to blend it, and the pale patch gets bigger. This is the point to put the sander down. The grain may be disappearing because the thin decorative face has gone, not because the old finish is being stubborn.
Veneer is real wood in a thin layer over another material. It can make excellent furniture, but it does not provide the sanding allowance of a solid board. A repair starts with identifying what remains and choosing an acceptable result. 'Keep sanding until it matches' is not a plan when the material you want is already missing.
Check whether the grain is still there
Remove loose dust gently and look across the surface under good side light. Compare the patch with an undamaged area. Is there continuous wood grain, a plain fibre-like core, a glue layer or a different grain direction underneath? Examine an existing exposed edge or hardware opening if one is available. Do not cut into a sound area simply to investigate it.
A change in colour alone does not prove a sand-through. Old stain, uneven finish removal and glue contamination can also produce patches. If the grain is intact but the colour is uneven, the blotchy-stain guide is the better starting point. If the surface is printed foil or laminate, wood-veneer repair techniques may not apply at all.
The veneer supplier Oakwood warns that edges and high spots are easy places to sand through. That is a reason to inspect the material and existing finish before choosing an abrasive sequence, not a universal grit recipe for every old table. Previous refinishing may already have used up much of the face layer.
Choose how much of a repair the piece deserves
| Situation | Useful direction | What to accept |
|---|---|---|
| Tiny mark in a quiet location | Ask about a compatible colour and grain touch-up | It disguises the mark; it does not put wood back |
| Local missing face with sound material around it | Consider a fitted veneer patch | Grain, colour and finish all need matching |
| Large damage on a prominent top | Compare re-veneering the whole face with replacing the component | Edges, thickness and existing joints affect the work |
| Wood appearance is no longer essential | Consider a properly prepared opaque finish | The damaged surface still needs a stable, smooth base |
A bedside table that lives under books may justify a small visible repair. A large dining tabletop catches light from several directions and gets inspected at every meal. Before paying for a nearly invisible patch, ask to see a comparable repair under raking light and discuss what will remain noticeable.
For an antique, a valuable piece or furniture with sentimental importance, consult a furniture conservator or experienced restorer before stripping or colouring it. Original finish and material may matter more than making the surface uniformly new. A quick experiment can remove options the restorer would otherwise have had.
A patch needs more than the right species name
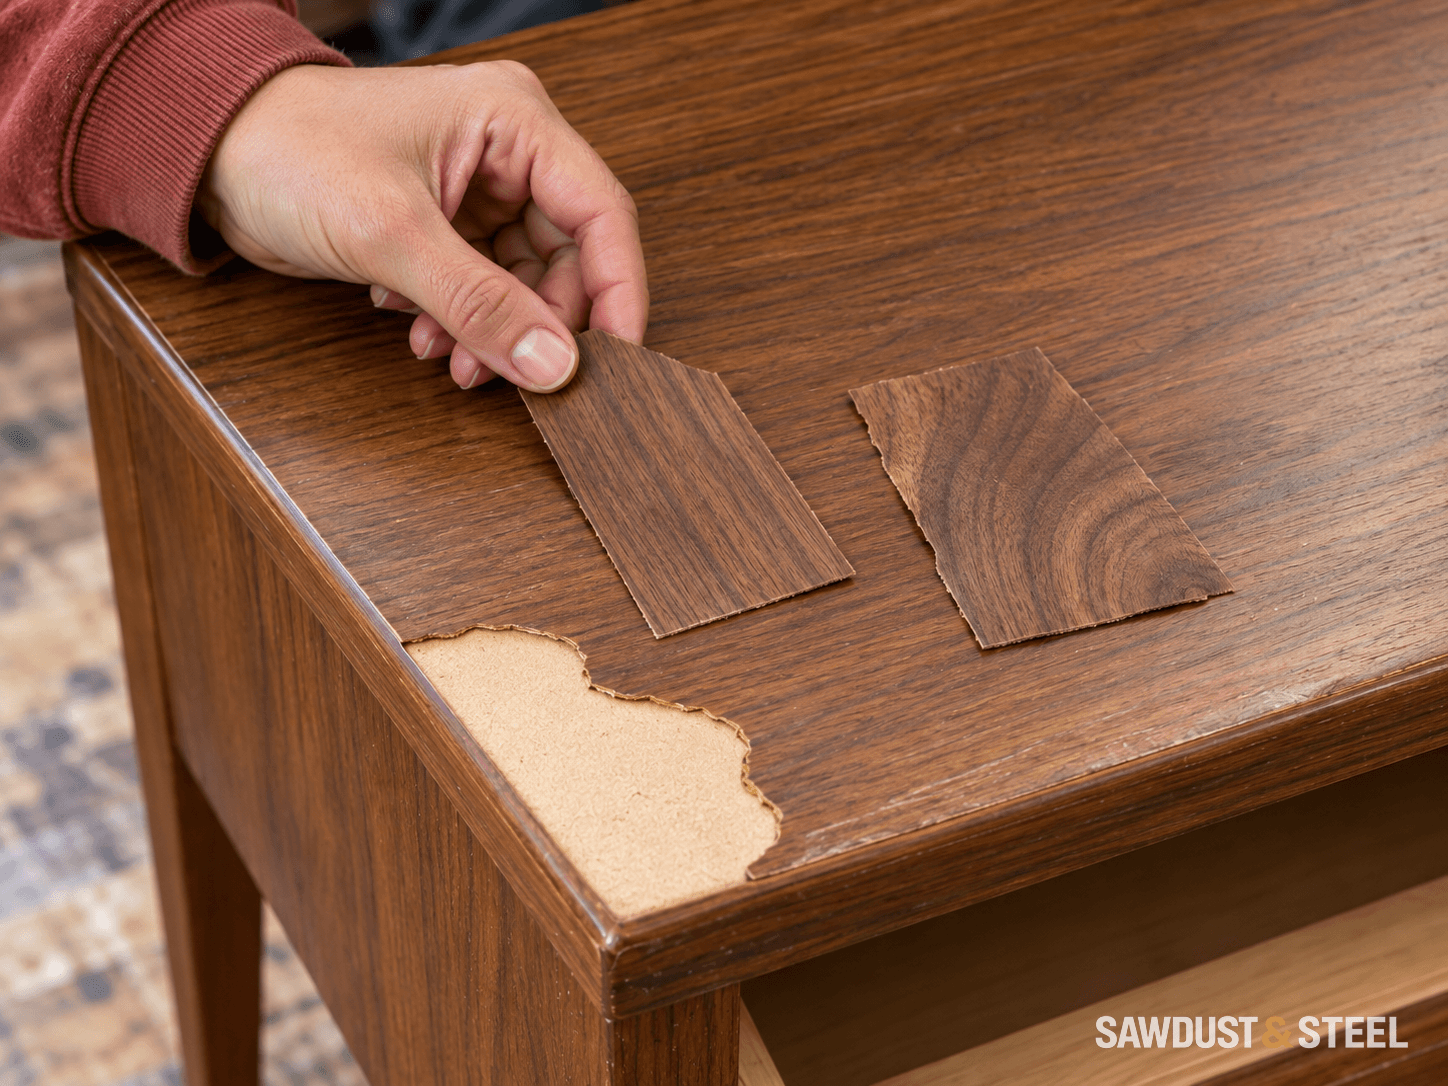
Two pieces sold as walnut can have very different grain shapes. Compare the scale of the grain, its direction, the light and dark bands and the way the piece reflects light when rotated. Test the intended finish on a spare before cutting the patch. A dry offcut that looks close can become conspicuously different after coating.
The supplier's veneer sanding notes are useful preparation guidance for its materials. Ask the repairer which veneer thickness, backing and adhesive suit this particular substrate. A patch should meet stable material; it should not bridge loose veneer or a swollen, crumbling core.
Keep the old edge treatment in the conversation. A fresh top layer can alter the relationship to a moulded edge, a drawer front or an inlay. Re-veneering a broad face may be more convincing than several local patches, but it is a different job from sticking a matching rectangle over the damaged spot.
Do not make the missing layer a finishing problem
Dark stain is unlikely to make exposed fibreboard behave like the surrounding veneer. Extra clear coats preserve the contrast in a shinier form. Wood filler can level a small defect in a suitable repair system, but a smooth brown patch does not acquire the original grain simply because the tin says walnut.
Avoid soaking an uncertain surface or applying an untested stripper. Identify the existing coating and follow the chosen product's handling, ventilation and waste instructions. Old painted layers need appropriate hazard assessment before disturbance; the old-paint guide explains why age and material history matter.
If you choose paint, let that be a deliberate change in finish. Stabilize the surface, repair the defect and use a compatible preparation system. Painting over a loose edge or sticky coating merely changes the colour of the next problem.
Bring useful information to the repair conversation
Take one photograph of the whole piece, one close view of the patch and one of an existing exposed edge. Record what cleaner, stripper, abrasive and finish have already touched it. Keep any loose veneer fragments and product labels. These details help a repairer distinguish a colour correction from a missing-material repair without asking the sander to conduct another investigation.