
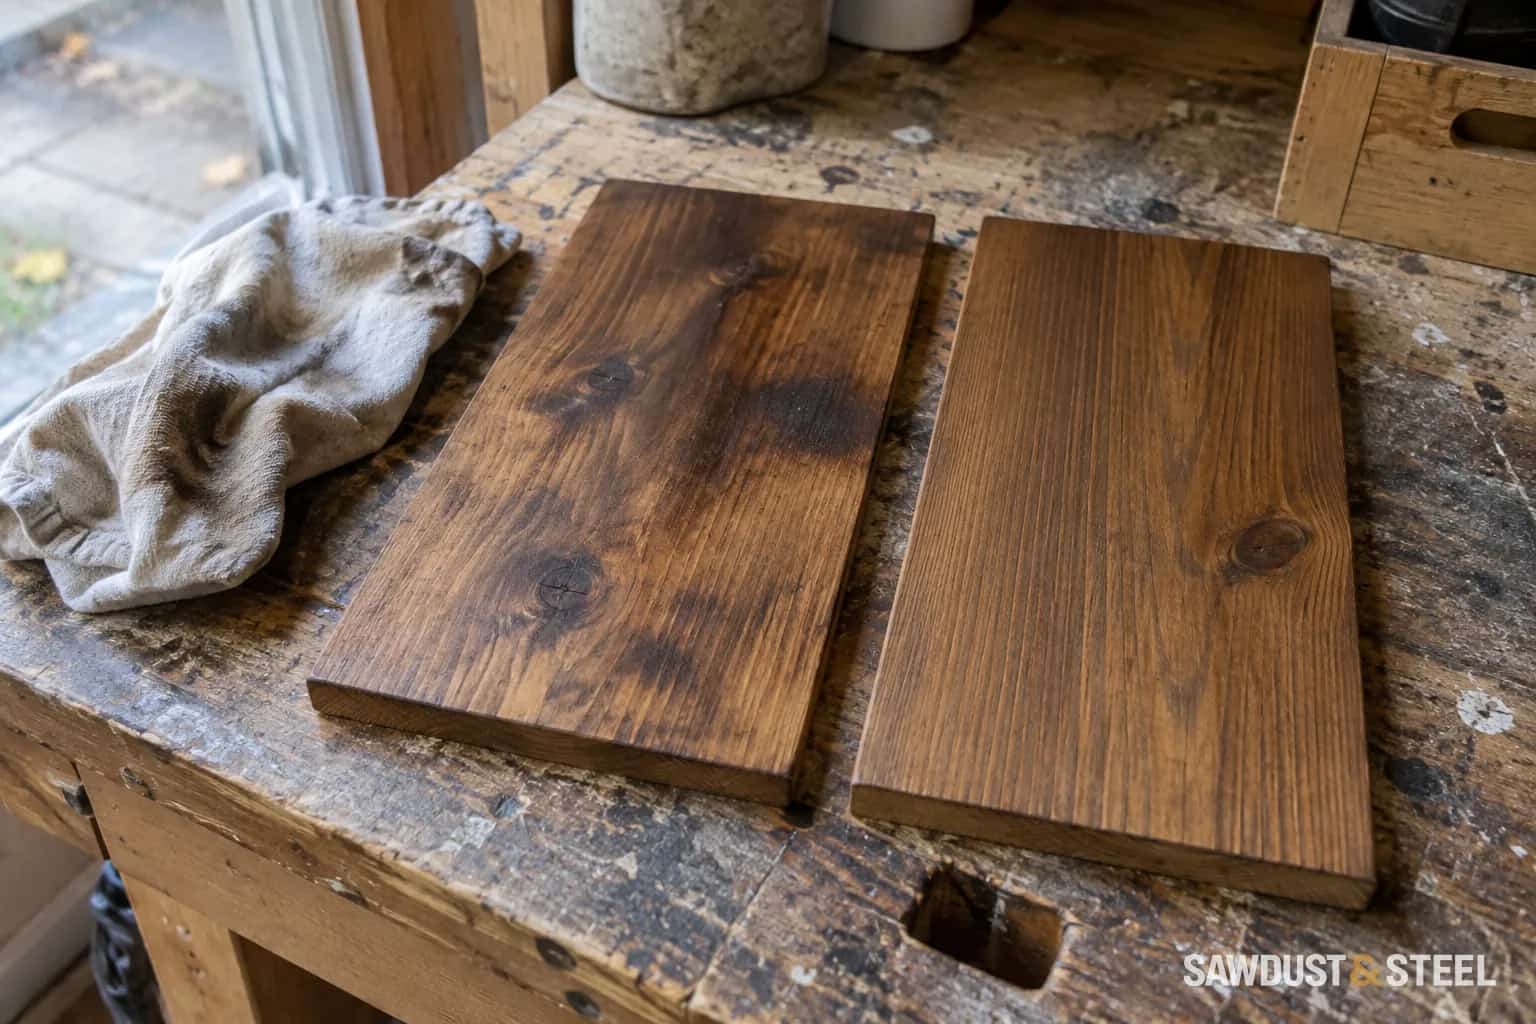
Pine can look beautifully even before finishing and surprisingly patchy ten minutes later. Some areas drink the stain, others barely change, and one pale line follows a joint with suspicious precision. Before another coat turns the entire shelf brown, look at the pattern. Natural absorption, glue contamination and inconsistent preparation need different responses.
Read the blotch before choosing the remedy
Inspect the dry surface under side light. Photograph it before rubbing or sanding anything. A pale smear beside a glued joint points toward a different problem from soft, dark clouds spread through the board. Deep scratches holding colour suggest preparation marks. End grain may darken differently from the broad face, even when both received the same stain.
| Appearance | Question to answer |
|---|---|
| Pale strip following a joint | Is adhesive sealing the surface and blocking absorption? |
| Dark clouds within otherwise sound pine | Is the wood absorbing the stain unevenly? |
| Lines crossing the grain | Are sanding scratches retaining extra colour? |
| Very dark ends | Was end-grain preparation considered in the sample? |
| Sticky or shiny patches after drying time | Was excess stain removed and was the product used as directed? |
Minwax's preparation FAQ identifies pine as a blotch-prone wood and distinguishes conditioners for oil-based and water-based stains. Its advice supports testing a compatible preparation system; it does not promise that conditioner will erase a finish already applied. Keep that distinction clear before buying a second can.
Make a sample that resembles the actual job
Use offcuts from the same timber where possible, including knots and an end cut. A perfect clear-grain sample from another board is a generous judge. Prepare the offcuts using the same tools and sequence intended for the work. Remove dust using the chosen coating system's directions; avoid introducing an unknown cleaner just before staining.
Divide the sample into labelled areas on the back. Compare the specified preparation alone with the manufacturer's compatible conditioner and stain schedule. Follow the actual application window, excess-removal method and drying conditions on the labels. Do not mix one brand's time window with another product because an online video looked convincing.
For a practical comparison, keep the stain colour constant and change only the preparation. If you change sanding, conditioner, stain and topcoat at once, you may find a pleasant sample without knowing how to reproduce it. Record the sequence, products and application times. This is one occasion when a note on a scrap is more useful than a very artistic photograph.
Judge the complete finish, not the wet stain
Include the intended clear coat on the sample after the stain is ready. The finished surface can look different from dry stain alone. Put the sample upright beside the room's existing trim and inspect it during daylight and under the lamps you use at night. Our clear-finish colour guide covers that separate choice.
On a small pine shelf job, the owner's favourite sample was the lightest test before clear coating and the second-lightest afterward. We kept both until the room lighting settled the decision. No additional pigment was needed; the sample simply needed to reach the same stage as the finished shelf.
What if the piece is already blotchy?
Let the applied product reach the condition specified for further work, then ask its manufacturer about compatible correction. More stain may deepen the dark areas along with the pale ones. A conditioner is generally a preparation step, so brushing it onto an existing stained surface is not the same process as starting with bare wood.
Decide whether the board is solid timber, thin veneer or a composite with a decorative surface. Aggressive sanding that seems acceptable on a solid offcut can go through a veneer. If removing the finish is proposed, trial the entire removal and refinishing method in an inconspicuous area or matching spare first. Include any old coating hazards before disturbing existing materials.
A mild colour variation may suit a rustic shelf. A sharply pale glue line across a prominent cabinet front may warrant restarting. There is also the option of an opaque finish, but choose it as a new finish system with proper preparation, not as a quick coat over sticky stain. For a local repair beside old wood, use the stained-trim matching guide; matching age and existing colour is a different challenge from finishing new pine consistently.
Keep used cloths and finishing waste according to the product's fire-safety and disposal instructions. Then save the successful sample and its notes. It is much easier to match the next shelf when you have more information than 'the brown can from last autumn.'