
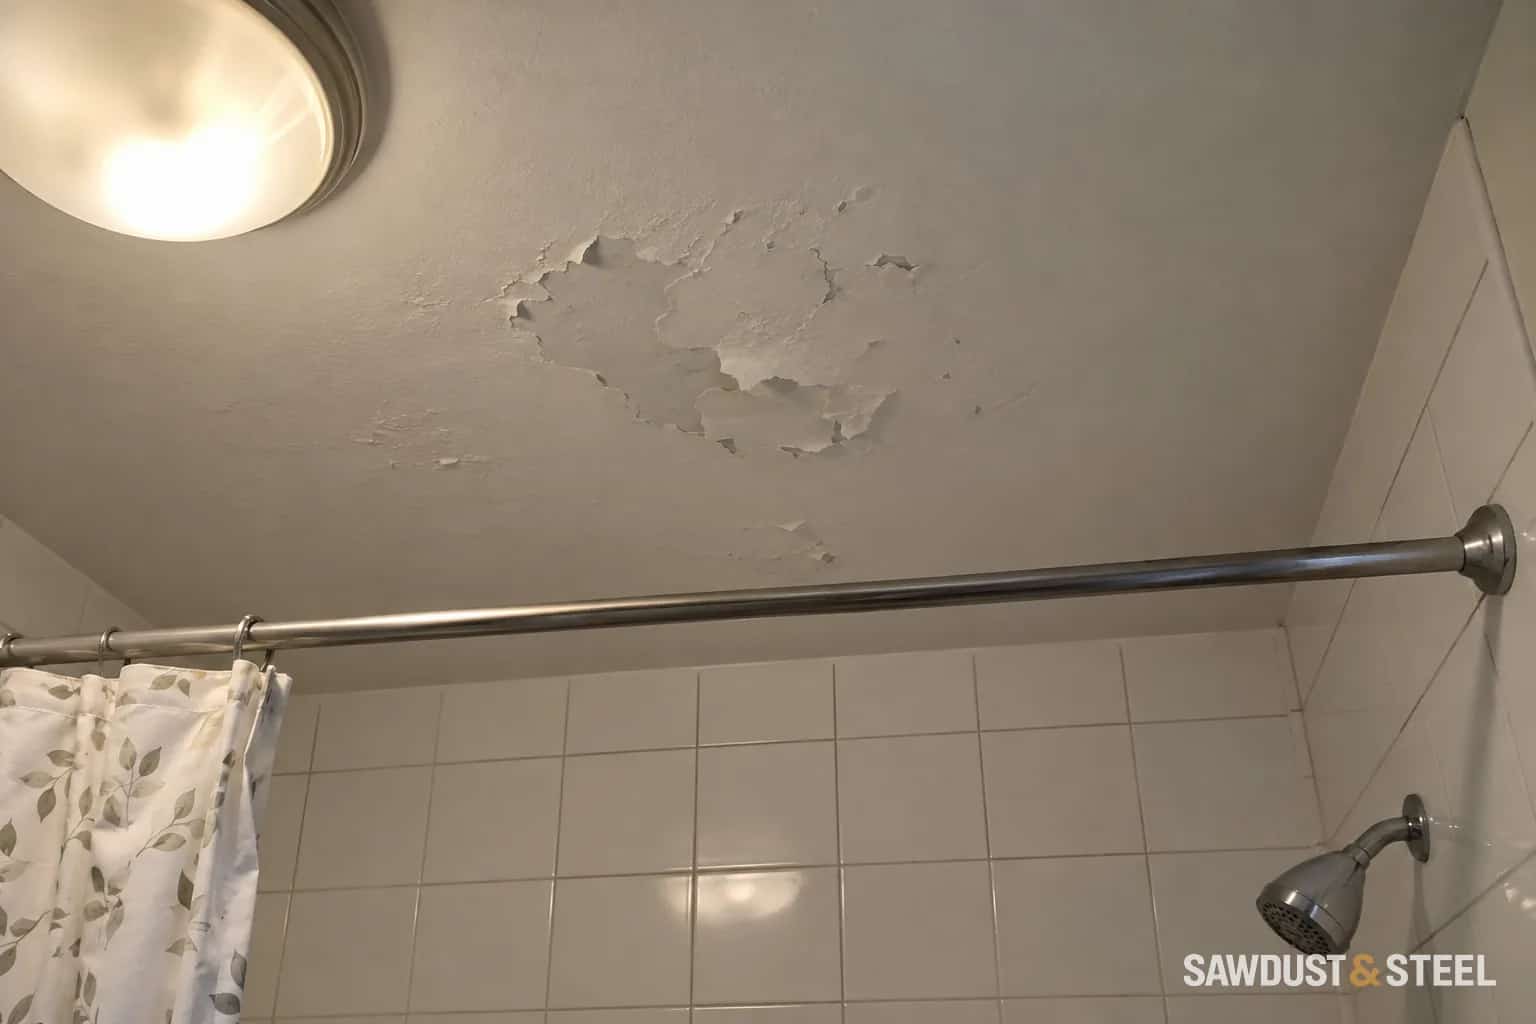
The ceiling has been painted twice and is now offering a third opinion. A bathroom finish can fail because moisture keeps returning, because the new coating never bonded properly, or because the layer underneath is weak. Buying a more expensive tin before separating those possibilities is a surprisingly reliable way to repaint again.
Read the location and timing
Photograph the peeling before scraping. Does it concentrate over the shower, follow a roof-side corner, surround the fan or form a ring beneath plumbing upstairs? Note whether the ceiling becomes wet during bathing, after rain or independently of bathroom use. These observations help decide who should inspect first; they do not establish the source on their own.
Active dripping, a soft or bulging ceiling, or water near electrical fittings needs prompt assessment. Keep clear of saturated material and electrical hazards. If an earlier leak has been repaired, use the dry ceiling-stain checklist to confirm the substrate is ready before treating the remaining mark as a paint problem.
Check the fan as a complete system
Run the bathroom as it is normally used, with the door in its usual position. Record lingering condensation and whether the fan is actually exhausting outside. Noise at the grille proves only that something is making noise. A dirty grille, restricted duct or missing replacement-air path can undermine an otherwise suitable fan.
Our Ontario bathroom ventilation guide follows that route. Have unsafe or inaccessible ductwork inspected rather than climbing into an awkward attic to prove a point. A paint sold for bathrooms can help a suitable finish survive normal conditions; it cannot repair a disconnected exhaust or a roof leak.
| What you see | First useful response |
|---|---|
| Damp patch after rain or upstairs plumbing use | Investigate water entry before decoration. |
| Condensation during showers | Check exhaust, air supply and the drying routine. |
| Dry sheets of new paint lifting | Assess preparation and the previous coating's bond. |
| Soft or bulging ceiling | Keep clear and arrange prompt assessment. |
Find the layer that lets go
Keep a loose flake if one has fallen naturally. The back can help a painter distinguish a failed topcoat from several older layers releasing together. Record recent products and dates. Gloss, grease, soap residue and dust are all worth discussing during the preparation assessment.
Benjamin Moore's bathroom painting guidance calls for a clean, dry prepared surface. The useful lesson is to establish that surface before choosing the finishing coat. Do not scrape or sand unknown older coatings or ceiling textures until any hazardous-material questions have been resolved.
Prepare for the surface you actually find
Once it is appropriate to disturb the finish, remove failed material using the agreed preparation method and leave a stable edge. Torn facing paper, softened plaster and a narrow paint ridge need different repairs. Ask the painter to identify the repair compound and primer for each exposed material instead of coating everything with whatever is left in the van.
Allow repairs to dry under the product's conditions. Moisture remaining inside a repair cannot be assessed from the colour of its surface alone. Prime the prepared areas as specified, check the surface under the room's normal lighting and apply the complete compatible coating system. Respect drying, recoating and return-to-service directions rather than using the shower because the ceiling no longer feels tacky.
A smaller diagnosis can prevent a large repaint
Imagine peeling concentrated around the fan while the rest of the ceiling is sound. Painting the whole room may still be necessary for an even finish, but inspect the fan housing and duct first. If condensation is returning at the same spot, that repair belongs ahead of the roller.
Keep photographs of the dry prepared ceiling and the finished surface. After normal bathing resumes, check the previous failure area and the room's drying pattern. New bubbling or dampness deserves another investigation before it spreads. For small coating failures elsewhere, paint pulled off by tape helps separate adhesion from surface appearance.