
Every spring and fall, the phone lights up the same way. Somebody in Oakville or Hamilton or Mississauga watched the weather come through the night before, walked outside in the morning, and saw a shingle on their lawn that definitely used to be attached to something. Then they looked up at the roof, squinted, shrugged, and called us. If that is roughly where you are right now, this is the guide I wish somebody had written for the people who called me last October.
The short version: do not climb the ladder. Do not let the first roofer who knocks on your door after a storm sell you a re-cover. Get proper documentation in the air the same day, file the claim with photos an adjuster can actually use, and understand the tear-off timeline before anybody pulls a single nail. The long version is below.
What to do in the first 24 hours after a wind event
In the first 24 hours after a wind or hail event in the GTA, your job is documentation, not repair. Walk the perimeter of the house with your phone, photograph anything on the ground, note the time, and call a roofer who flies a drone — in that order. Do not climb up.
Adjusters are paid to decide whether your damage happened during the covered event or six months ago. Timestamps matter. Photos of shingles in your flowerbed the morning after a named storm are worth more than the same shingles three weeks later, when they could have come from anywhere. Your phone's photo metadata is doing real work here. Keep it.
The other thing nobody tells you: if the wind was hard enough to lift tabs, there is a non-trivial chance a branch also bounced off your roof on the way down. You cannot see that from the driveway. A drone can. Book the survey before the next weather system rolls in, because a second wet week on lifted shingles is how a documentation problem becomes a drywall problem.
How do drone roof inspections work, and why they beat a ladder?
A drone roof inspection replaces the ladder-and-binoculars routine with a pre-programmed flight that captures 100 to 200 photos and a four-minute orbit video of the entire roof plane from every angle. We fly a DJI Mavic 3 because it has a one-inch sensor, 20-megapixel stills, and enough battery to do a full house on a single charge without rushing the shot.
The reason this matters for a claim is not resolution. It is provenance. Every frame off a Mavic 3 is geo-tagged to the roof it photographed and timestamped to the minute. An adjuster opening that folder knows exactly where the drone was standing and when.
A ladder photo is a photo of a shingle. A drone photo is a photo of a shingle at 43.4675 N, 79.6877 W, at 11:42 AM on the day after the storm. Those are two different pieces of evidence in a claim file.
The other thing a drone catches that a ladder misses is the ridge and the far side of a steep slope. On an 8/12 pitch above the garage you are not walking that without a harness, and a ladder at the eave only sees the first few courses. The drone sees all of it. Which is how we found two punctures from a fallen branch on a roof in Hamilton last November that the homeowner didn't know were there.


What does an insurance adjuster actually want from a roofer?
An insurance adjuster wants one tidy package that proves the damage exists, shows where on the roof it is, and ties it to the covered weather event. If you send them 140 photos and a walk-around video from the same morning, you have done most of their job for them. The claim usually approves the same week instead of dragging for a month.
What does not help: a roofer who writes "wind damage throughout" on a two-line estimate and expects the adjuster to take their word for it. That package gets kicked back for more detail every time. The detail is what turns a claim around quickly, and detail is exactly what the drone captures.
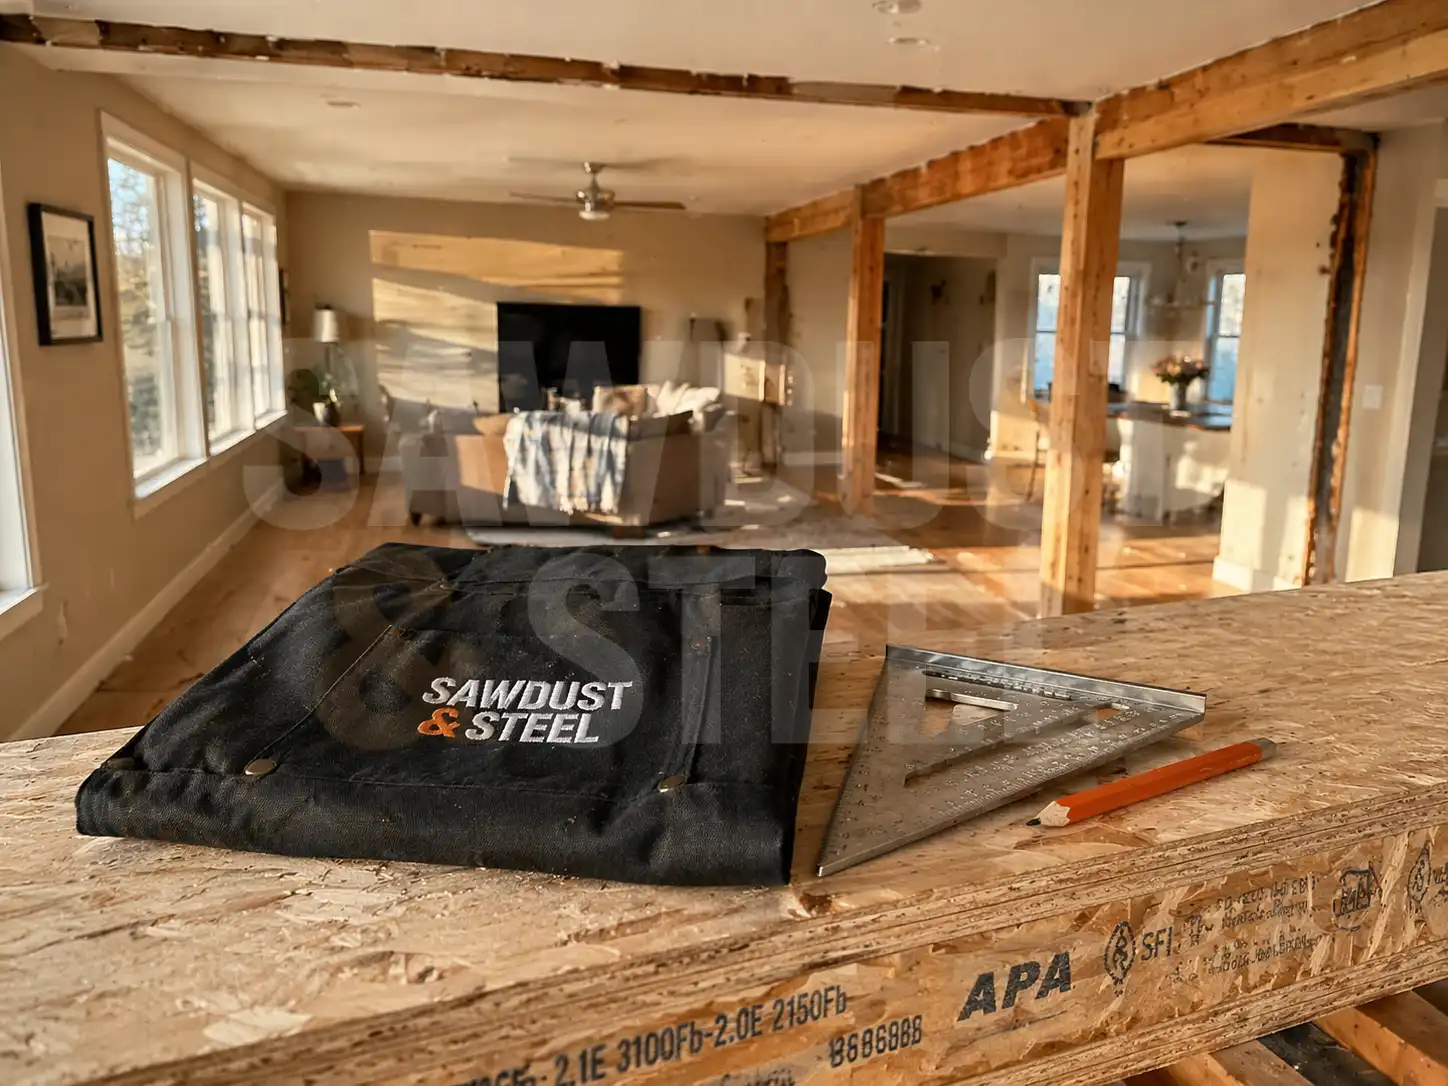
Here is what we send to adjusters on every post-storm job. This is not a marketing list. This is literally the zip file.
- Full orbit video of the house, roughly 3 to 5 minutes, slow circle at two elevations
- 100 to 200 timestamped and geo-tagged still photos covering every plane, valley, and flashing detail
- Close-ups of every lifted, creased, or missing tab with an arrow overlay
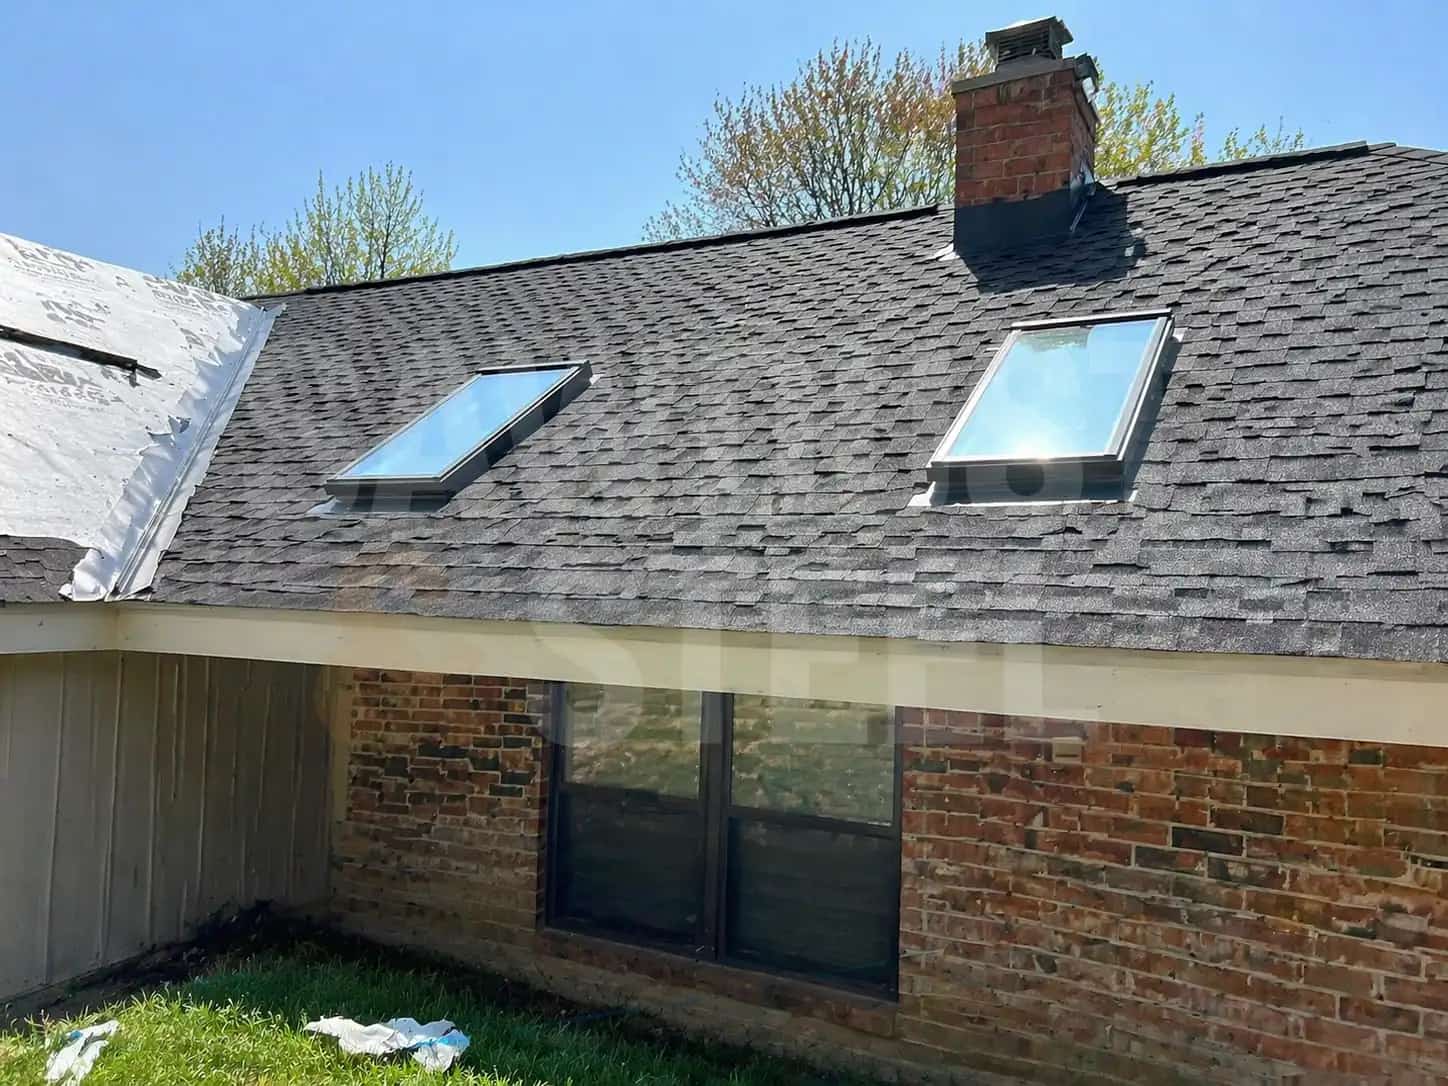
- Chimney and skylight flashing photos from all four sides
- Our drone insurance certificate ($2 million liability) and Transport Canada RPAS registration number
- A written scope of damage tied to specific photos by filename
- A line-item quote in CAD for tear-off, sheathing replacement contingency, and full re-roof
“I expected a contractor and I got a flight crew, a forensic team, and a roofer.”
Tear-off versus re-cover, and the timeline from storm to shingles
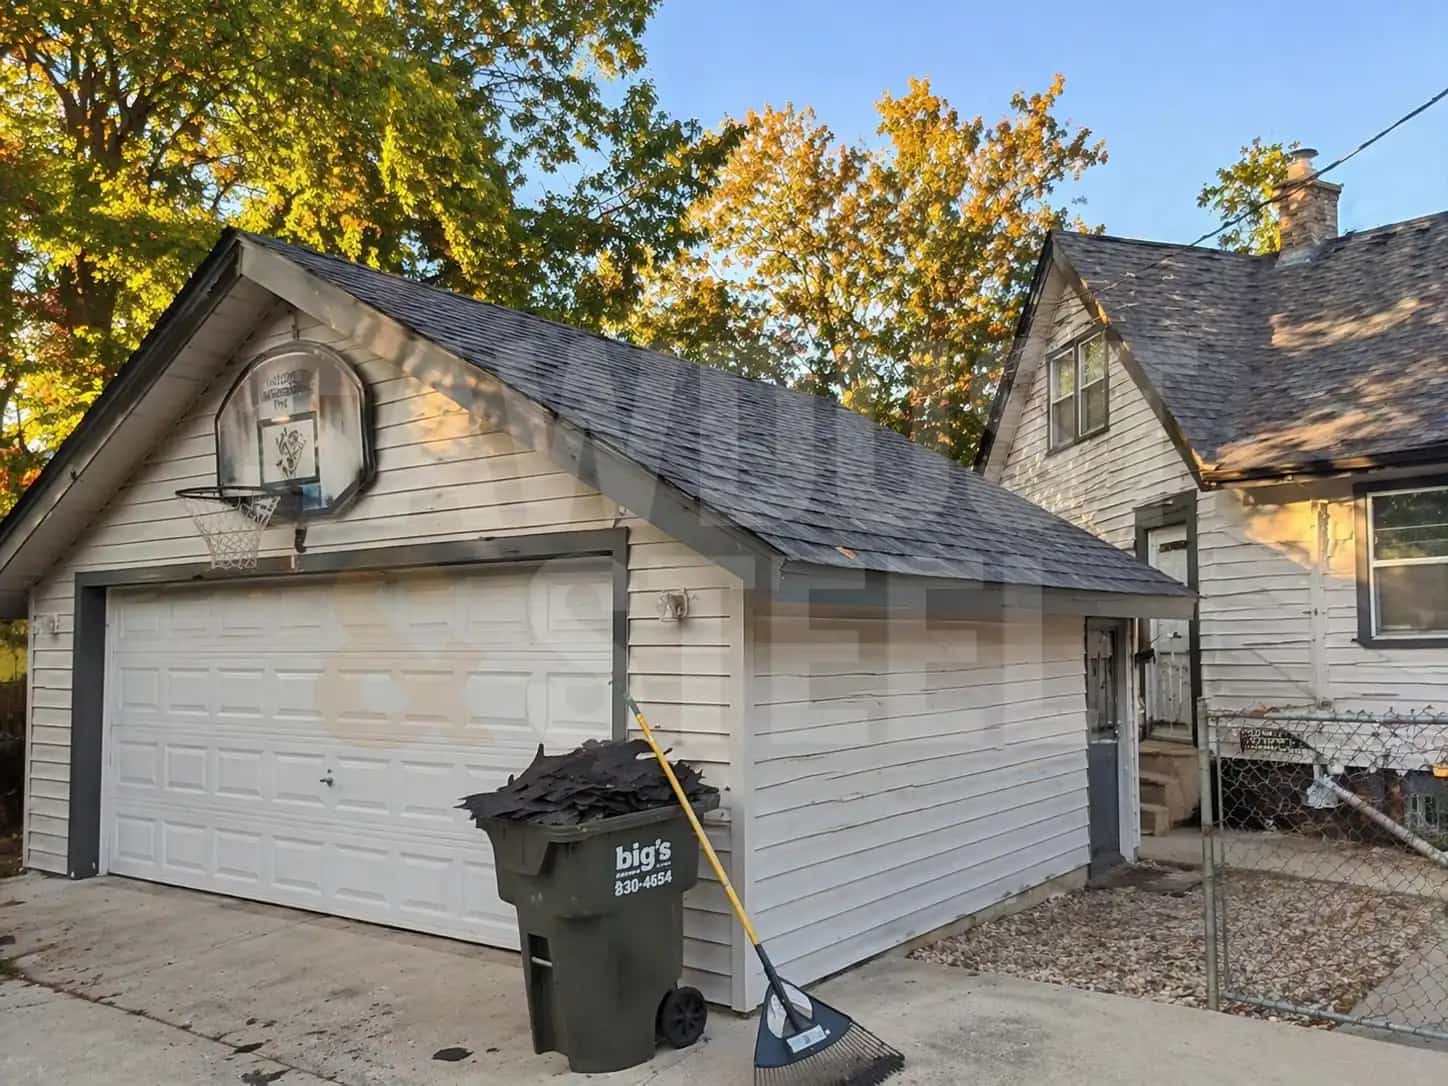
A tear-off removes every existing layer of shingles and underlayment down to the sheathing before new material goes on. A re-cover, also called a roof-over, lays new shingles directly on top of the old ones. We do not quote re-covers. If you want one, a different roofer will sell you one, but you should know what you are buying.
A re-cover hides whatever is wrong underneath, which is usually the thing that caused the problem in the first place. Most architectural shingle warranties — GAF Timberline, Owens Corning Duration, IKO Cambridge — are voided by an overlay on the fine print of the same box. The second layer also traps heat against the first, which is how you turn a 25-year shingle into a 14-year shingle.
The savings on disposal are real; the ten years of lost roof life are also real. Whoever did the re-cover owed somebody a favor and we are now paying for it.
The honest timeline from a storm to a new roof in the GTA looks like this. None of these dates are made up; they are roughly what we tell Maria or Tanya or Ravi when they call.
- Day 0: Storm rolls through. You photograph everything on the ground.
- Day 1: Drone survey on your driveway, package emailed to the adjuster by the end of the day.
- Day 3 to 7: Claim approved, subject to the line-item quote.
- Week 2 to 4: Materials on order, crew scheduled, permit pulled if your municipality requires one (most GTA jurisdictions do not for a simple re-roof).
- Install day 1: Tear-off to the deck, sheathing inspection, rotted panels replaced with 5/8" plywood.
- Install day 2: Ice-and-water shield six feet up the eaves and three feet up the rakes, synthetic underlayment on the field, architectural shingles rated for 130 mph wind.
- Install day 3: Step flashing rebuilt, ridge vent run full length, drip edge on every eave, two rounds of magnetic sweep in the yard.

How much does a storm damage roof inspection cost in Ontario?
A drone-based storm damage roof inspection in Ontario typically runs $0 to $450 CAD depending on the roofer. We do not charge for the drone survey when you are filing an insurance claim, because the survey is how we write the quote and the quote is how we earn the job. You pay nothing until the claim is approved and you have asked us to do the work.
For context on the job itself: a full architectural shingle re-roof on a standard 1,800 to 2,200 square foot single-family home in the GTA lands between $9,000 and $16,000 CAD after the tear-off, sheathing contingency, ice-and-water shield, underlayment, new flashing, ridge vent, and disposal. The full breakdown is in our roof replacement cost guide for the GTA.
Steep pitches, skylights, cedar shake tear-offs, and complex valleys push the top of that range. Our quotes are fixed line-items after the drone survey, not a range. Roofers who give you a range are leaving themselves room.
The number that never shows up on a quote but should: Ontario's typical snow load design value is around 35 psf for the GTA, and a roof with a saturated deck under the shingles loses strength long before it looks like it's in trouble. That is why we care so much about finding rot on the tear-off day. A 35 psf design roof on a spongy 30-year-old deck is a 20 psf actual roof, and February is going to find out.


One last thing about chimney flashing, because it is the most common preventable cause of roof leaks in Ontario houses and I would feel weird not saying it again. Face-caulked chimney flashing — a bead of silicone run along the top edge of a thin metal apron instead of proper interleaved step flashing tucked under counter-flashing — fails in one Ontario freeze-thaw cycle. Two, if the caulk was good.
If the last roofer caulked your chimney instead of flashing it, that chimney is leaking right now and you have not noticed yet. A drone photo from the right angle will show you. Our roofing and siding service rebuilds flashing on every re-roof.