
Catch the beginning of the leak
Protect the floor, move rugs and dry accessible surfaces. During the next rain, note whether water first appears at a bottom corner, along the interior sill edge, above the door or beside a sidelight. Record wind direction, rain intensity and how long it takes. A photograph of the first damp line is usually more useful than one of the final puddle.
Look from a safe ground-level position outside. Is water running down the face of the door, overflowing from a gutter, collecting on the landing or reaching the opening from cladding above? Do not pressure-wash the doorway as a casual test. That can introduce water in ways ordinary rain does not and make the route harder to interpret.
A threshold is only one part of the water route
Therma-Tru's prehung-system instructions treat frame alignment, sealing and flashing as connected installation details, rather than relying on the interior sill edge alone Therma-Tru: Prehung door system installation.
Through the closed slab's lower edge
Inspect door-bottom contact, corner seals and alignment.
From beneath the sill
Assess support, sill installation and concealed water management.
Beside or above the frame
Trace the frame perimeter and adjoining wall details.
At a sidelight junction
Inspect the integrated assembly and its joints.
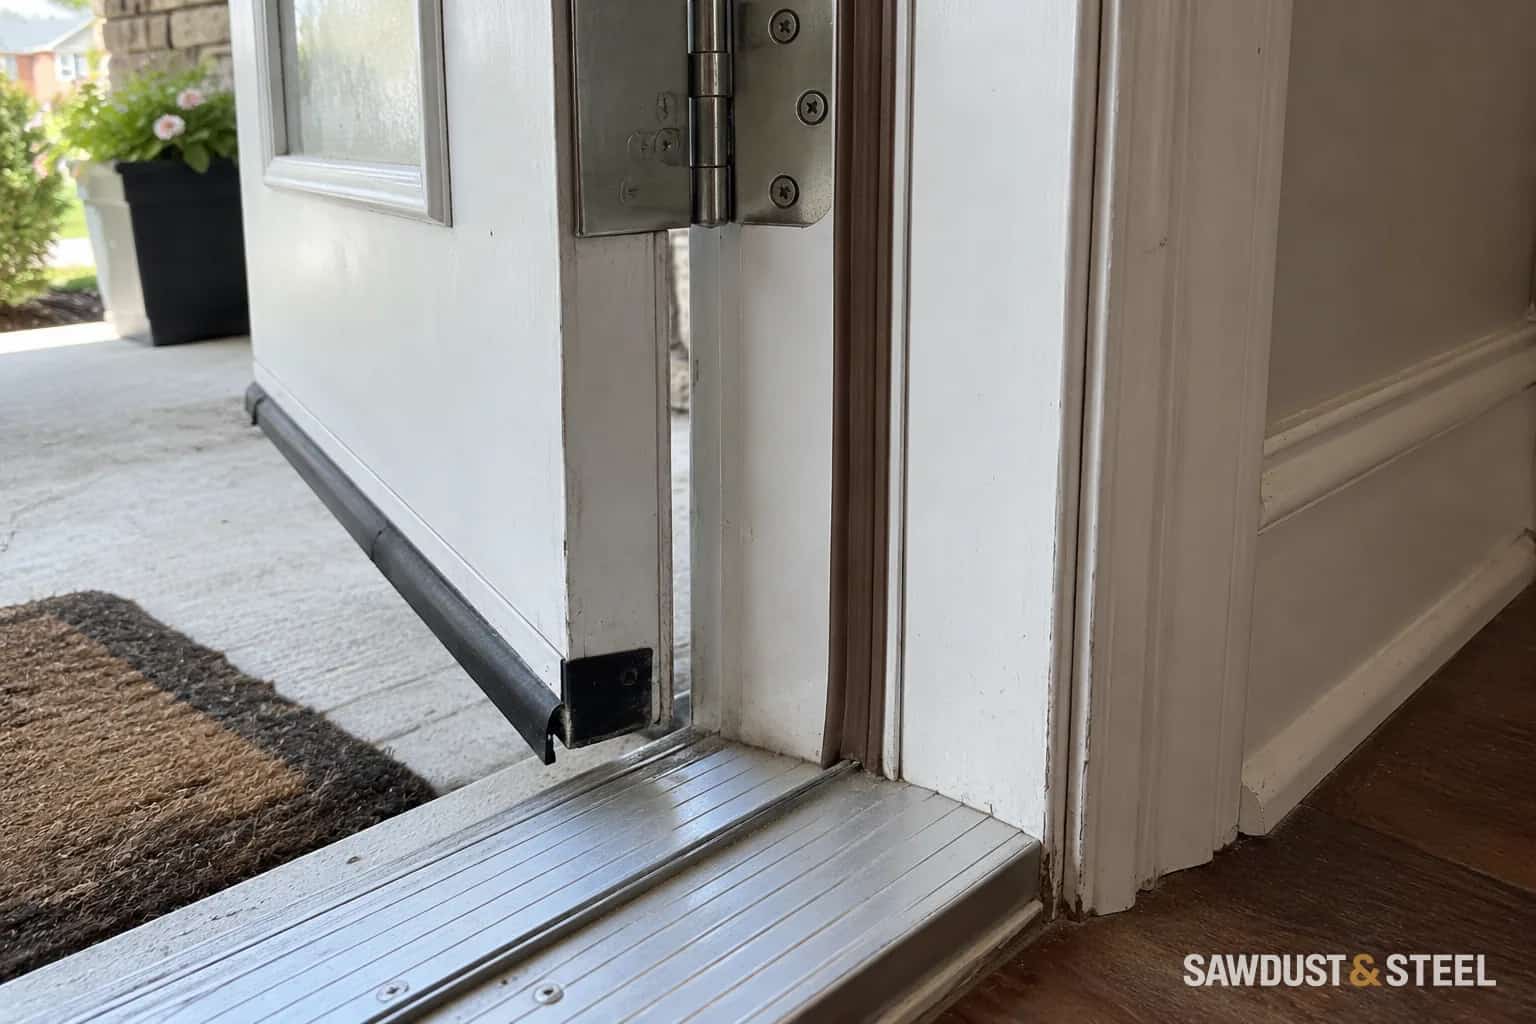
A worn sweep can admit water where the slab meets the threshold. A failed sill-to-jamb joint is a different path. Water behind the exterior trim can travel before emerging at the floor, so the wettest indoor corner is not proof that the visible corner pad is the source. Use the daylight-gap guide to inspect seals without assuming they explain every leak.
Do not caulk away a designed exit
Therma-Tru describes its sill pan as an additional layer beneath the sill with channels intended to direct moisture outward Therma-Tru: Sill pan.
The presence and arrangement of a pan cannot usually be confirmed from a bead of caulk on the room side. Adding sealant without understanding the installation can block a drainage route or conceal wet material. Have the installer identify the applicable detail and explain which joints should be sealed and which openings must remain clear.
Ask for the cause and the damaged material
A useful repair scope names the entry route, the affected seal or installation detail, and any wet or deteriorated wood that must be exposed and repaired. Replacing a sweep is sensible when the evidence points there. Repeated indoor leaks, soft jamb bottoms or swollen flooring justify investigating beyond the visible seal. Keep photographs and product details for any warranty enquiry.
After the work, check operation and locking, then verify during representative rain or an appropriately controlled professional test. A dry afternoon is not a water test. If replacement is proposed, clarify whether it includes the sill, frame, sidelights and connection to the wall; retaining existing sidelights can change that scope substantially.