
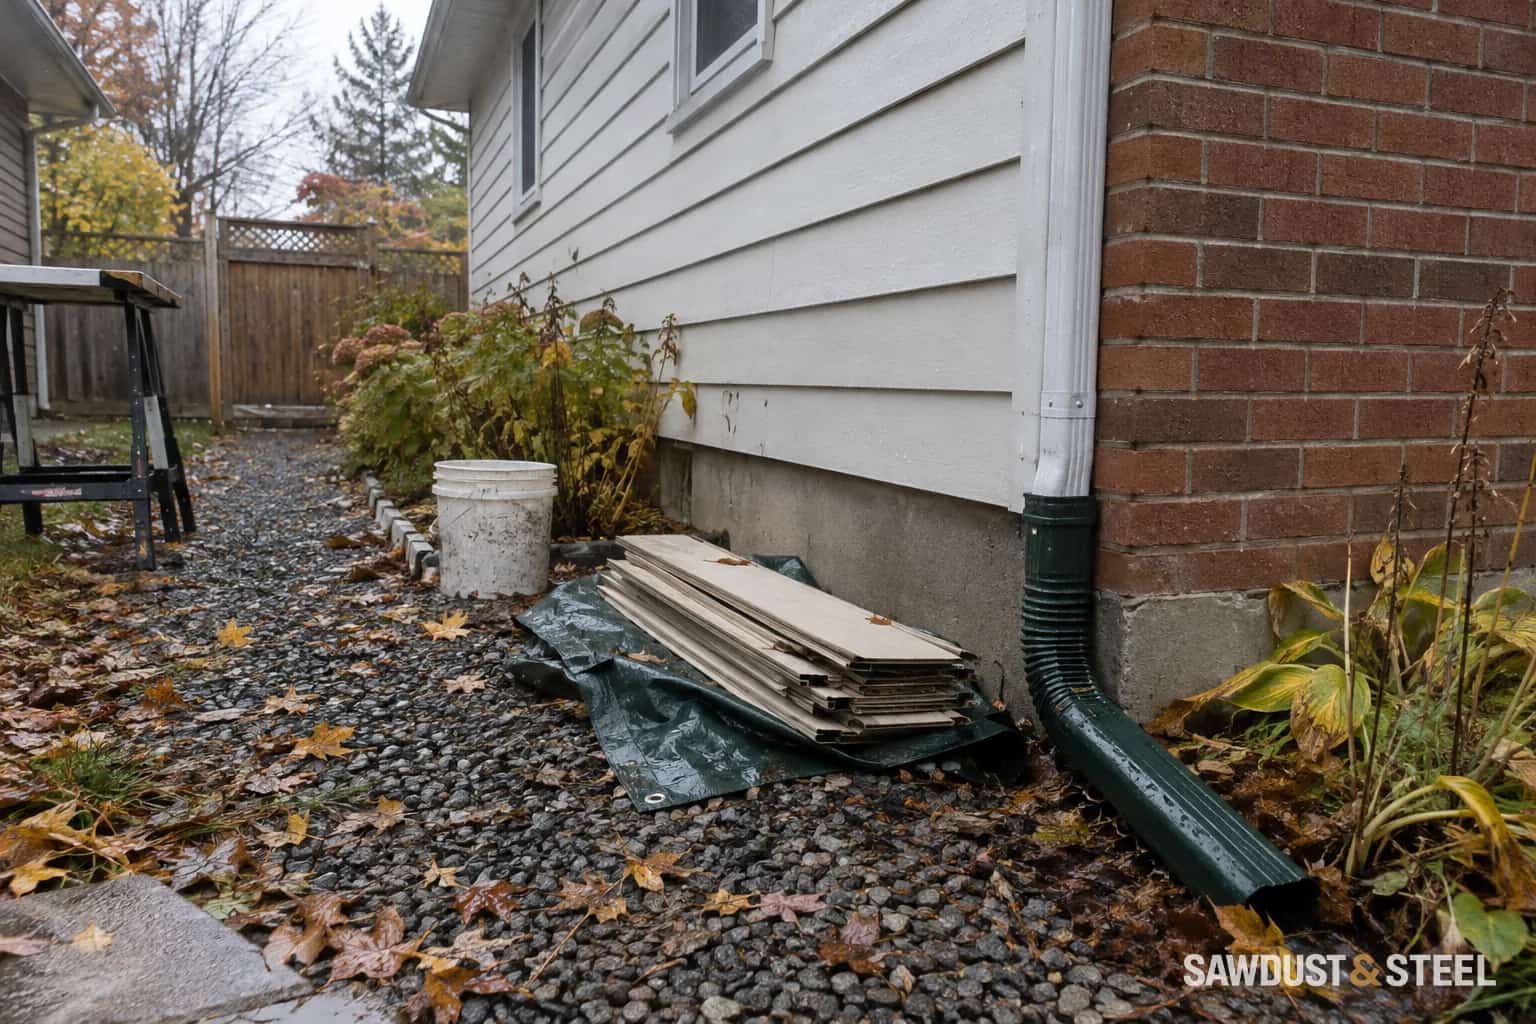
Leaving the old siding in place sounds pleasantly efficient. Less demolition, fewer bins and no bare house staring back at the street. Sometimes an approved overlay assembly is possible. Sometimes the old cladding is the very thing preventing anyone from finding the problem.
Before comparing prices, ask the installer to identify the existing wall layers and show how the proposed product will attach. "We do it all the time" is not a wall detail. You want to know what receives the fasteners, how water drains and what happens at every window, door and roof intersection.
Ask the installer to draw the drainage gap behind the siding through the window and bottom-edge details. A few strips behind the panels do not explain where collected water exits.
Start with an exploratory look
A small, deliberately chosen opening can answer more than a long driveway conversation. Have the contractor investigate suspect locations and document what is behind the cladding. Useful locations include a stained window corner, the bottom of a wall and an awkward roof junction. Opening work needs an appropriate weatherproofing plan, not an exposed hole left until installation week.
Existing wall
Identify layers and investigate suspect locations.
Attachment
Confirm the selected cladding can fasten to the proposed assembly.
Water path
Resolve openings, base and transitions before ordering trim.
Decision
Compare permitted complete scopes, including hidden-condition allowances.
Decision guide; not a construction detail or a substitute for the project specifications.
The James Hardie re-siding process describes removal, examination of underlying conditions and repairs before new cladding. That is manufacturer guidance for its re-siding process, not a universal legal ban on overlays. It shows why a removal quote and an overlay quote may represent very different scopes.
Ask whether older materials require assessment before disturbance. Do not saw or break unknown legacy siding just to identify it. If age or material raises concern, use the approach in testing before demolition before opening the wall.
Work through the edges before the middle
The broad, flat portion of a wall is the easy sales picture. The difficult parts are window heads, sills, trim returns, service penetrations and the bottom edge. Added thickness can leave a window buried behind the new finish or a flashing too short to shed water clear of it.
Have the installer draw one typical window section and one wall-base section. Ask where the weather-resistive barrier sits, how it connects to existing openings and whether trim extensions are part of the price. A line of caulk across an unresolved joint is not a substitute for that explanation.
If replacement windows are likely soon, coordinate the projects. window replacement scope and wall connections helps avoid removing fresh cladding to rebuild an opening. If the wall is already being opened, discuss insulation and air-sealing opportunities before deciding that the cheapest immediate scope is the best overall value.
Compare equal scopes
Request two itemized options where both are technically acceptable: removal and reconstruction, or the proposed overlay system. Include substrate repairs, disposal, flashings, trim, service adjustments and any required approvals. Ask which hidden conditions would stop the overlay or trigger additional work.
The important distinction is between a known sound backing and a convenient assumption. Old siding may look straight while concealing a damaged corner. Conversely, an undamaged wall should not be condemned simply because it is old. Let documented investigation and the selected manufacturer's permitted assembly decide.
Before accepting an overlay, obtain the product's attachment requirements for the actual layered wall. Fastener length alone does not resolve alignment, substrate condition or structural attachment. The installer should be able to explain the approved route without asking you to design it.
Set a stop point in the contract
Agree that unexpected dampness, soft sheathing or an unanticipated layer will be photographed and discussed before being covered. Include who reviews the finding and how the resulting change is priced. This avoids the miserable choice between approving a rushed extra and burying something nobody has assessed.
Keep the investigation photos and final assembly description. They will be useful when a future window, cable or exterior fixture needs work. A good re-siding project leaves you with a wall that is easier to understand, not another layer of mystery under a nicer colour.