
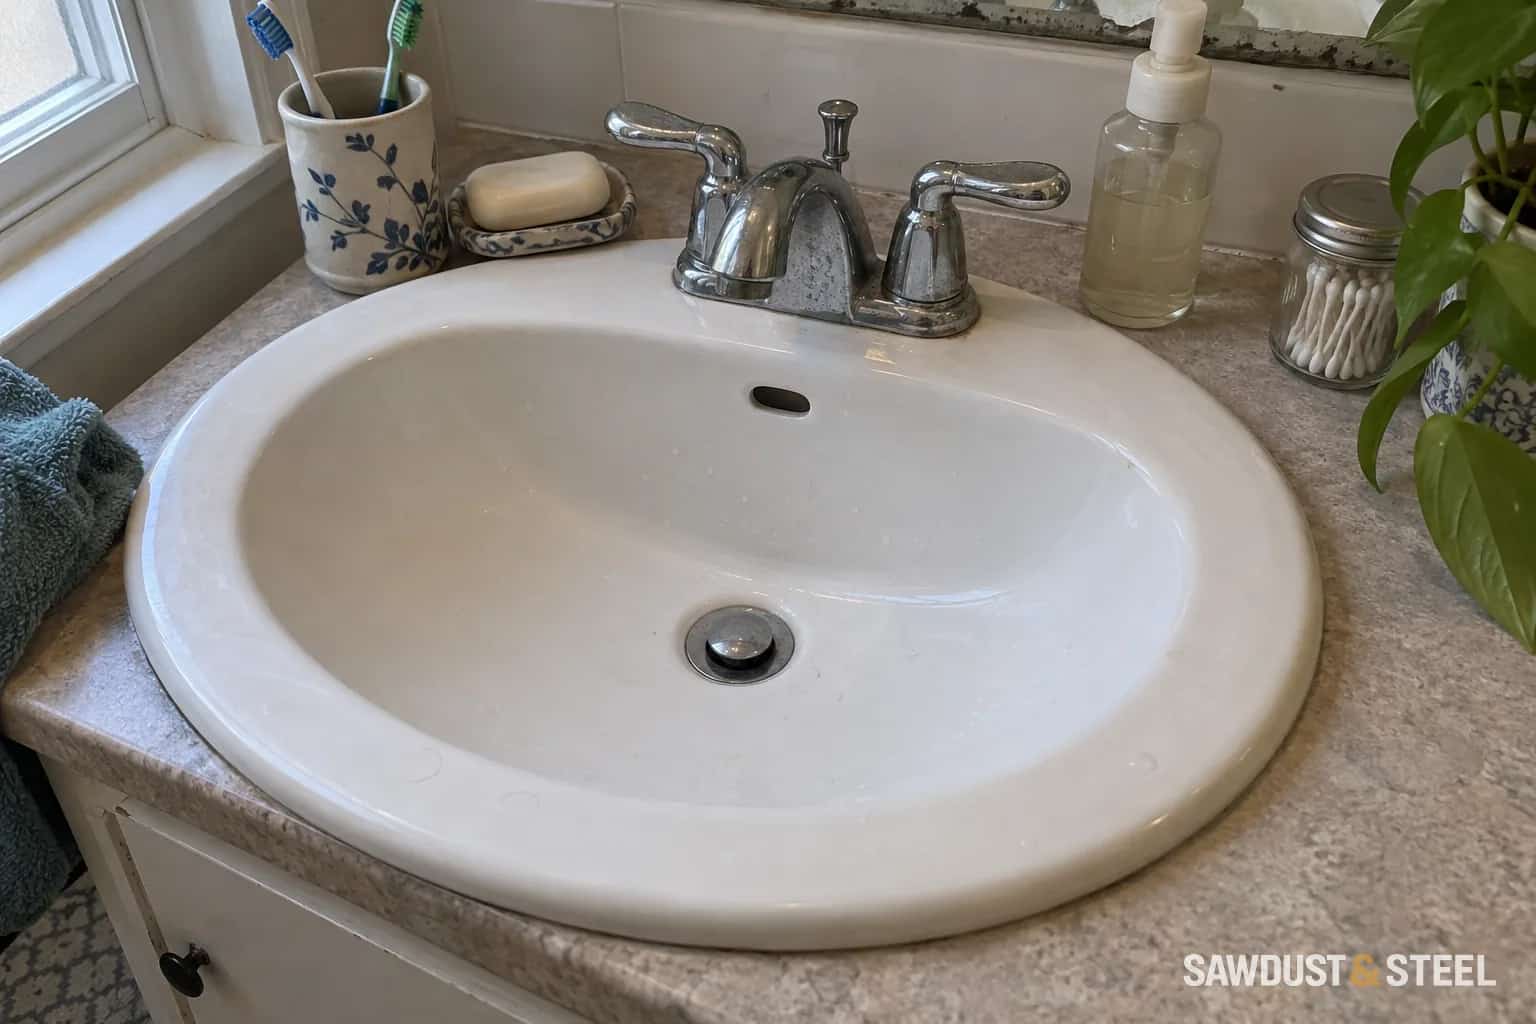
The new basin is perfect, the new drain matches the faucet, and a small leak appears underneath. Colour was the easy compatibility check. The drain also has to work with the route water takes through the sink, including any concealed overflow channel.
Find the overflow route
Look for an opening near the upper inside wall of the basin and consult the sink's drawing. In an overflow basin, a concealed passage can carry water toward the drain body. A drain designed for that arrangement may have openings in its side to receive that water. A basin without the passage needs a compatible drain and sealing arrangement.
Do not decide from the drain cap alone. Two polished caps can hide different bodies. Likewise, the absence of an obvious front-facing hole does not establish the entire construction; some openings are less visible. Use the model specification and ask the manufacturer if the layout is uncertain.
A universal-looking drain may need a specific part
Kohler's drain spacer and gasket guidance describes a particular kit and different gasket orientations for overflow and non-overflow sinks. It demonstrates that an approved adaptation can exist. It does not authorize blocking openings on an unrelated drain with sealant.
Keep the sink model, drain model and any adapter number together. Ask the supplier to confirm that the complete set is compatible, including the basin material and thickness. That answer is much easier to get while all the parts remain clean and returnable on the counter.
| Basin detail | What to confirm |
|---|---|
| Overflow passage | Drain body receives that passage as designed. |
| No overflow | Drain or approved adapter suits a sealed non-overflow assembly. |
| Unusual thickness or vessel shape | Thread range and gasket faces match the basin. |
| Drawer vanity | Tailpiece and trap retain usable storage and service access. |
Measure the part beneath the basin
Check the drain opening, flange, thread length, gasket seating surfaces and tailpiece position against the drawings. A thin vessel basin and a thick cast basin can put the same nut in very different places. The drain must clamp and seal as designed without bottoming out on a thread or leaving an opening exposed below the bowl.
Also draw the waste connection inside the vanity. A perfectly sealed drain can still put the trap through the top drawer. Resolve drawer and plumbing clearance before buying a fitting intended to solve a different problem. Do not force an angled connection straight by tightening the drain harder.
Choose the stopper around daily use
A push-button cap is simple from above, but confirm that the household can reach and operate it and remove the permitted parts for cleaning. A rod-operated drain needs space behind the faucet and beneath the basin for its linkage. Some basins use an open drain rather than a closing stopper; check the intended product arrangement.
An overflow is not permission to leave a filling basin unattended. Its performance depends on the basin and drain arrangement, and it can be obstructed. Keep the tap attended and keep the opening clean using the basin maker's instructions. Do not conduct an improvised flood test to establish its limits.
Install and inspect as one assembly
Have the installer use the specified gaskets, orientation and sealing materials. Porcelain, stone, glass and coated surfaces may impose different restrictions. More putty or sealant is not automatically better, particularly if it obstructs an intended passage.
After installation, check normal flow, stopper action and all accessible joints. Keep the cabinet empty while checking so a small drip is visible. Stop use if leakage appears, and have the cause corrected before storing towels beneath it. If an otherwise compatible stopper later sticks, use the pop-up mechanism guide rather than assuming the drain needs replacing.
A useful shopping example
Suppose you replace an overflow basin with a shallow vessel bowl without an overflow. Keeping the old drain because it fits the hole may expose its side openings outside the new bowl's sealing arrangement. The right next step is the new basin's drain specification, not an extra gasket from a miscellaneous parts box.
Bring both model numbers and the underside drawing to the supplier. Check the faucet reach at the same time so the finished combination drains properly and does not splash past the bowl.