
Plywood can form part of a tile floor, but the word plywood is not an installation specification. The thickness, grade, support, condition and number of layers all matter. A sheet that feels solid under your shoes can still be the wrong starting point for brittle tile.
Find out what is actually below you
Look from the basement or an accessible edge where possible. Record the joist spacing and span, panel markings, panel thickness and any layer above it. Separate structural subfloor from underlayment, old flooring and patches. A doorway edge can reveal several layers that look like one from above.
Check for soft spots, water damage, unsupported panel edges, loose fastening and cuts made for old plumbing. An additional layer does not cure rotten wood or a damaged joist. If the framing has been altered or the floor movement is unexplained, have that assessed before buying the tile system.
Select an assembly, not a favourite bucket
Schluter's DITRA product guidance describes wood-substrate applications with conditions on the substrate and tile. Use the current handbook detail that matches your framing, panels and finish material. A drawing for one joist spacing is not permission to use it on another.
The setting material beneath a membrane must bond to the actual substrate; the material above must suit both the membrane and tile. Backer board, uncoupling membrane and a second plywood layer perform different jobs. Substituting one for another because the heights are similar changes the assembly. Ask for a written layer schedule before work starts.
| Check | Why it matters |
|---|---|
| Framing and panel layers | Determines which published assembly applies |
| Damage and edge support | A covering cannot restore missing support |
| Flatness | Controls tile support and finished appearance |
| Total height | Affects doors, fixtures and appliances |
Stiff, flat and level are separate questions
Structural stiffness concerns movement under load. Flatness concerns humps and hollows under the tile. Level describes whether the floor slopes. A floor can satisfy one and fail another. Our flat-versus-level guide explains why a level placed in the middle of the room cannot answer all three.
Do not use tile mortar to hide a broad dip unless that specific material and method permit it. Establish how flattening will be done and where it belongs in the chosen assembly. A squeak, springy patch or moving joint deserves investigation before it disappears beneath a membrane.
Add up the finished height
Make a section through the proposed layers, including flattening material, membrane or backer, mortar and tile. The adhesive layers are not magically zero thickness. Compare the finished elevation with adjacent floors, the door swing, toilet connection where relevant, and appliance removal paths.
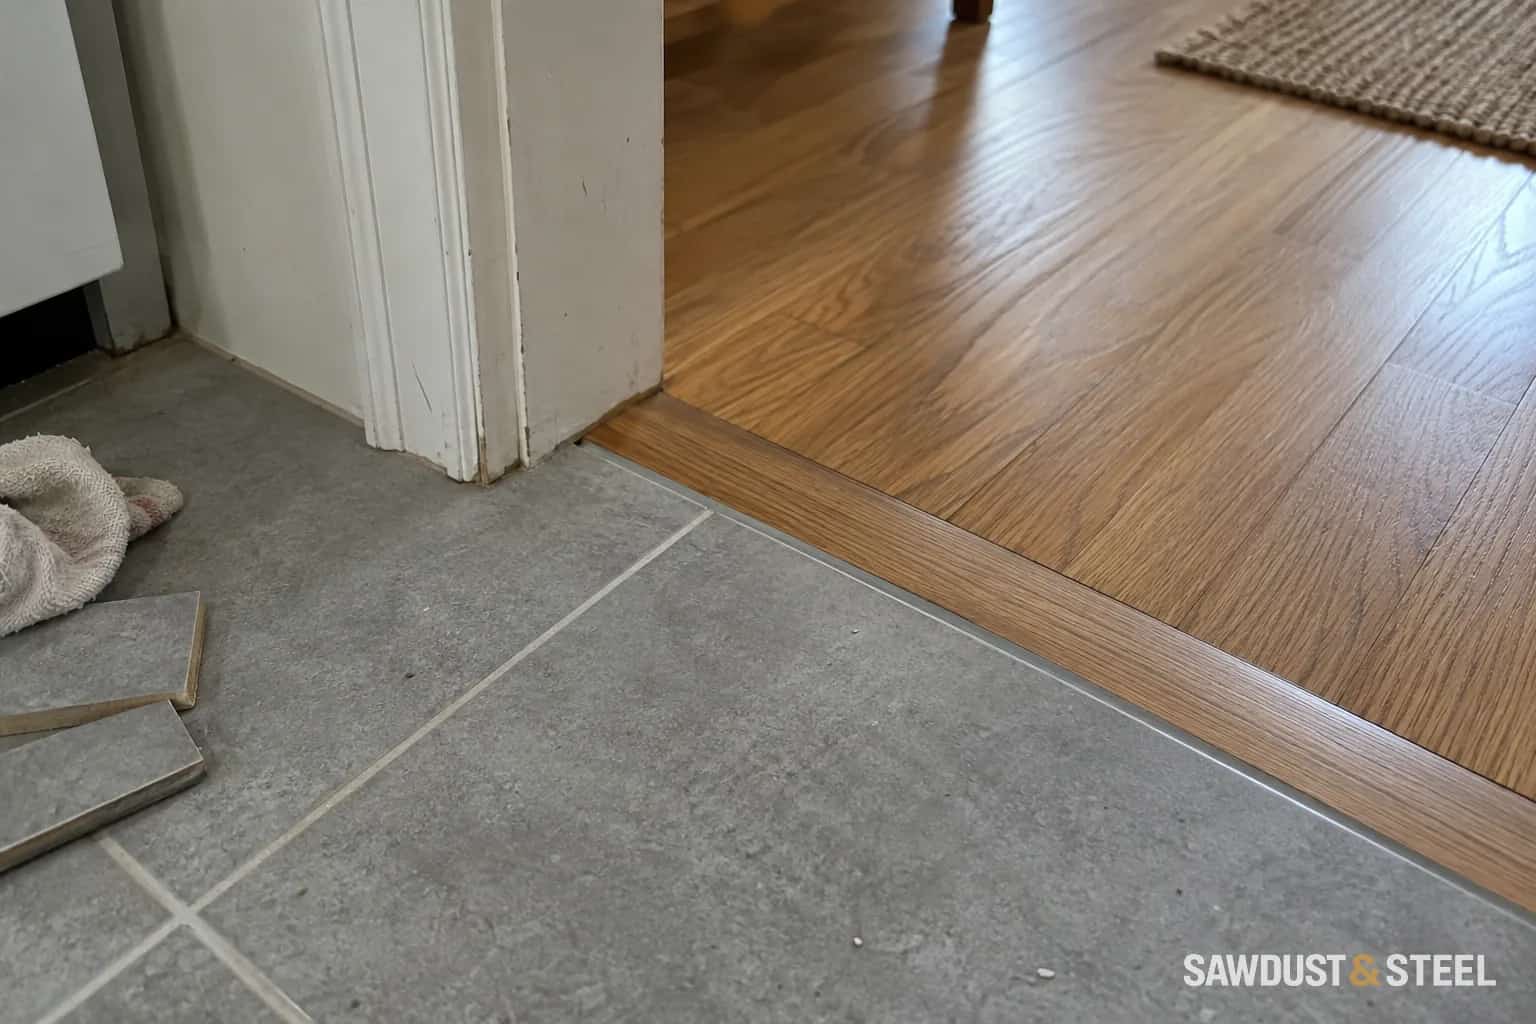
In a kitchen, a handsome new floor can leave the dishwasher unable to come out beneath the counter. Check that opening before committing to extra layers. At a doorway, choose the transition using the real height difference and closed-door location; placing a flooring transition helps keep the join intentional.
Use a small inspection to avoid a large redo
Consider a kitchen where one corner has a patched subfloor and the rest is original. Photograph and identify both areas. The installer needs to know whether the patch has proper edge support and matches the surrounding thickness, not merely whether a sheet of membrane will cover it.
Keep the selected assembly detail, product names and photographs of the prepared substrate. Before tile goes down, confirm that any repairs and fastening follow that detail. If the existing floor cannot meet the chosen assembly without excessive height or structural work, a different finish may be the more sensible renovation.