
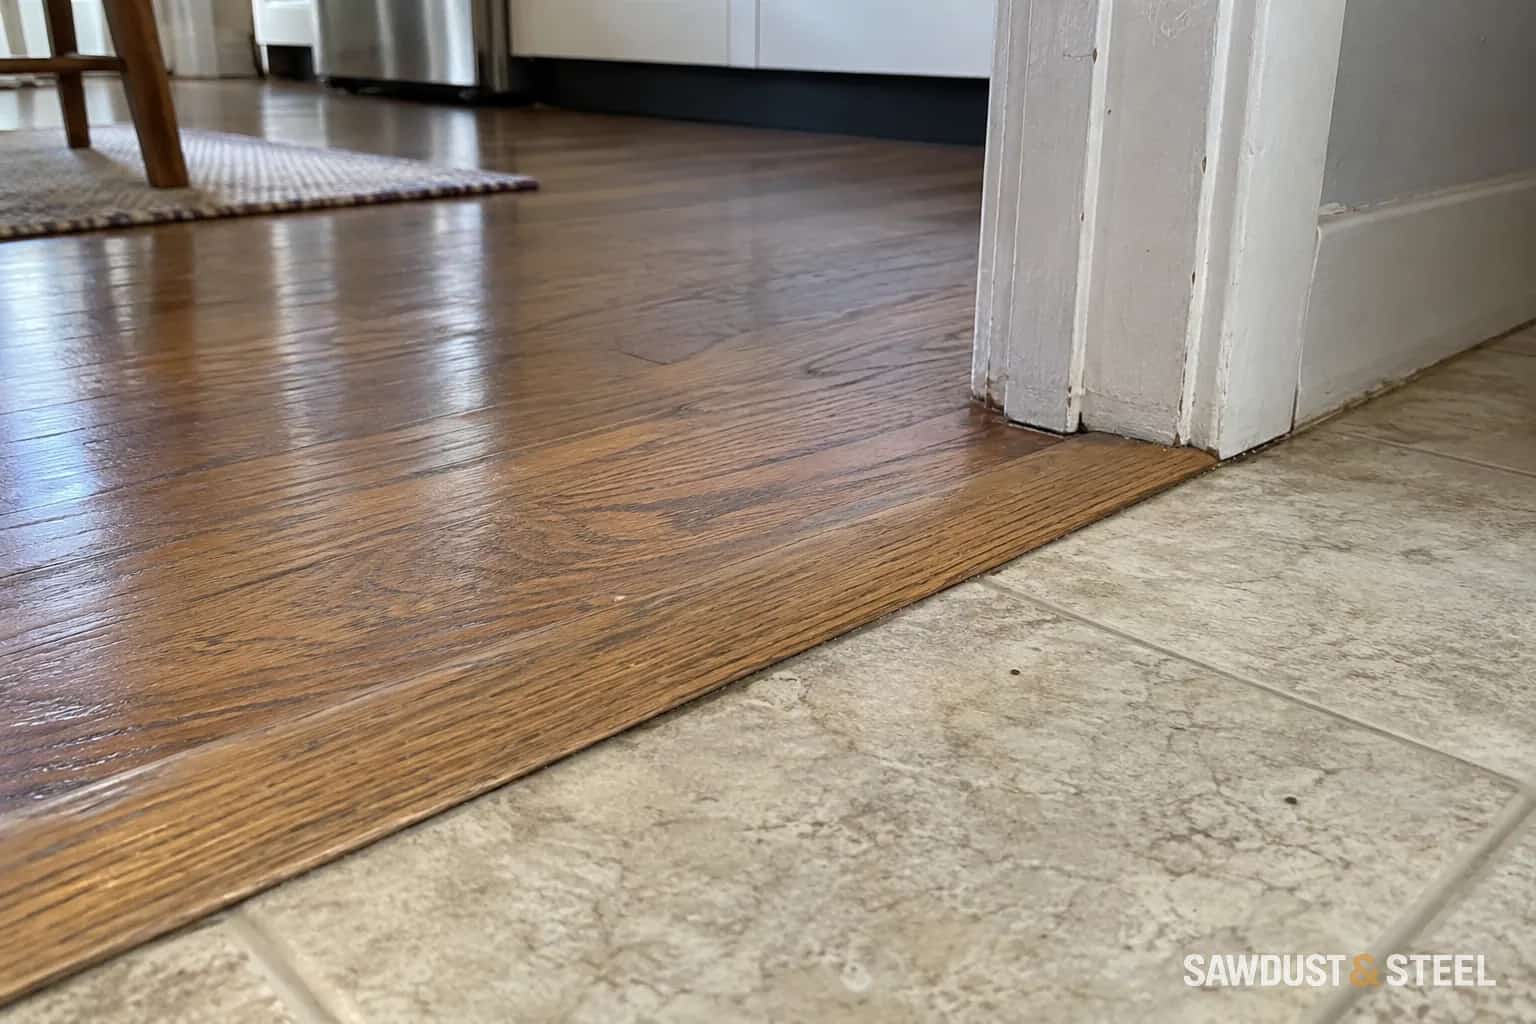
The transition can look perfectly centred between the casings while leaving a strip of bathroom tile visible from the bedroom when the door is shut. The cure is usually a pencil mark made earlier in the job, with the door still hung.
Mark both faces of the closed door
Use removable tape on the protected substrate to show the closed leaf's position. Open the door and transfer those marks across the opening. Compare the proposed profile with the band you marked. A wide threshold cannot always disappear beneath a narrow door, and that is fine if the visible result is agreed before installation.
Close the door
Mark the actual leaf position, not just the middle of the wall.
Place the profile
Compare its visible width with the marks from both rooms.
Allow movement
Reserve the product's required edge gaps and fixing space.
Test the swing
Check the complete door movement above the finished assembly.
Adjust the plan for a different type of opening
Pocket doors, double doors and openings without a leaf need their own sightline decision. Stand in both rooms and consider how the change aligns with the jambs. Do not use a trim piece to conceal an unfinished edge that still needs support. If the door is due to be replaced, confirm the new frame and leaf position rather than laying the floor to a temporary door.
Keep appearance separate from the flooring joint
Matching finished heights
An expansion profile covers the break. The floating boards need their specified movement space beneath it.
Different finished heights
A reducer bridges a height change. Measure both finished surfaces before choosing the profile.
Concept sections, not a fixing detail. Use the selected flooring and profile instructions for gaps, fixing and permitted height differences. Pergo transition profile types.
COREtec: six installation questions treats doorways, transitions and expansion as installation details to plan. Use the exact product sheet to decide whether a doorway needs a break and how the trim is fixed. A neat visible line should not come at the cost of pinching the floor. The flooring and trim installer should agree who leaves the gap and who covers it.
Look at the side view as well
Two surfaces can meet on the right line but at the wrong levels for the chosen profile. Measure the completed floor heights and verify door clearance. If the proposed solution involves altering a rated door, special seal or ventilation detail, stop and get that assembly's requirements. A standard interior trim habit may not apply.
Use the different-height transition checklist before ordering. If a plank must be removed to reposition a poor joint, first check how the floor's connection can be dismantled.