
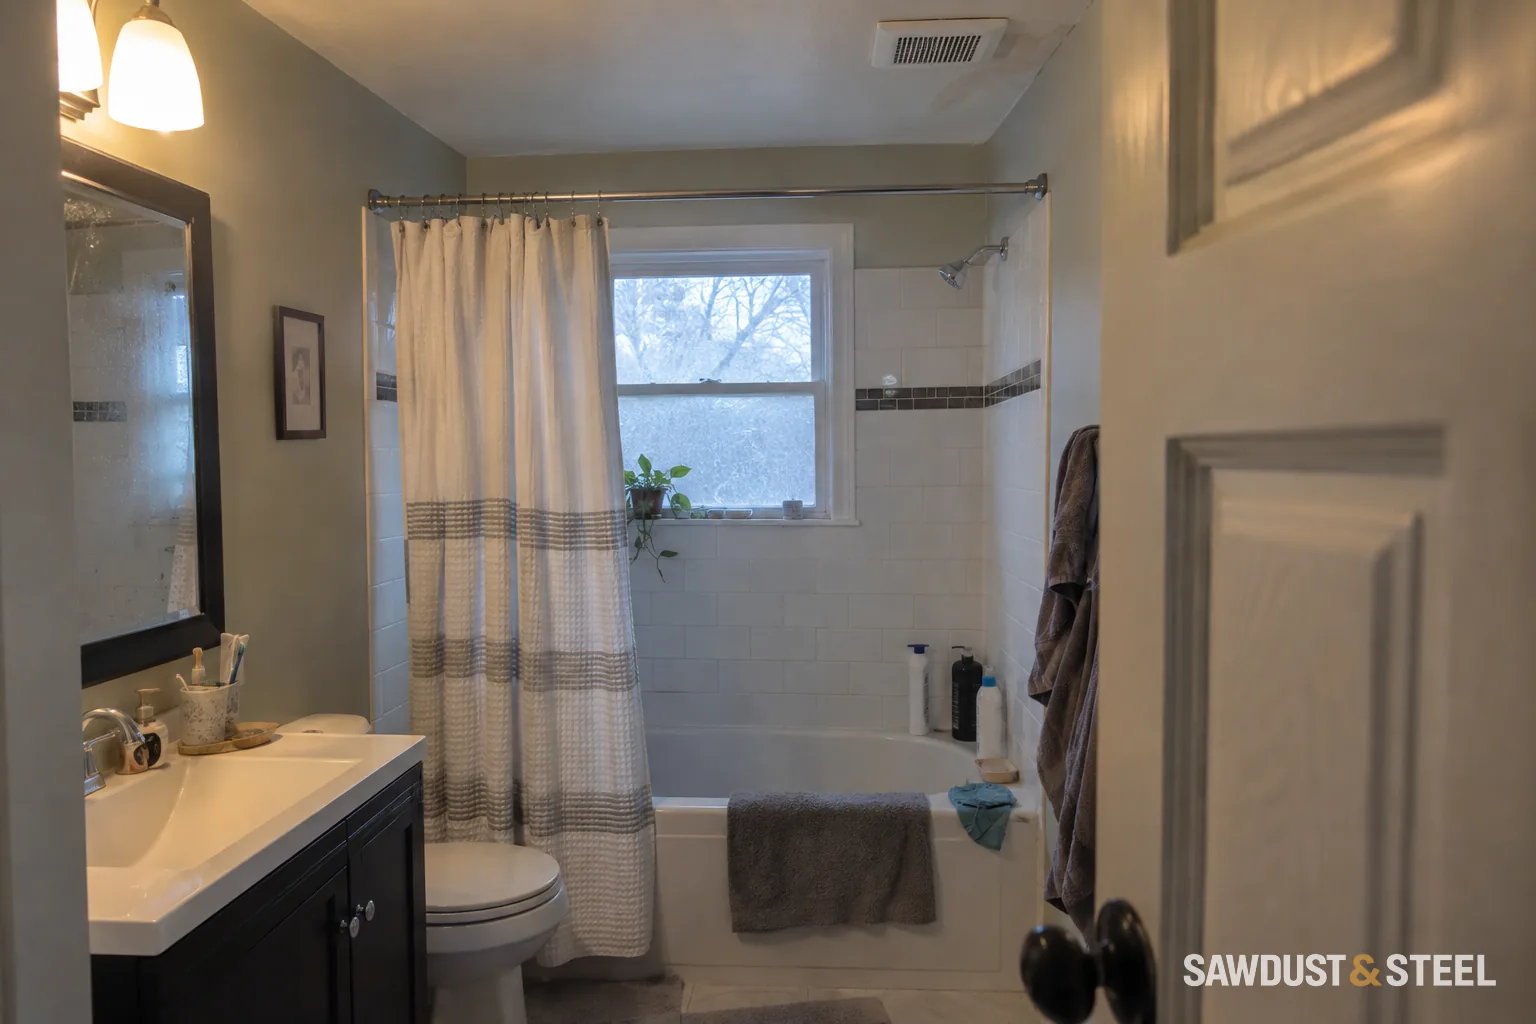
You can sometimes tile over old bathroom tile, including in a shower, when the existing assembly and proposed installation system are suitable. Start by naming the surface: a bathroom floor, shower wall and shower floor have different details to resolve. Saving demolition is useful only if the layers you keep deserve to stay.
The existing tile becomes part of the new installation
LATICRETE's existing-surface guidance requires firmly bonded tile and a stable, clean substrate. That Australian document explains the principle, not a Canadian product prescription. Have the installer specify preparation and bonding materials approved for your actual tile, substrate and wet or dry location. Primer requirements depend on that system; there is no universal coat that makes every old bathroom suitable.
Bathroom floor, shower wall or shower floor?
| Location | What must be resolved before overlay |
|---|---|
| Bathroom floor outside the shower | Existing bond and movement; finished height at the doorway, toilet connection and vanity. |
| Shower walls | Waterproofing condition and junctions; added thickness at valve trim, niches, tile edges and the shower door. |
| Shower floor | Existing drainage and waterproofing; finished slope, drain connection and grate height, curb and door clearances. A wall-only proposal does not answer these. |
Schluter Canada's shower-waterproofing explanation makes the key distinction: tile is a surface covering, while the waterproofing assembly manages water. A successful bond between old and new tile does not demonstrate that the shower underneath is watertight. The base, walls, curb and drain have to work together.
Ask what evidence supports keeping the shower
Collect any installation photos, waterproofing-system records and leak or repair history. Have the installer explain what can be checked now and what remains concealed. Loose tile, recurring cracks, staining outside the shower or unexplained dampness need investigation before they disappear behind another layer. A dry-looking surface on inspection day does not settle a history of leaks.
For a shower floor, ask for the proposed drain detail and finished elevations at the drain and perimeter. Adding tile is not an automatic repair for water that already sits in puddles. If the existing assembly cannot support a defensible overlay plan, compare removal and rebuilding. Shower-floor overlay is not universally forbidden, but it needs more than a promise that the new tile will stick.
Follow the added thickness around the room
Check the doorway, toilet connection, vanity and transitions before approving the buildup. We sketch the proposed layers at the threshold and ask the plumber how the toilet connection will be resolved at that height. A door that can be trimmed doesn't settle the other details. In a shower, include the valve trim and enclosure in that same check.
Before the next step
- Identify why the existing tile or finish is being replaced.
- Check the complete assembly and proposed product compatibility.
- Draw the finished height at fixtures and the doorway.
Have the installer show you the finished height at the doorway and fixtures before you approve an overlay. If the old assembly is uncertain, get the removal option priced too; dust avoidance isn't much comfort if the new floor has to come back up.