
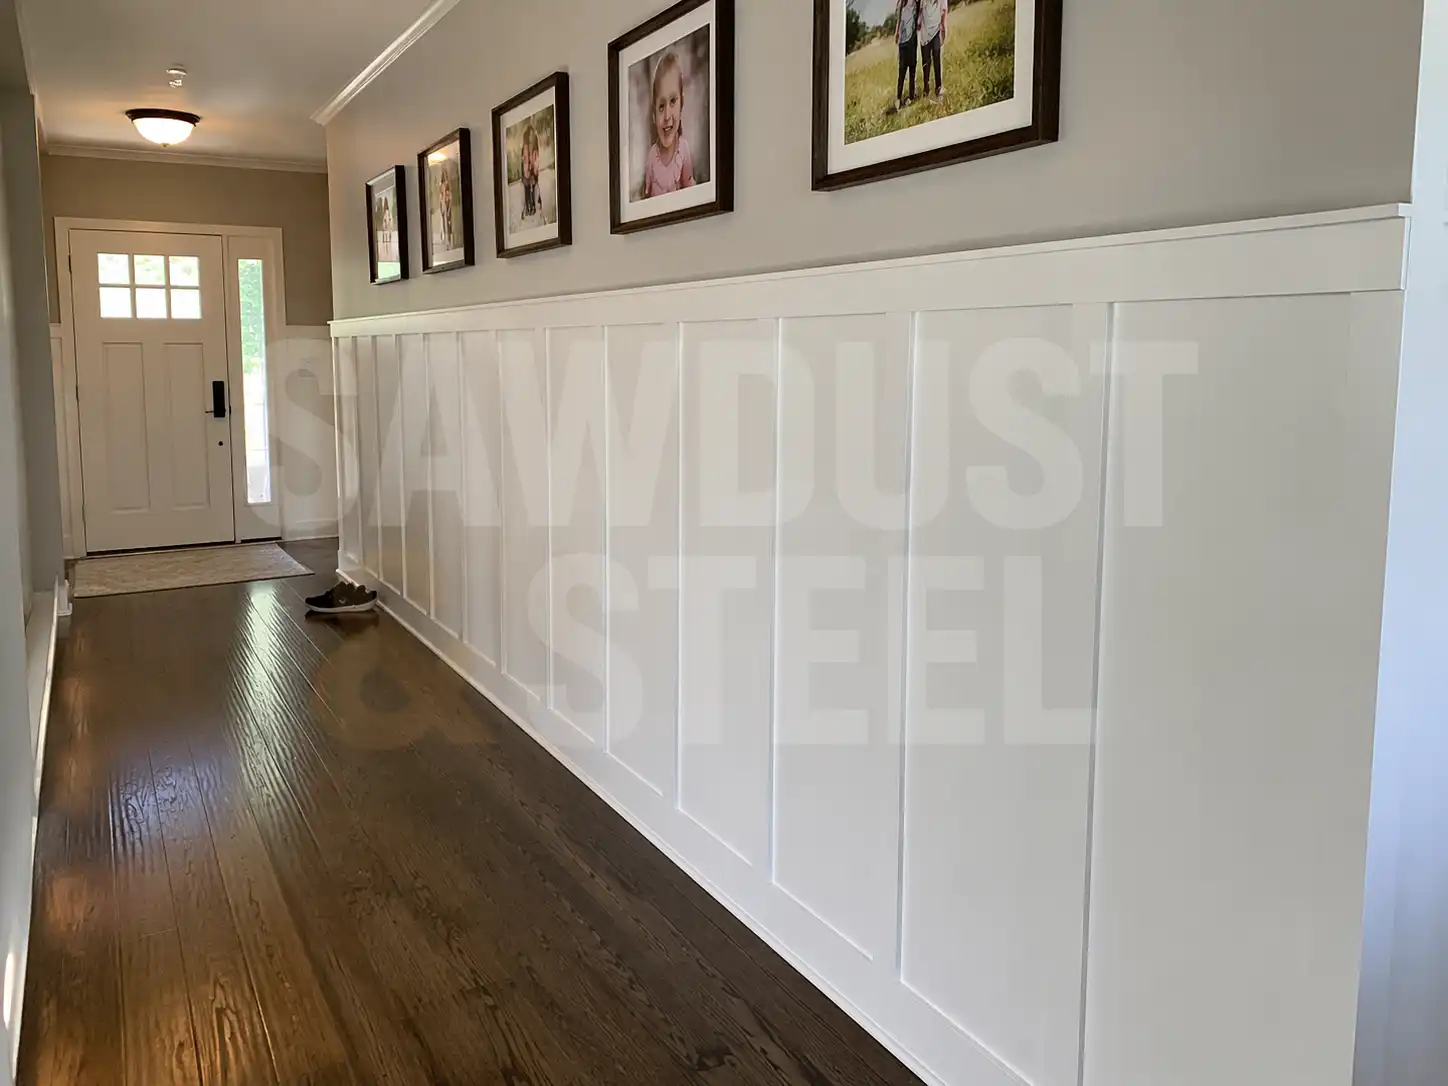
There is no useful universal answer to baseboard first or panelling first. The right order depends on whether the wall treatment is a thin applied pattern or a new layer covering the whole wall. The junction needs to look intentional from the side as well as straight on.
Use real offcuts at the baseboard
Hold the panel, batten or lower rail against the existing baseboard. Check whether its face projects beyond the top of the baseboard and leaves an exposed ledge or raw edge. Include the adhesive or fixing build-up the system requires. A drawing that ignores a few millimetres of thickness can produce an awkward detail along an entire room.
Retain the baseboard
Works when the proposed wall pieces meet it cleanly and its projection suits their thickness.
Refit or replace the baseboard
Allows a coordinated base detail over a new panel layer, with corners and casing junctions redesigned to suit.
Check every place the panel run ends
Take the mock-up to a door casing, an outside corner and the end of a wall. Decide how the cap rail returns or terminates. A thick panel build-up can leave existing casing looking recessed; covering the mismatch with extra strips after installation often makes a simple design busy.
Mark the layout at full scale with tape before fixing anything. Include outlets, switches, heating equipment and furniture. Adjust panel widths deliberately around those features instead of discovering that a narrow sliver lands beside the last door. Keep access and required equipment clearances intact.
Plan box and cover positions before the wall gets thicker
Added wall thickness can affect how electrical boxes and devices meet the finished surface. Have that detail assessed before covering the wall; do not simply fit longer device screws or bury boxes behind panelling. Ontario's ESA service portal provides a licensed contractor lookup. Agree on the finished thickness with the electrical professional so any necessary work happens before the final trim.
Likewise, do not glue panels over service access or use decorative panelling to replace a required protective wall lining without an approved design. The panel manufacturer's fastening, substrate and finishing instructions still apply even when the visible pattern is custom.
Preserve usable pieces without assuming they will all survive
If existing baseboard must come off, assess old coatings first. Health Canada's renovation guidance calls for checking suspect lead paint before disturbing it. Plan the removal and repair method for the material and wall finish. Number reusable pieces and photograph their positions, but allow for replacement where brittle or swollen trim cannot be removed intact.
If reusing the original profile, check whether the added wall thickness changes the lengths and mitres. For impact damage at an exposed corner, the baseboard corner guide helps decide whether repair is worthwhile. Do not spend hours saving a small piece that can no longer make the new junction work.
Let the detail determine the sequence
Once the mock-up is approved, list which pieces must be installed before others and which surfaces can be primed or painted beforehand. Keep movable or serviceable components removable. Inspect under side light before the final coat so gaps, ridges and visible filled nail holes are corrected while they are still easy to reach.