
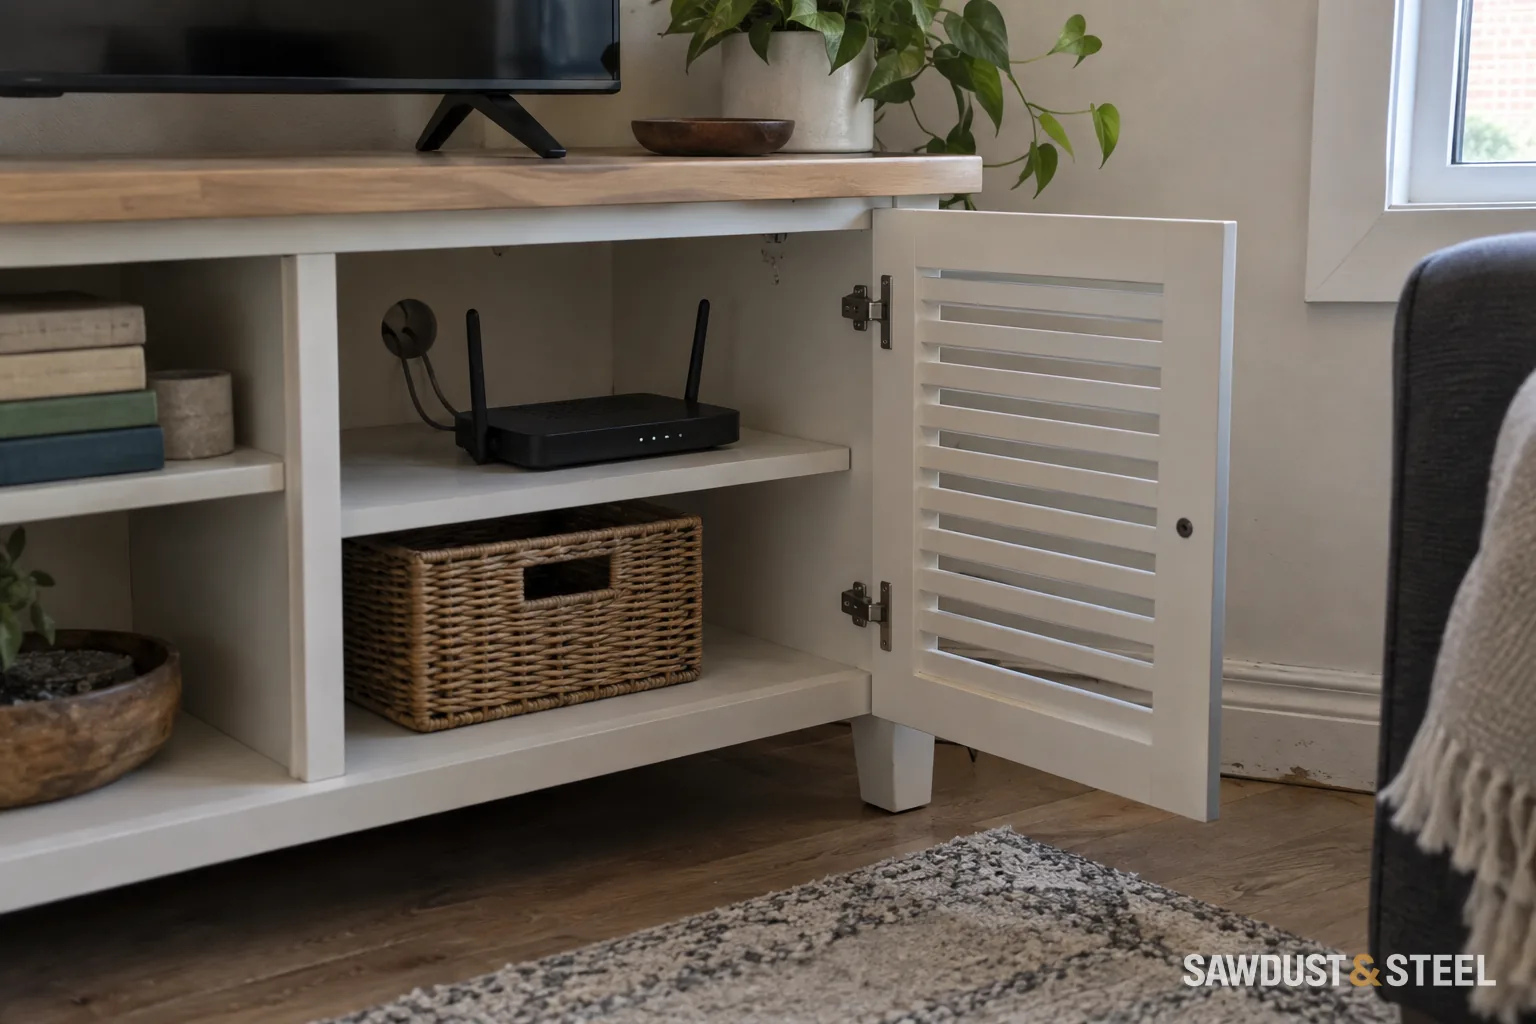
The cabinet elevation is clean. The wall behind it contains three outlets, a switch, and a router cable that everyone has stopped noticing.
Inventory the wall before measuring the joinery
Mark every electrical device and cable entry on the elevation. Show the equipment the finished cabinet will contain, including chargers, lamps, and audiovisual components. Include doors and adjustable shelves so power remains usable in the actual arrangement.
ESA's guidance on access to electrical equipment reinforces the need to keep equipment reachable. Have a Licensed Electrical Contractor establish the requirements for the devices and any changes in your particular built-in.
Choose an intentional power layout
Ask which outlets should move, which can remain appropriately accessible, and how wiring will be handled. Do not treat an extension cord hidden behind permanent joinery as a substitute for a planned installation.
| Option | Cabinet drawing must show | Electrical handoff |
|---|---|---|
| Retain outlet | Unobstructed device and cover access, usable plug space, shelves in their real positions | Licensed contractor confirms suitability in the finished arrangement |
| Relocate outlet | New position clear of dividers, drawers and stored equipment | Licensed contractor designs and performs the electrical change |
| Access panel for service area | Removable panel location and how it opens without dismantling permanent joinery | Contractor decides whether the proposed access meets the actual equipment requirements |
An access panel is a proposal to review, not permission to bury a box behind a fixed back. ESA explains the general-contractor and electrical-contractor responsibilities. Have that coordination happen before shop drawings are approved. At handover, try removing a bulky plug with the shelves loaded. Then check router airflow and signal; electrical access and good Wi-Fi are separate design jobs.
Settle the handoff between trades
- Electrical locations shown on the final cabinet elevation.
- Required access, clearances, and equipment ventilation established.
- Cable routes and openings planned before fabrication.
- Electrical work and required review completed at the appropriate stage.
Photograph the electrical and cable routes before the cabinet backs close them in, then keep a marked elevation with the cabinet drawings. Record which panels are removable and how to reach the equipment. Try the ordinary task at handover: unplug the charger, reach the switch, or reset the router with a shelf in place. That small check catches awkward details while they're still easy to change.
Our preference is a little visible order over a perfectly sealed cabinet full of unresolved connections. A built-in should make the room easier to use, including the unglamorous moment when the internet stops working.
If the project starts with freestanding furniture, also resolve the base and wall anchoring of a fitted-looking bookcase before adding trim.
Heat needs its own space as well as electricity. Before extending a cabinet run, check built-ins beside electric baseboard heaters.