
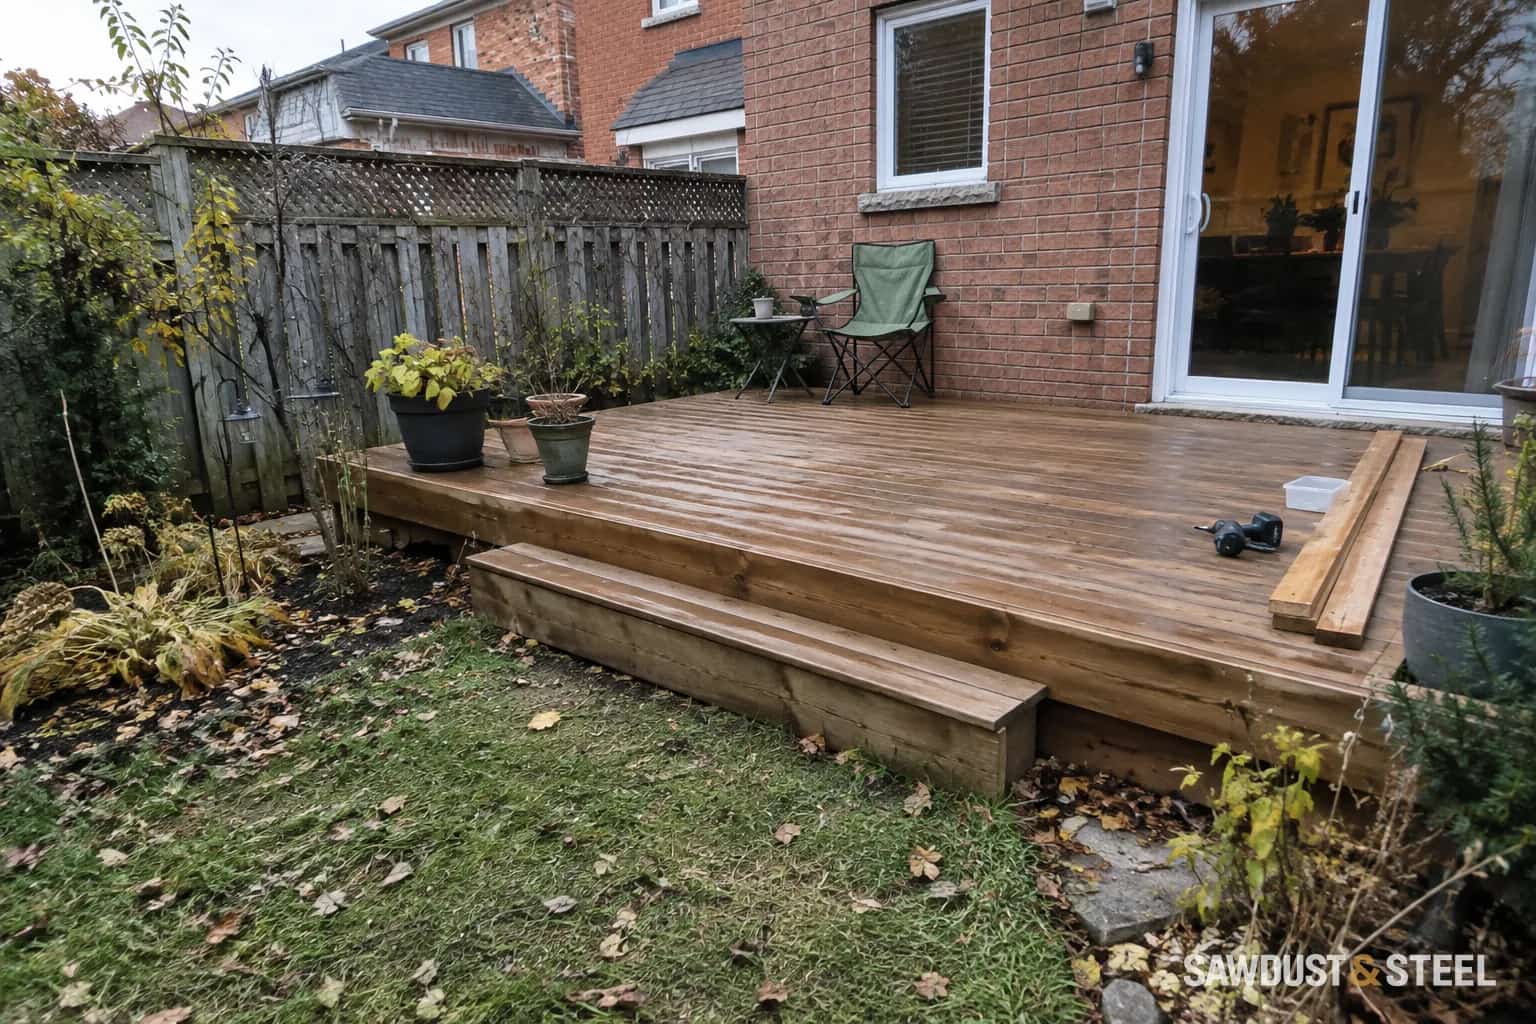
A wet deck can look wonderfully clean right up until it dries into something resembling a bath mat. Fine fibres stand proud, the colour turns uneven, and another pass with the washer starts to look tempting. Put the washer away first.
Find out whether the damage is only on the surface
Inspect in dry daylight. A fine, fairly even nap is different from a channel carved along a board or a feathered edge that catches footwear. Look across the light as well as straight down. Mark the worst areas with removable tape so the whole deck does not become one large sanding experiment.
- Fine raised fibres on firm wood: a small sanding trial may be worthwhile.
- Deep grooves or substantial splinters: assess individual boards for replacement.
- Soft areas, loose boards or broken fixings: resolve those defects before preparing a finish.
Western Red Cedar Lumber Association care guidance discourages power washing cedar because it can seriously damage the wood surface. Changing to a more aggressive nozzle does not solve the fuzz. The next cleaning method should follow the cedar and cleaner guidance, with a brush and controlled rinsing rather than another cutting pass.
Try one small, dry area
Choose a sound patch that includes a little of the damage, rather than the worst gouge on the deck. The wood needs to be dry enough for sanding and for an honest inspection. A calendar guess after washing is less useful than the conditions required by the finish you intend to use.
Cabot's preparation guidance recommends sanding loose fibres, splinters and rough patches with the grain; its example is 80-100 grit. Treat that as product guidance, then check the selected coating instructions before choosing the final abrasive. A small test should remove the raised fibres without excavating the softer grain between harder growth rings.
Start lightly and inspect frequently. A pole sander can suit modest surface work. Large mechanical sanding equipment can remove wood quickly, particularly beside a cupped edge or protruding screw. If you are unfamiliar with it, have a deck refinisher assess the job before hiring a machine for the weekend. Do not sand through an unidentified old coating without first resolving any coating hazards.
Decide what "saved" means
| After the trial | A sensible next step |
|---|---|
| The surface is smooth enough, with no deep scars | Prepare the remaining sound boards using the successful method. |
| Fibres improve but grooves remain | Decide whether the visible grooves are acceptable or replace those boards. |
| The edge is splitting or the board moves | Stop surface preparation and repair or replace the defective component. |
Sanding cannot restore missing thickness. Nor should the entire deck be aggressively levelled to match one low channel. Replacement boards may differ in colour and weathering, which is a better compromise than thinning all the good ones.
If the problem is a trough across the board rather than little hairs, read about cupped boards and whether flipping helps. Surface fuzz and a changed board shape need different decisions.
Finish the preparation, then finish the wood
Remove sanding dust and follow the coating maker's cleaning, drying and application sequence. Test the chosen finish on the prepared patch before buying enough for the whole deck. A darker stain may change the contrast; it does not erase gouges. Keep gaps free of debris and let furniture contact areas dry between wet spells. Those small habits are kinder to cedar than an annual attempt to blast it back to new.