
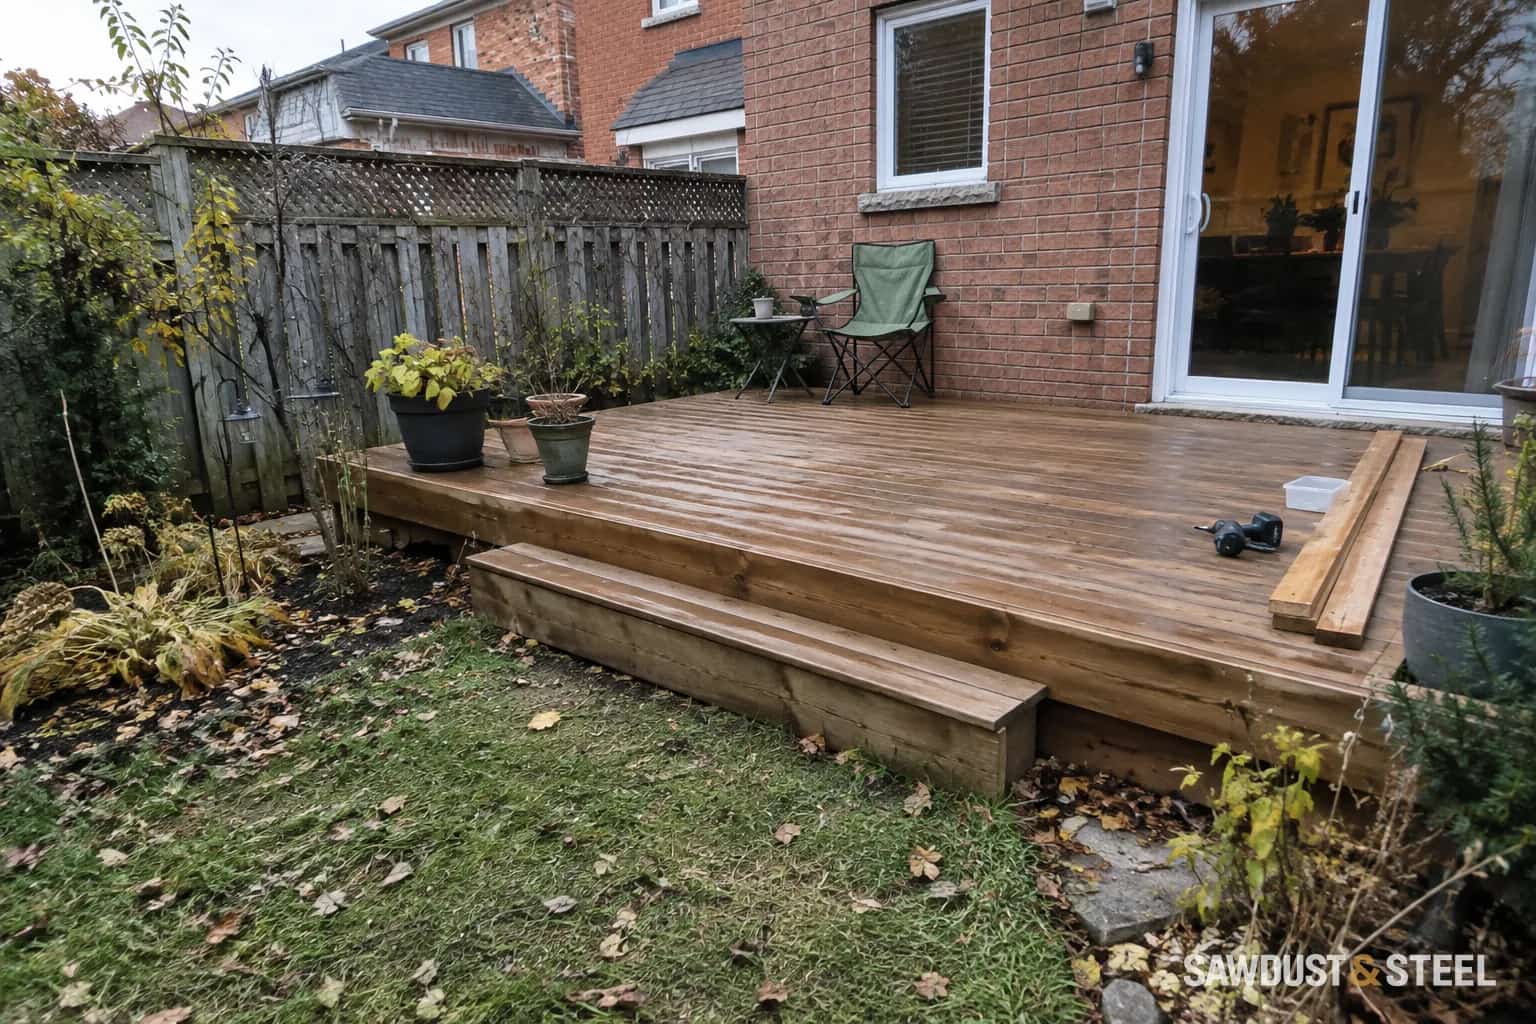
A shallow trough across a deck board collects water and catches chair legs. Turning it over sounds pleasingly economical: the hollow becomes a hump, and the problem is gone. Unfortunately, the wood has not forgotten how it got there.
Check the direction of the curve
Cupping is a curve across the width. Bowing runs along the length; twisting puts the corners in different planes. Lay a short straightedge across a sound, accessible board and compare several places without forcing it flat. A single hollow across one board is different from several boards dipping together over a moving support. If washing has left tiny raised fibres on an otherwise flat board, use the fuzzy cedar surface assessment instead.
Check across the width with a straightedge
A crosswise hollow is cup. A curve along the board's length is bow; a raised corner may indicate twist or a support problem.
The same curved shape, turned over
The high and low areas change places. Flipping does not repair damaged wood, old fixing holes or the moisture conditions that caused movement.
Exaggerated sections across the width, not along the board's length. Wood can retain permanent set after wetting and drying; inspect both faces, connections and support before deciding whether to reuse it. USDA Forest Products Laboratory: cupping and permanent set.
The USDA Forest Products Laboratory explanation of deck-board cupping describes how unequal moisture across a board can change its shape, and how repeated weathering cycles can leave permanent set. Its discussion also shows why a simple bark-side-up rule is not a universal answer: grain orientation, moisture and the quality of the two faces all matter.
Look below before deciding above
- Does debris hold moisture in the board gaps or against the underside?
- Does one area stay shaded and wet beneath a planter or low-clearance enclosure?
- Are fastener heads proud, broken or surrounded by splits?
- Is the underside sound, or does it have damage that the walking face conceals?
Use views available from safe access. Do not crawl beneath an unstable deck to complete a checklist. Widespread softness, loose supports or movement beyond one board warrants a carpenter's inspection before further use. A surface change cannot repair a structural problem.
Clear accessible trapped debris and investigate drainage or restricted drying. Do not drill arbitrary drainage holes through the boards or shave the framing to disguise a trough. If several boards became troublesome after storage was enclosed underneath, that change deserves attention before new decking is installed.
When flipping is an awkward bargain
A removed board has old fastener holes, a different weathered face and perhaps an edge profile that was never meant to become the top. It can split during removal. On grooved or coated products, the manufacturer may specify a particular face and fixing arrangement. Even plain timber needs adequate remaining thickness, sound fastening locations and a usable walking surface.
| Condition | More useful decision |
|---|---|
| Sound board with mild cupping and no trip concern | Monitor after resolving moisture and assess whether intervention is needed. |
| Sound timber but questionable underside or old fixing holes | Have the board assessed before committing to removal and reversal. |
| Deep splits, decay or severe distortion | Replace the affected board and address the cause. |
| Many boards distorted in the same area | Investigate moisture and support conditions before a large replacement order. |
The phrase "just screw it down harder" is another tempting shortcut. It may strip the fixing or split the timber without resolving the curve. If heads are rising, use the proud-screw inspection sequence rather than assuming every screw needs the same treatment.
Make a replacement blend sensibly
Record the board dimensions, species or product line, edge profile and fastening system before ordering. A replacement should suit the existing support layout and specified installation method. Expect fresh wood to look different initially; do not aggressively sand its neighbours simply to chase an instant colour match.
For a few questionable boards, ask for a condition assessment and a replacement allowance rather than a promise that all can be flipped. Keep one removed sample when practical so the supplier can identify it. The useful outcome is a sound walking surface that dries properly, not winning an argument with a curved piece of wood.