
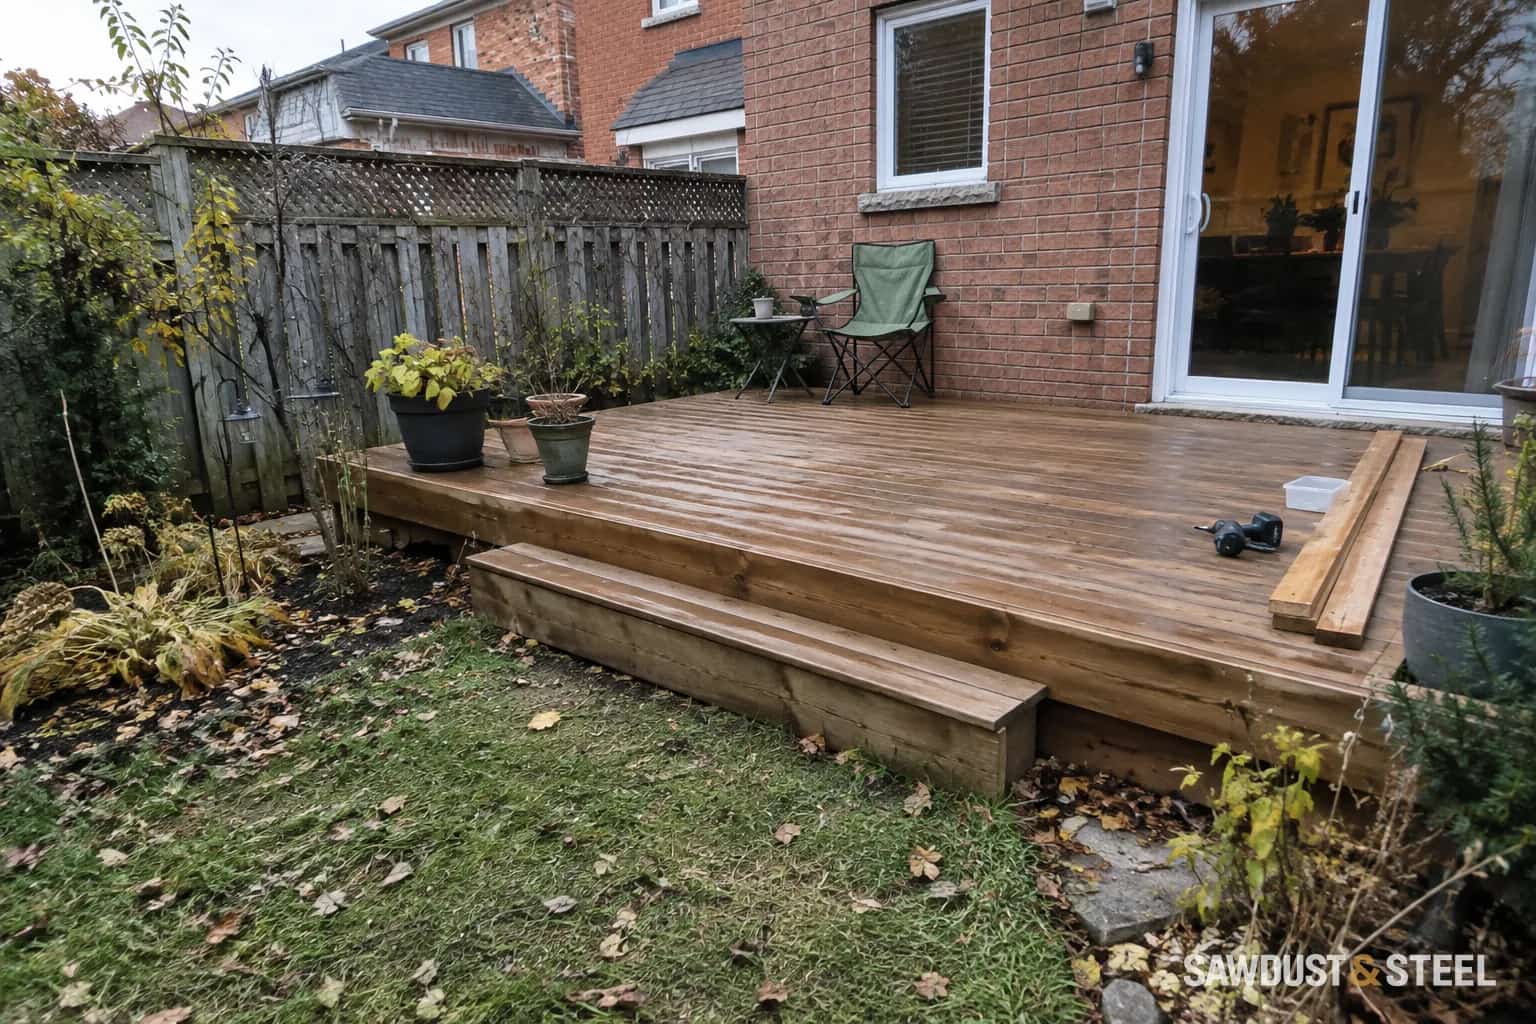
The first clue is often a sock catching on a screw head. The quick response is to fetch a driver and send it deeper. Sometimes the head belongs to a loose screw; sometimes it is attached to a broken shank, and sometimes the wood around it has changed shape.
Make the area safe, then look for a pattern
Keep bare feet away and mark the affected area. Inspect from the deck surface without bouncing on boards or prying them up. Note whether one head is proud, several screws on one board are affected, or a line of problems follows a support below.
- One isolated head: identify the fastener and inspect the surrounding wood.
- Both edges of a board lifting: investigate board movement or cupping.
- Several boards moving over one support: have the support and connections inspected.
- Rust staining, broken heads, soft wood or splitting: stop treating it as simple adjustment.
Take a close photograph and a wider view before anyone changes the position. A picture showing the head, board edge and neighbouring fixings is more useful to an installer than a bag of extracted screws with no record of where they came from.
A screw and its hole are a connection
The head holds the board while the threaded part relies on suitable sound material below. If the holding material is damaged, turning the screw does not restore it. A screw that spins without drawing the board correctly is evidence to stop, not an invitation to increase the driver setting.
CAMO's countersunk deck-screw technical sheet illustrates why the exact product matters: it identifies suitable decking and wood substructures, excludes structural uses, and specifies tooling restrictions, including its recommendation against using an impact driver for that product. Those are instructions for that fastener, not rules for every screw sold for a deck.
Find the original specification or have a carpenter identify an appropriate replacement system. Material compatibility, coating, board type, substrate and the manufacturer's seating instructions all matter. A longer screw is not automatically a better repair, and an arbitrary larger screw may split the board or conceal damaged wood.
Do not use the screw to flatten a badly cupped board
If the timber is curved across its width, the raised edge may be pulling against the connection. Forcing it flat can exceed what the board or fixing can tolerate. Read the cupped-board assessment before deciding that every proud head simply needs another turn.
| Finding | Repair scope to discuss |
|---|---|
| Sound board, intact identified fastener and sound holding material | Whether reseating or like-for-like replacement is allowed by the installation instructions. |
| Broken fastener or damaged hole | A properly planned new connection, including the underlying timber assessment. |
| Split or decayed board | Board replacement and inspection of its support. |
| Several failures or movement in the framing | A wider deck assessment before cosmetic repair. |
Do not fill a failed fixing hole with glue and household scraps as a general deck repair. Do not hammer a screw head down like a nail. Both approaches can hide the immediate snag without establishing a sound connection. Railings, stairs and framing also have different connection duties; a deck-board screw specification does not qualify a structural repair.
Check the finished result
After an appropriate repair, the head should sit as required by the decking and fastener system, without a torn crater around it. The board should be secure and the walking surface free of sharp projections. Keep removed failed parts if the cause is unclear, particularly where corrosion or repeated breakage needs the supplier's attention.
For a contractor visit, provide the deck age, known materials, photographs and whether the problem changes after wet weather. That makes it easier to distinguish a few local repairs from a moisture or framing problem. The aim is to restore a reliable connection, not merely make the head disappear.