
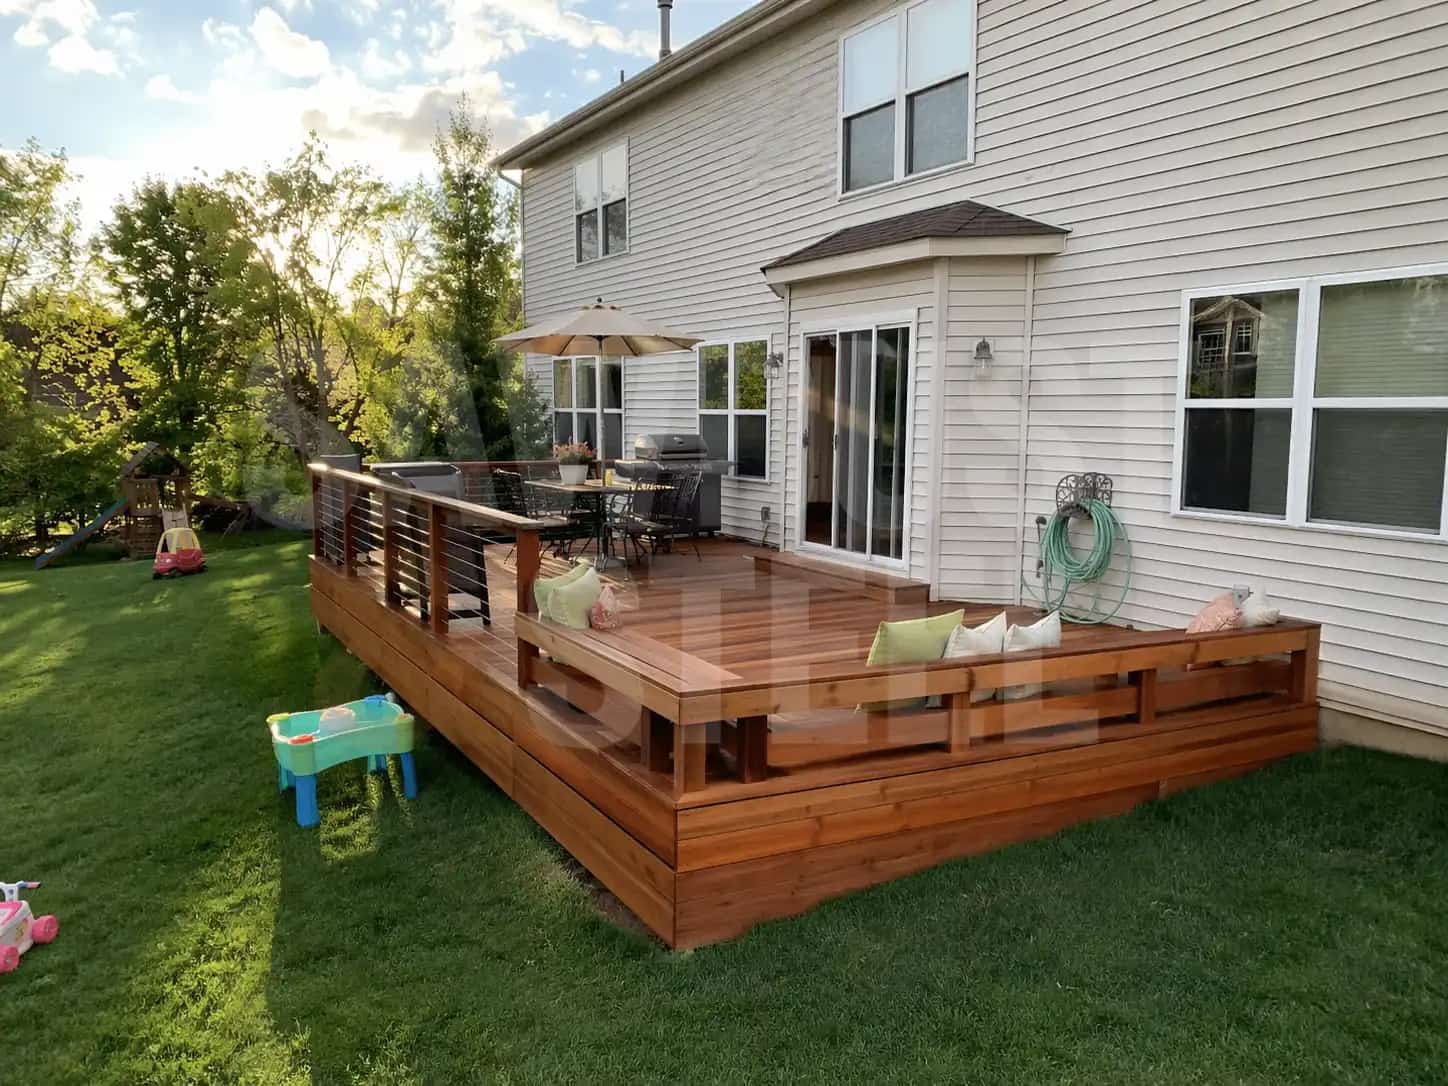
You've finally got a free weekend, a tin of stain and no rain in the afternoon forecast. That still doesn't mean the new deck is ready. The boards beside the house may be damp while the sunny end looks perfect. Check several areas against the finish maker's moisture and absorption requirements, then check the full drying window. The useful question is what the wood is doing, not how many months it has been on your calendar.
Skip the calendar rule
The Wood Preservation Canada building tips explain that pressure-treated wood may be finish-ready once it is surface dry, unless the finish manufacturer says otherwise. Too much moisture can prevent absorption. Kiln-dried material, wet treated boards, cedar, shade, sun, rain, and storage history all change the timing.
How to do the water-drop test
MicroPro Sienna's finishing instructions give a useful test for its treated lumber: sprinkle a few drops of water onto the surface. Absorption is the ready signal; if the water stays on top, test again after a few days. Its guidance allows a semi-transparent stain or water repellent once the wood is dry to the touch, unless the finish maker requires otherwise. That is why waiting a compulsory six months is not a dependable rule.
- Start with clean boards. Test a sunny area, a shaded area and the strip beside the house.
- Watch whether droplets soak in or remain beaded. Do not use the quickest-drying board to decide for the whole deck.
- If the stain specifies a moisture-meter limit, check that too. Water absorption is not a numerical moisture reading.
- Once the wood passes the required checks, apply a small test patch to confirm colour and appearance before coating the whole surface.
Water that keeps beading does not tell you the cause by itself. Damp wood, an existing water-repellent finish or surface contamination may need different preparation. Check the lumber history and the coating instructions before reaching for a sander or another tin.
| Check | Ready signal | Reason to wait |
|---|---|---|
| Surface | Clean and dry to the touch | Dirt, dampness, mill glaze, or failed old coating |
| Absorption | Water or the maker's test absorbs as directed | Droplets remain on the surface or absorption is uneven |
| Forecast | Temperature and dry time fit the product label | Rain, heavy dew, frost, or hot direct sun conflicts with the instructions |
| Test patch | Colour and penetration are even | Blotching, poor adhesion, or an unexpected colour |
- Read the stain label and technical sheet before buying a weather window.
- Try the product maker's recommended moisture or absorption test on several boards, including shaded areas.
- Clean dirt and surface contamination without shredding the fibres with excessive pressure.
- Let cleaned wood dry for the period and conditions required by the finish.
- Test colour and absorption in a discreet area. Colour can look different on your actual boards.
Choose a suitable weather window
On a fall staining visit, the open boards were ready before the sheltered strip beside the house. The owner had booked his weekend around the job; the shaded wood hadn't. We delayed the coating rather than start at the sunny end and hope the rest caught up. Look for dry, moderate weather that lasts through the product's drying period. Wet boards, imminent rain, frost, heavy dew and hot direct sun can all spoil an otherwise tidy application. Dulux's current Canadian exterior stain guide recommends dry wood and weather, with extra drying time after heavy rain or pressure cleaning. Your chosen finish may differ, so its label wins.
For example, Dulux's Canadian application guide suggests 10-32°C, away from direct sun, with no expected rain or condensation. Those are Dulux guide values, not a universal label for every stain. A warm October afternoon followed by a cold, damp night can still be the wrong window.
The deck was built in fall. Can staining wait?
If the wood is still wet or the product's drying window will not fit the forecast, wait for suitable conditions. Recheck and clean the surface before the eventual coating; do not assume wood left over winter is ready without preparation. MicroPro Sienna notes that an unprotected surface gradually changes colour and recommends a weather-resistant finish to reduce weathering. Waiting for workable conditions is different from deciding the wood never needs care.
Do not postpone treating fresh cuts and drill holes until spring staining. That protection belongs in the construction sequence, before joints hide the cuts. Decorative finish timing is a separate job.
Prep beats extra product
Check fasteners, splinters, raised fibres and end cuts, and remove failed old coating as the chosen system requires. We test the colour on the actual boards, including a replacement board if there is one; the display chip hasn't spent a summer beside your barbecue. Apply the stated amount. If a patch isn't absorbing properly, piling on more stain won't diagnose why, and can leave a heavy, uneven finish.
Inspect high-traffic areas, stair nosings, end grain, rail tops, and full-sun boards each spring. Recoat based on condition and the product system, after checking wear and absorption. If the inspection finds soft boards, first work out whether you can replace the boards and retain the frame. Stain belongs after that decision.