
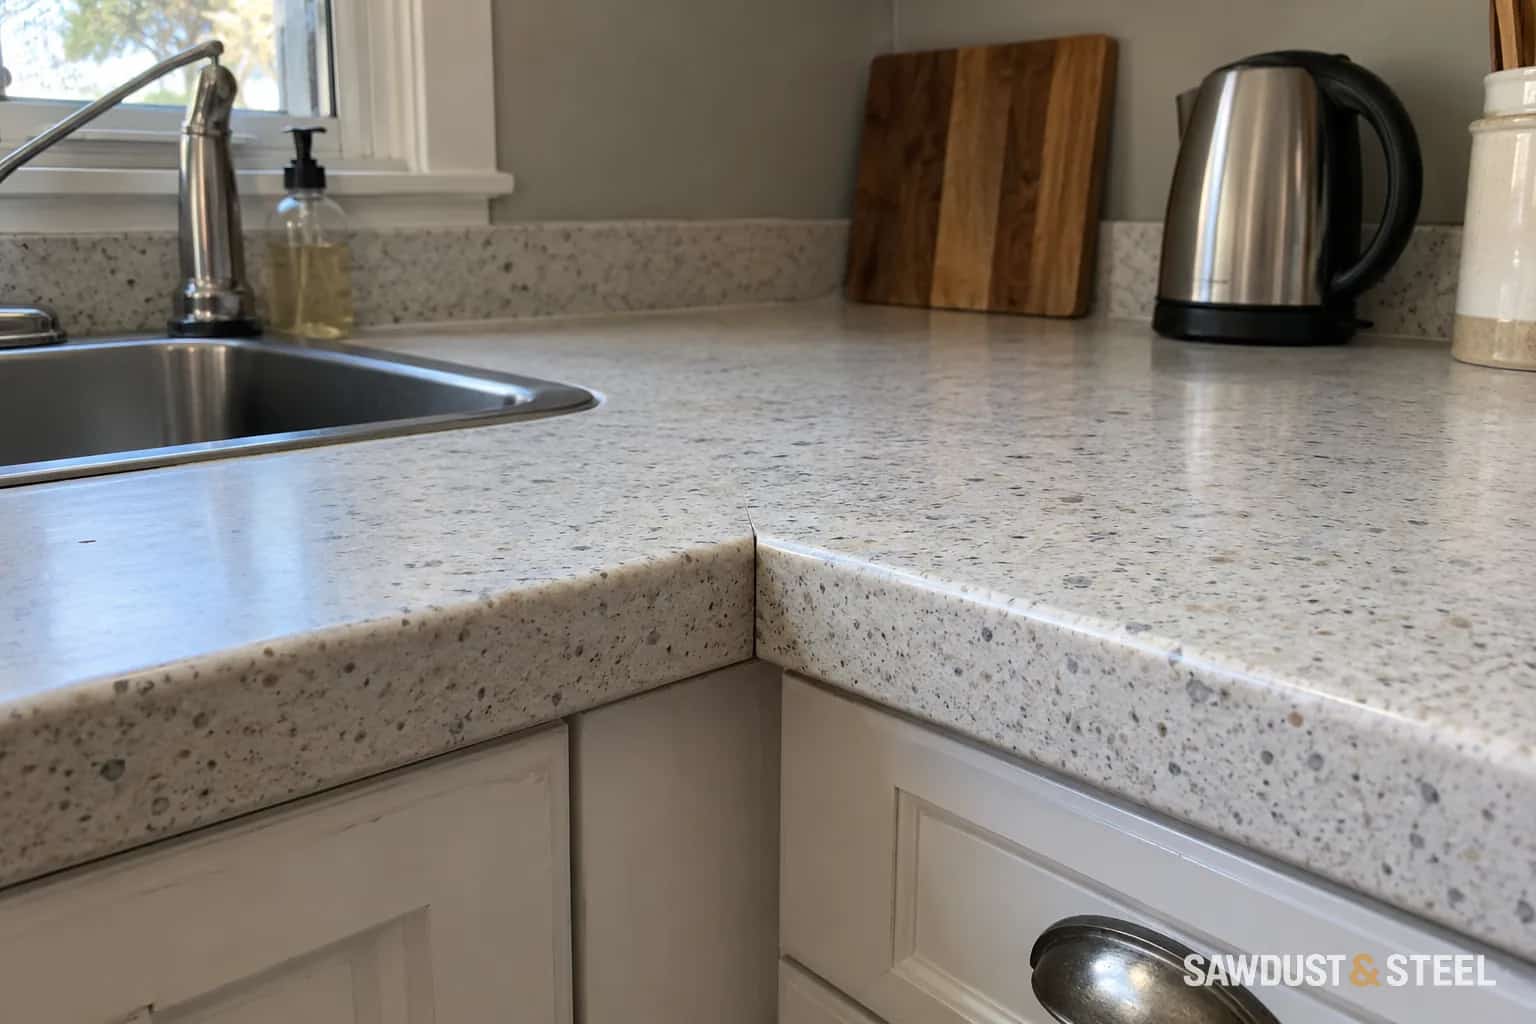
A dark line appears along the back of the counter, or yesterday's neat bead starts peeling from one side. This joint joins different surfaces and can be affected by movement, moisture and poor adhesion. Treating every recurring gap as a missing squeeze of caulk misses the useful clues.
Look at the pattern before removing the evidence
Photograph the joint and note whether the gap is even, wider over one cabinet or changing with time. Check for fresh staining below, loose backsplash material, a countertop that shifts, and cabinet doors that have changed alignment. Do not push heavily on the top to investigate. A stable failed bead is different from a cabinet run that needs support corrected.
Stable surfaces, failed bead
Clean and reseal with a compatible product and joint preparation.
Deep or wide gap
Ask about proper joint design or backing; do not fill blindly.
Growing gap or movement
Have the cabinetry and countertop assessed before cosmetic work.
Flexible does not mean compatible with everything
DAP: Kitchen, bath and plumbing silicone describes a flexible silicone for kitchen and bath sealing. Confirm the selected product is compatible with your countertop, tile, grout and any natural stone. Colour, paintability and cure conditions matter too. A tube labelled kitchen and bath is not enough information to promise a stain-free bond on every material.
Follow both the sealant and countertop maker's preparation instructions. Old silicone, grease and trapped moisture can interfere with adhesion. Remove failed material carefully without cutting into the top or scratching the backsplash. Avoid solvents or aggressive scrapers unless the surface maker permits them.
A thick surface bead is not a joint design
A wide or deep gap may need a backing arrangement and a suitable bead shape defined by the product guidance. Do not use the sealant to support a loose countertop, fill a concealed void of unknown depth or bridge a badly fitted backsplash. An installer can identify whether a trim detail or a corrected fit is needed instead.
Once prepared, apply and finish the joint as directed and keep it dry for the stated period. Water-ready time and full cure are not necessarily the same. Read the actual tube and technical sheet rather than reusing the timing from a different sealant.
Check the wet area after the repair
Look for water collecting against the joint during normal washing, and redirect any dish rack that drains backwards. If laminate is already raised, swollen substrate needs a separate assessment. If the quartz itself has a line or missing edge, distinguish a chip or crack from the flexible wall junction before choosing a repair.