
Most of the aging-in-place calls we take in Mississauga start the same way. Someone in their sixties or seventies has already had one close call stepping over a tub wall, or they're watching a parent grip the same tile ledge every morning, and they've decided they're not waiting for the fall.
They want a shower they can walk straight into with no lip, no curb, and no drama. That's a curbless walk-in shower, and it's the single best renovation we build for people who want to stay in their own house for another twenty years.
The finished product looks simple. A flat floor, a linear drain, a glass panel, two grab bars. What you don't see is that most of the job happens below the tile and inside the walls. Get the framing wrong and your drain is above your bathroom floor. Get the waterproofing wrong and the subfloor rots within five years. Get the grab bar blocking wrong and the bar rips out of the wall the first time someone actually needs it.
We've inherited enough of those jobs from other contractors to know exactly where they go sideways. If you're already thinking about the cost side, our full GTA bathroom renovation cost breakdown has the line-item sheet.
What is a curbless walk-in shower, and why does everyone in the GTA suddenly want one?
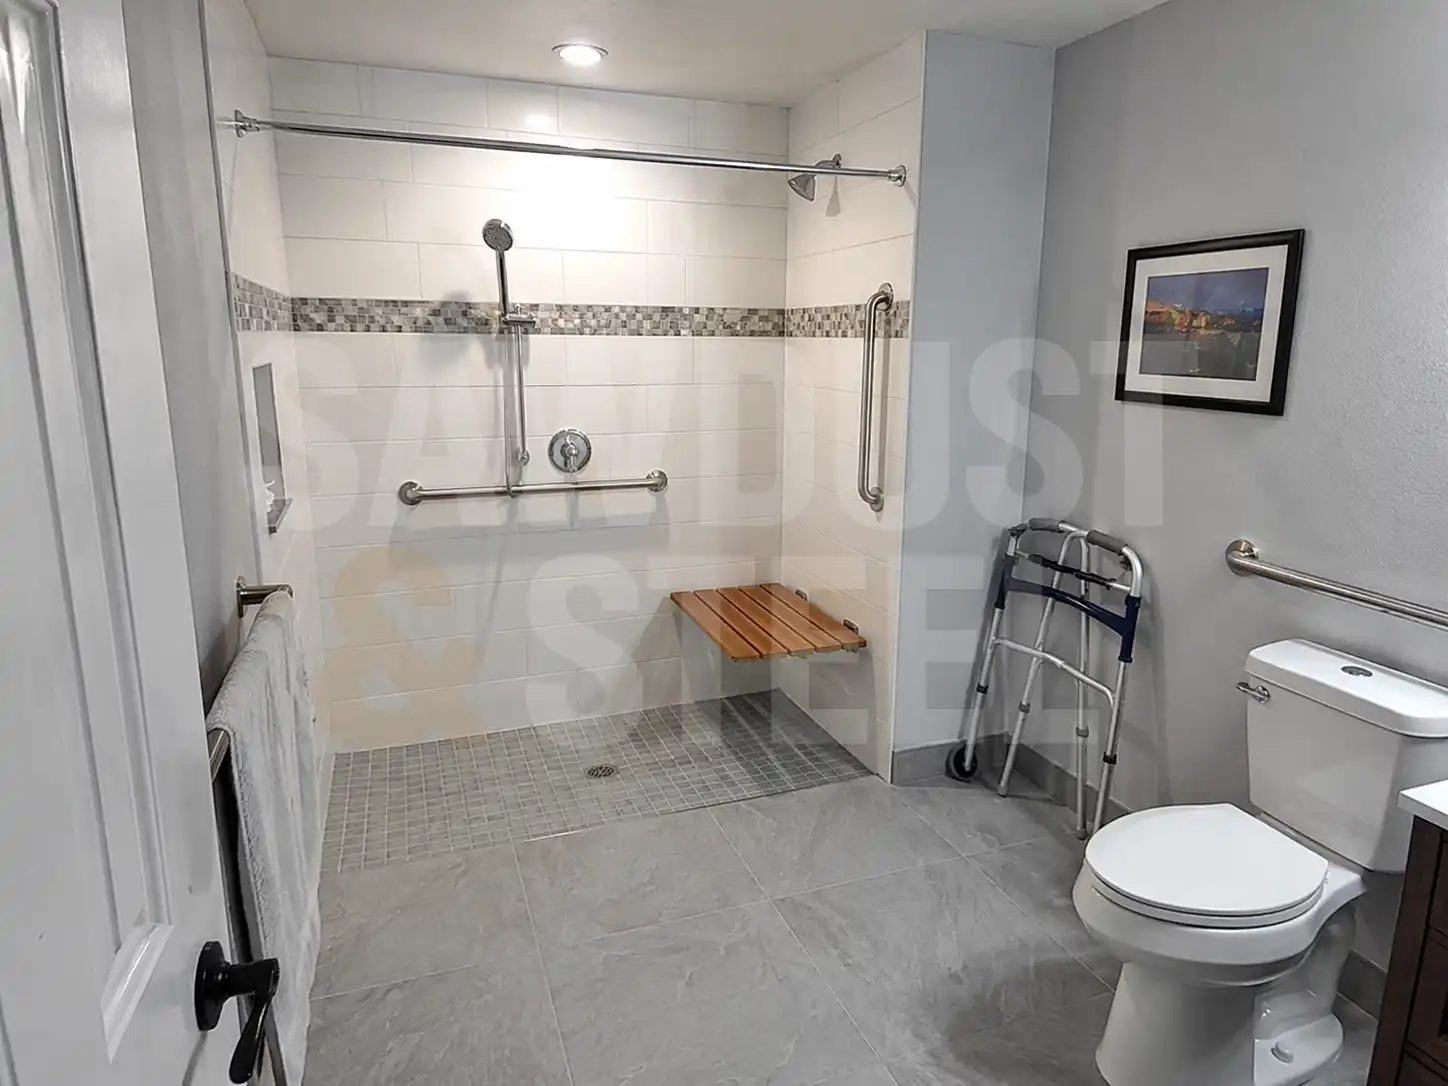
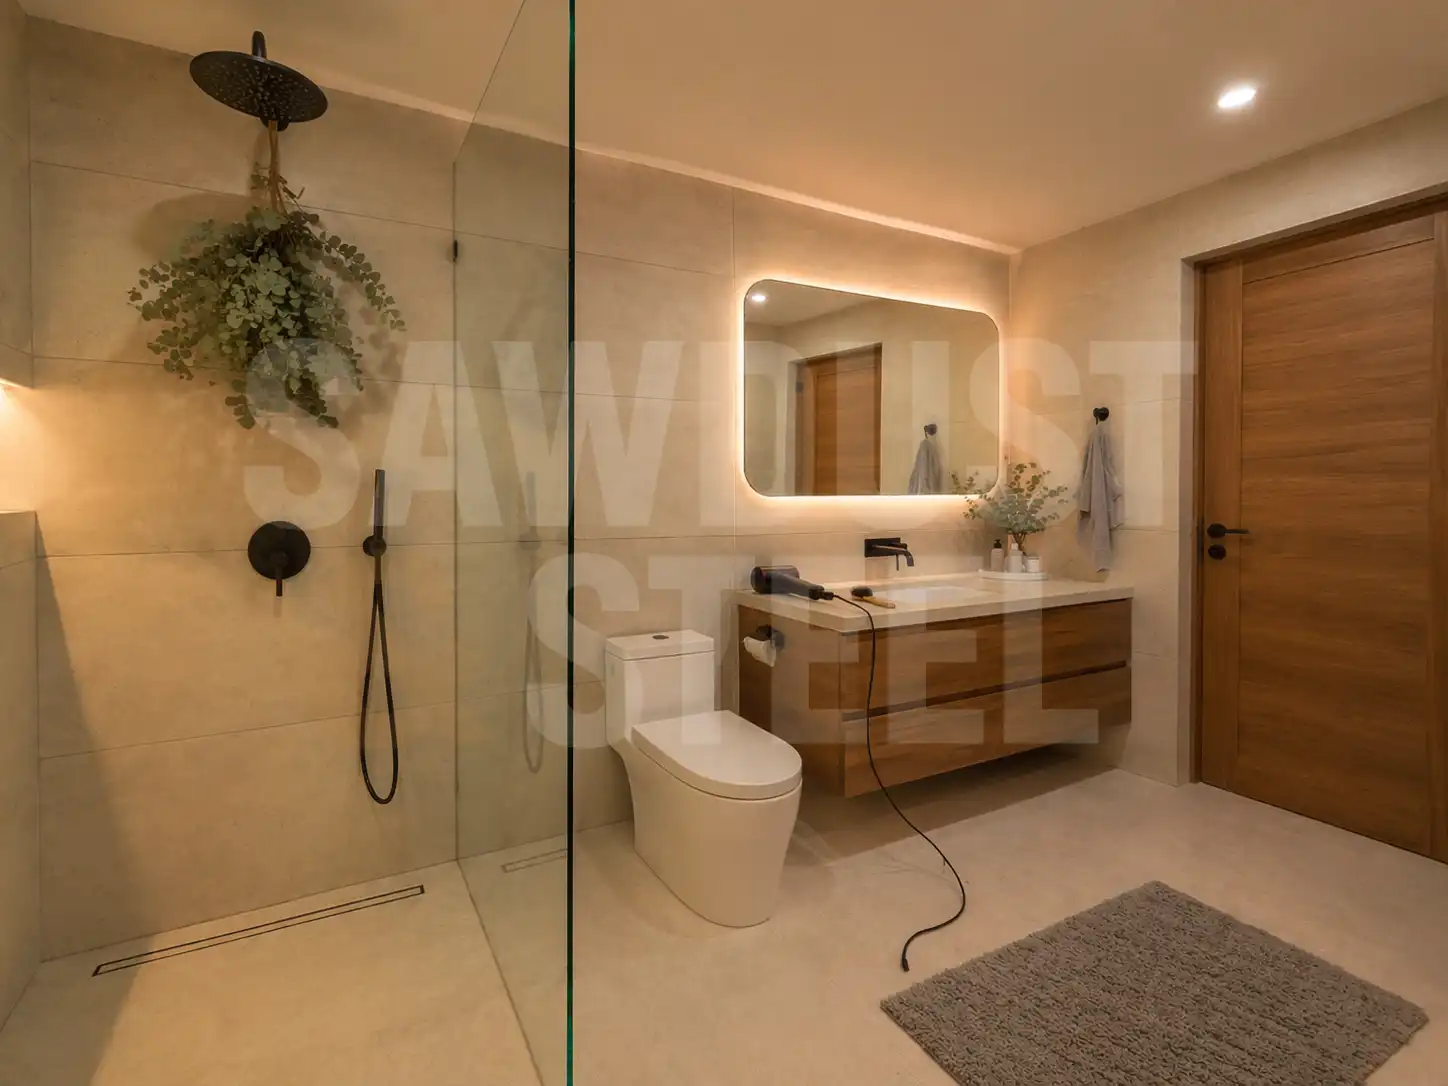
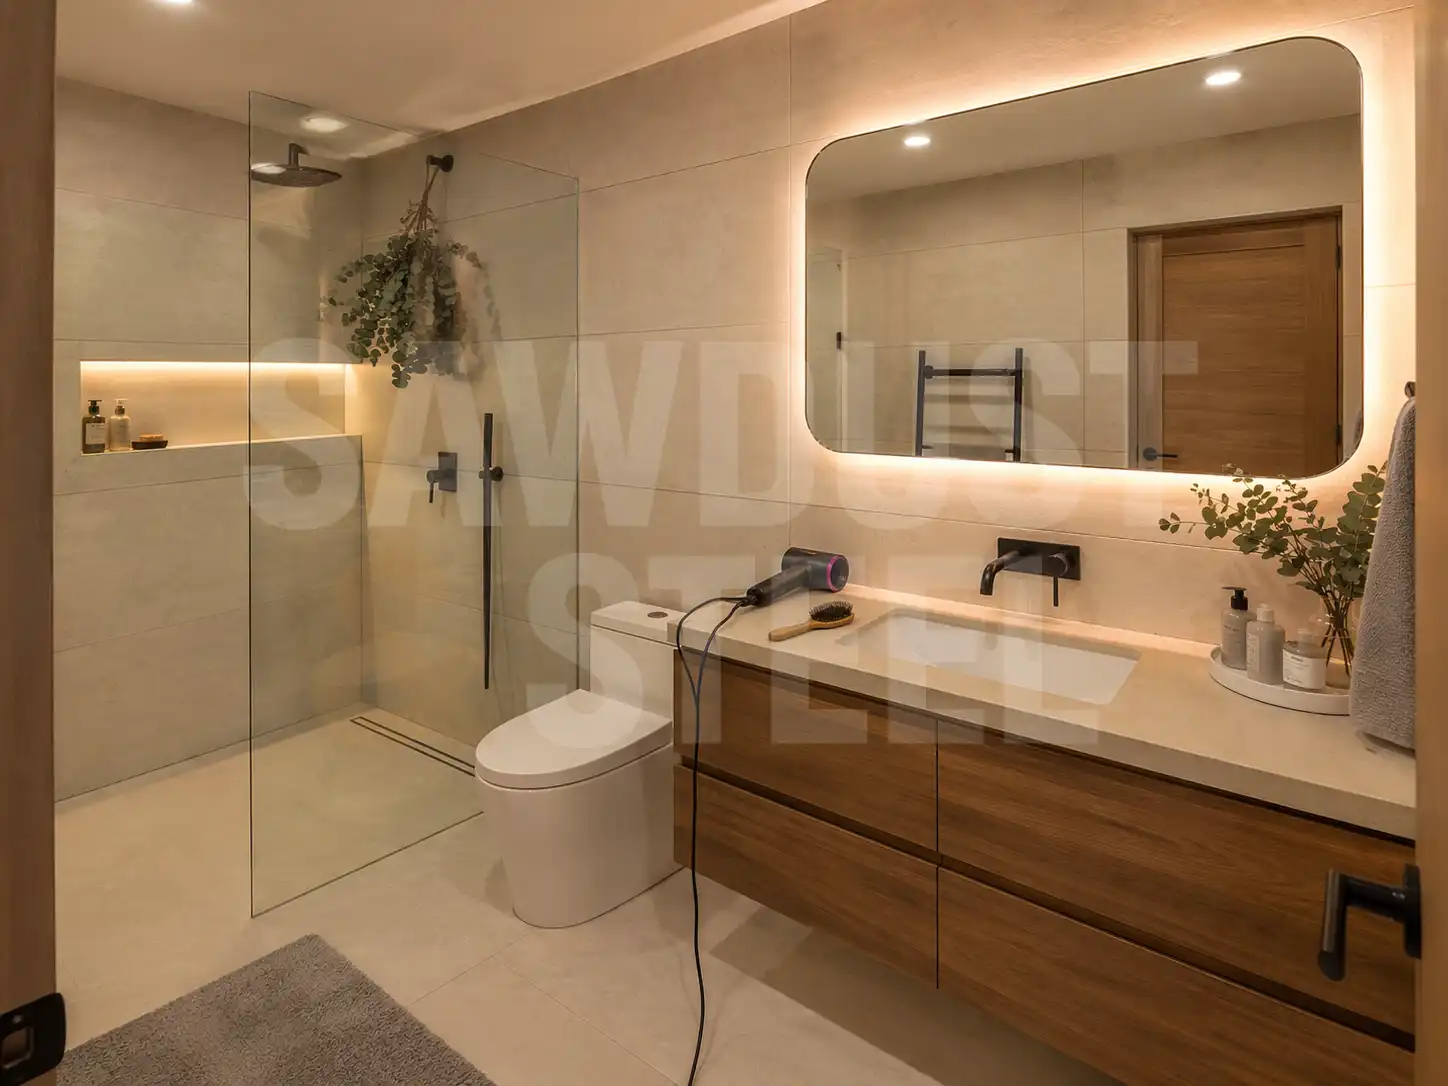
A curbless walk-in shower is a tiled shower with no raised threshold between the bathroom floor and the shower floor — you walk, wheel, or roll in at the same elevation. The floor inside the shower slopes gently to a drain (usually a linear drain along one wall), and a glass panel or half-wall keeps the spray contained. No lip to step over, no curb to trip on, no transition.
The reason these are everywhere in Mississauga right now is demographics plus economics. The baby boomers who bought these houses in the 1980s and 1990s are in their late sixties and early seventies, the houses are paid off, and the math on moving into a retirement suite versus renovating the main bathroom works out in favour of renovating every time.
Priya and Raj, a couple we worked with near Erin Mills, called us after Raj's mother almost fell getting out of their tub. They wanted the bathroom fixed before it became the reason she moved out.
A curbless shower also happens to look better than a curbed one. The floor reads as a single plane, the tile runs continuously under the glass, and the room feels twice as big without a tub squatting in the corner. Clients come to us for accessibility and leave thrilled about the aesthetics. That's fine with us — it's the same job either way.

How do you actually frame a curbless shower without a drain sticking out of the floor?
The hardest part of a curbless shower is that the shower floor has to slope down to a drain, and the drain has to be below the rest of the bathroom floor. That means you need vertical room under the shower for the slope plus the drain body plus the trap. In a main-floor bathroom over a basement, we usually find it. In a second-floor bathroom over a finished ceiling, we have to make it — and that's a framing conversation before it's a tile conversation.
We typically drop the shower area of the subfloor by 1.5 to 2 inches by notching or sistering the joists in that zone — always with the engineer's blessing, never freelanced. We cover this type of structural work in our framing and structural service. On Priya and Raj's job, we were able to fur down between two joists without cutting anything structural, because a 1990s house in Mississauga gave us just enough room to work. Older houses in Oakville with 2x8 joists are tighter. The minute we open the subfloor we find out which one we have.
Linear drains change the math in our favour. A single-direction slope of 1/4 inch per foot toward a linear drain at the back wall needs far less depth than a four-direction slope to a centre drain, which is why we default to linear on curbless jobs. Schluter's Kerdi-Line drain body is about an inch thick, so we can get away with less vertical sacrifice than the old centre-drain approach.
- Drop or fur down the shower subfloor 1.5 to 2 inches to bury the drain and the slope
- Run a linear drain along the back wall — single-direction slope, 1/4 inch per foot minimum
- Add solid 2x8 or 2x10 blocking between every stud at 33 to 36 inches for grab bar anchors
- Widen the bathroom doorway to 34 to 36 inches rough opening so a walker or wheelchair fits through
- Frame a continuous slope from the bathroom floor into the shower with zero lip at the threshold
- Leave room for a 15 by 18 inch teak or Corian bench seat on the wet wall if the client wants one
How do you waterproof a curbless shower so the floor under it doesn't rot?
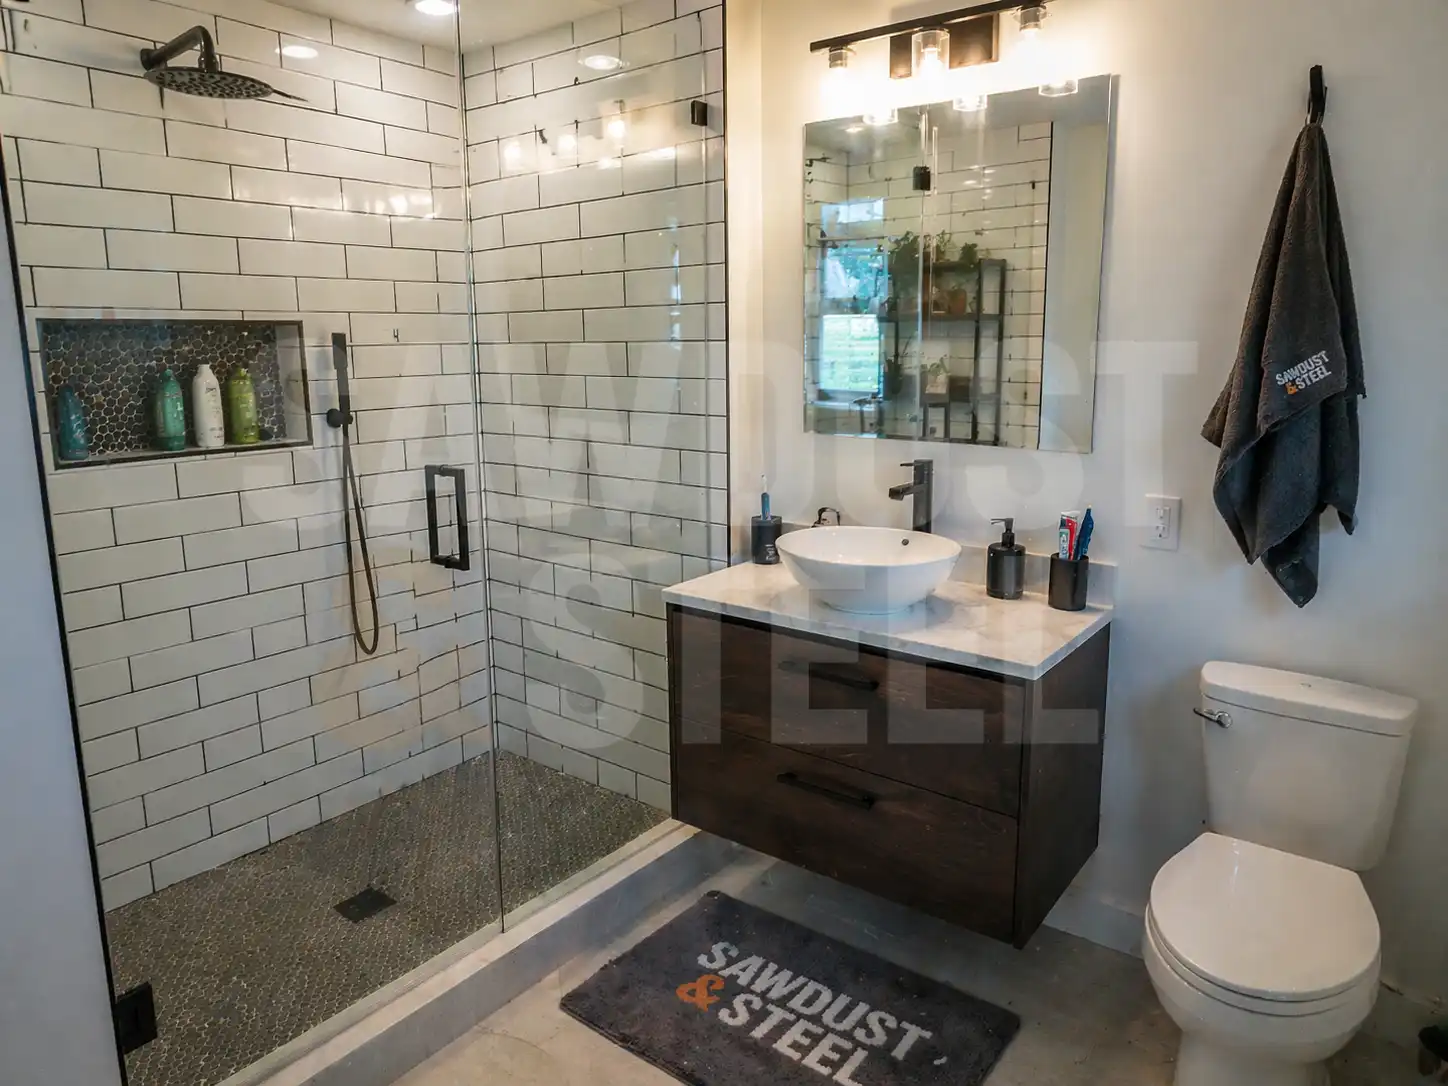
A curbless shower has exactly one thing a curbed shower doesn't: water that has nowhere to be corralled. A curb is a dam. Remove the dam, and the waterproofing has to be genuinely continuous from the shower floor out into the bathroom floor, up the walls, and around every penetration. This is the step where most failed curbless showers failed, and it's the step we are the most obnoxious about. The full comparison of membrane systems lives in our Kerdi vs RedGard vs hot mop breakdown.
Our standard assembly is a full Schluter Kerdi system. Cement board on the walls, Kerdi membrane bonded to the cement board with unmodified thinset, every seam taped with Kerdi-Band, every inside and outside corner with pre-formed Kerdi-Kereck fittings, a pre-sloped Kerdi shower tray on the floor, and a Kerdi-Drain or Kerdi-Line drain body bonded directly into the membrane.
The membrane is the waterproofing layer. The tile is the wear surface. If water gets past the tile — and it will, because grout isn't waterproof — the Kerdi sends it to the drain instead of the joists.
We extend the Kerdi membrane out of the shower zone and under the bathroom floor tile for at least 24 inches in every direction. That way, even if a grandkid goes wild with the handheld sprayer and water pools outside the glass panel, the subfloor under the whole wet zone stays dry. It costs us about an extra hour and eighty dollars in materials. Cheap insurance compared to tearing out a finished bathroom in year six.
How much does a curbless shower cost in Mississauga?
A tub-to-curbless conversion in the GTA runs 18,000 to 35,000 CAD depending on how much framing has to change, whether the plumbing moves, which fixtures you pick, and whether we find anything ugly when we open the walls. Priya and Raj's job came in at 27,500 CAD, which is a fair midpoint for a full gut of a main-floor bathroom with a new vanity, new toilet, new tile, new glass panel, and all the accessibility hardware. That number includes the engineer review on the framing changes and the permit.
Fixture choices move the needle more than clients expect. A Kohler Purist thermostatic valve with a handheld sprayer and a rain head runs around 1,200 CAD at the showroom. A Toto Neorest wall-mount toilet with a Geberit in-wall carrier is closer to 3,500 CAD by itself.
You can absolutely build a beautiful curbless shower with a 400 dollar valve from a big box store — we've done it — but clients aging in place almost always want the lever handles and thermostatic temperature control that comes with the higher-tier lines, because scalding in your own shower is a thing that happens.

The honest budget conversation we have at the kitchen table goes like this: if you're planning to sell in three years, keep the tub and do a curbed shower somewhere else. If you're planning to stay, spend the money on the curbless conversion now, because retrofitting accessibility later means tearing out tile you paid for twice. Almost every client we have this conversation with stays.
“I stepped in with my shoes on and didn't have to lift a foot. That was the whole test.”
How long does a curbless shower conversion take, and what will the rest of your house be like?
From demo day to final handshake, a curbless tub-to-shower conversion in Mississauga runs two to three weeks for a single bathroom. Priya and Raj's took 15 working days, and that included a one-day hold while the engineer stopped by to sign off on the framing changes around the drain. Most of the calendar time isn't physical work — it's waiting for thinset to cure, waiting for grout, waiting for the silicone on the glass panel to set properly.
The part clients underestimate is the dust. Demo day sends drywall and tile dust everywhere the HVAC can carry it, which on a forced-air system in a two-storey house in Mississauga means everywhere. We hang plastic, we run negative-air fans out the nearest window, we seal the HVAC returns, and the dust still finds its way to the top of the fridge. Plan to be out of the house on demo day if you can, and plan for a cleaner on the back end if you can't stand the residue.
- Day 1: demo, haul, inspect the substrate, photograph any surprises
- Days 2 to 3: framing changes, blocking for grab bars, subfloor drop for the linear drain
- Days 4 to 5: plumbing rough-in and electrical updates, inspection if the permit requires it
- Days 6 to 8: Kerdi membrane install, cement board, full waterproofing and flood test
- Days 9 to 12: tile, grout, vanity, toilet, and fixtures
- Days 13 to 15: glass panel install, grab bars, silicone, final punch list, handshake

The finished shower should not look like a hospital. That's the quiet goal of every accessibility job we build. Grab bars in the same brushed nickel as the shower valve, a bench seat that matches the vanity wood, a linear drain in a drain cover that matches the tile — the accessibility hardware disappears into the design, and the bathroom reads as a beautiful modern room that happens to be safe for anybody who walks into it. That's the job.