
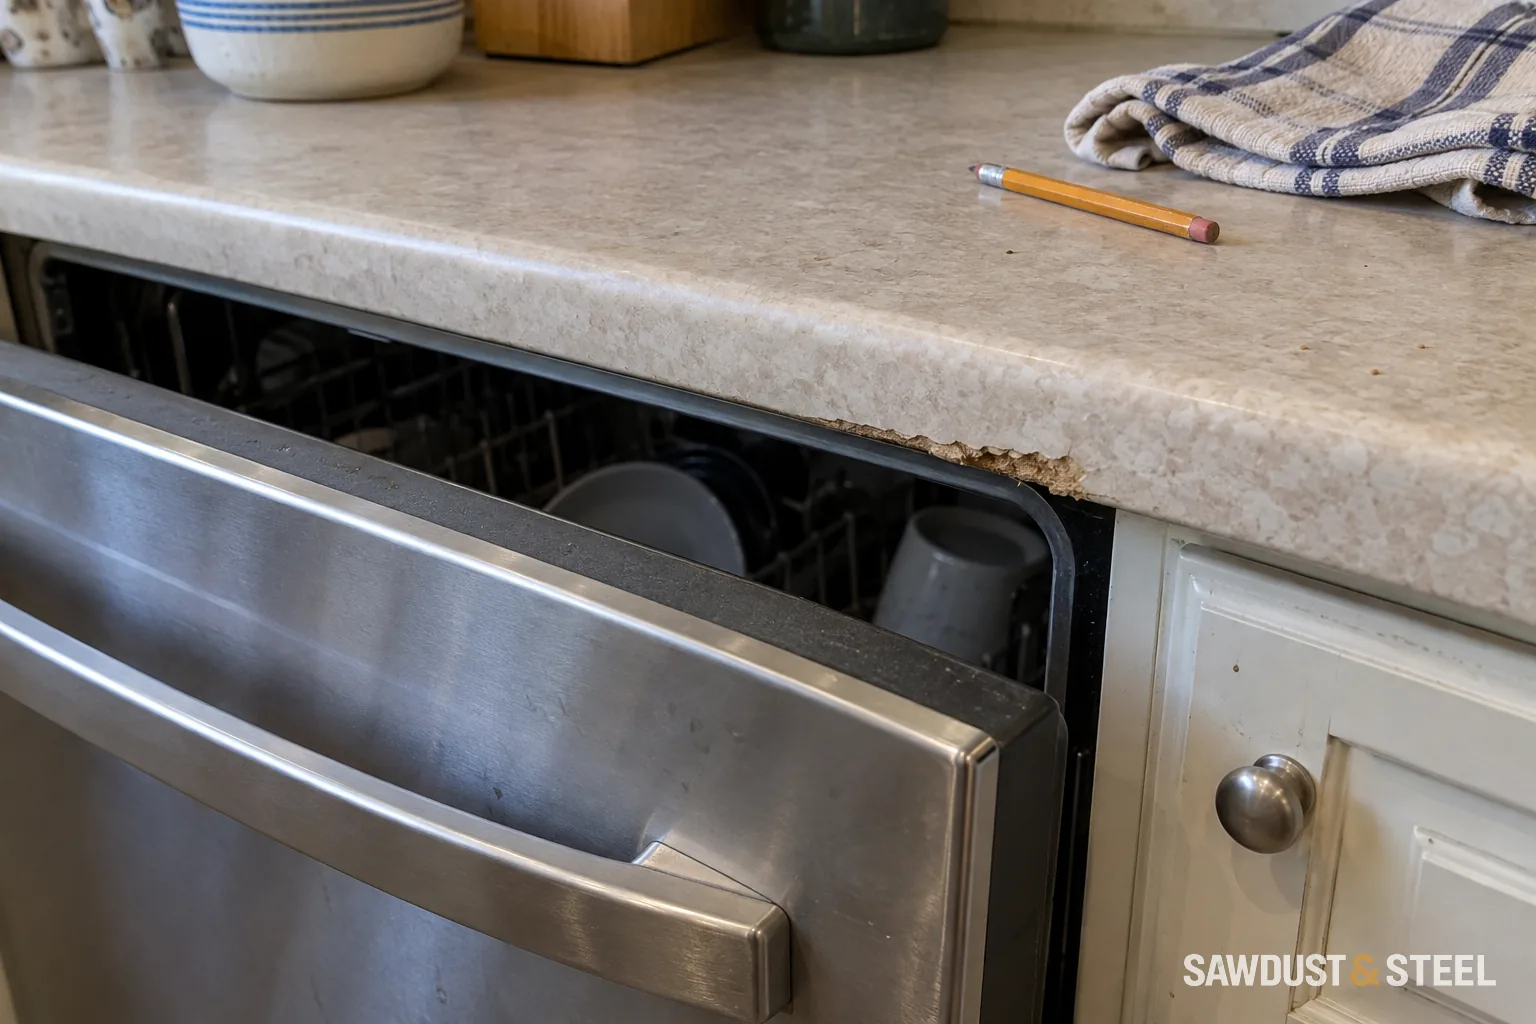
Marta noticed it while picking a dropped teaspoon off the floor. From standing height, her laminate worktop looked fine. From teaspoon height, the underside above the dishwasher looked like a tired breakfast biscuit. We were there to fit a new end panel, and suddenly the old counter had a vote in the plan.
Check where the moisture starts
Do not assume every damaged patch above a dishwasher is steam. A leaking connection, water running from the sink, a damaged door seal or an installation problem can leave similar clues. Note whether the area becomes damp during the cycle, when the door opens, or after someone uses the sink.
Avoid repeated test cycles if water is escaping. If there is an active leak, stop using the appliance and arrange service. Keep hands away from wiring and do not pull a connected machine out just to get a better photograph.
Use the timing to narrow the search
- Start with the appliance off and the visible surfaces dry. Photograph the damaged edge, counter seam and adjoining cabinet. Note the model number and when the problem began, especially after an installation or counter change.
- Check ordinary sink use separately. Look for water tracking over the counter edge or through a nearby joint. Do not reach behind the appliance or remove electrical covers.
- If there is no active leak, observe the next normal cycle from outside. Note when the first moisture appears: washing, drying, manual opening or automatic opening. Stop use if water escapes.
- Compare the damp location with the model's intended vent position and door operation. Give the photos and timing to the appliance technician or installer; a wet left corner during drying is more useful than a ruined counter.
| Clue | Next check |
|---|---|
| Wet after using the sink, with the dishwasher off | Sink joint, tap area, countertop seam and the route water takes along the underside. |
| Moisture or escaping water while the door is closed | Appliance installation, intended vent route, door alignment and seal; arrange service for leakage. |
| Droplets after the door opens | The model's drying instructions and the location and condition of specified counter protection. |
| A swollen patch that is dry today | Historic damage still needs a strength and support assessment; a dry spot does not prove the cause is gone. |
Whirlpool's counter-condensation guidance describes warm moist air reaching cooler surfaces, but also identifies installation, door-seal and vent-path checks when moisture persists. It recommends matching clearances and protection to the model's instructions. Steam outside the intended path deserves investigation, not a larger piece of tape.
That protective strip is doing a job
Some installations specify a strip, sheet or plate beneath the worktop. IKEA's FENSJÖ diffusion barrier is one example designed to protect the underside of a counter from hot steam released when an appliance opens. The right protection and its position depend on the countertop and dishwasher instructions; one product is not a universal fix.
Have the installer check that the specified part is present, intact and fitted where it belongs. A sheet buried too far back, or attached over dusty damaged material, may not protect the vulnerable front edge. Do not seal over appliance vents or substitute an improvised sheet that interferes with the door.
Do not borrow another dishwasher's drying routine
Miele explains that AutoOpen intentionally opens the door during the end of some programs to help drying, even while time remains. That is different from manually interrupting an unrelated machine. Identify the drying feature and read your own model's instructions before changing settings or forcing the door closed.
Find the installation guide as well as the everyday user manual. Have the installer check the counter material, required protection, appliance position and door clearance together. The countertop supplier may also specify how exposed edges must be finished. Keep both sets of instructions with the repair notes.
Repair the cause before the surface
- Photograph the damage and nearby joints before anything is covered.
- Have the appliance checked if there are leak, seal or door-operation symptoms.
- Assess whether the counter material remains sound enough for a repair or needs local or wider replacement.
- Restore the required moisture protection on a suitable prepared surface, then verify normal operation.
Swollen particleboard does not return to its original strength because the surface dries. Filling and painting may hide the outline while leaving a weak edge. The sensible scope depends on how far the damage goes, where the counter is supported and whether a joint is involved.
Leave the machine a way out
Marta's damage was local, but the end panel could not simply be fitted over it. We paused that part of the job, coordinated the counter repair with the appliance check, and kept the dishwasher removable. The teaspoon went back in the drawer; the photograph stayed in the job notes.
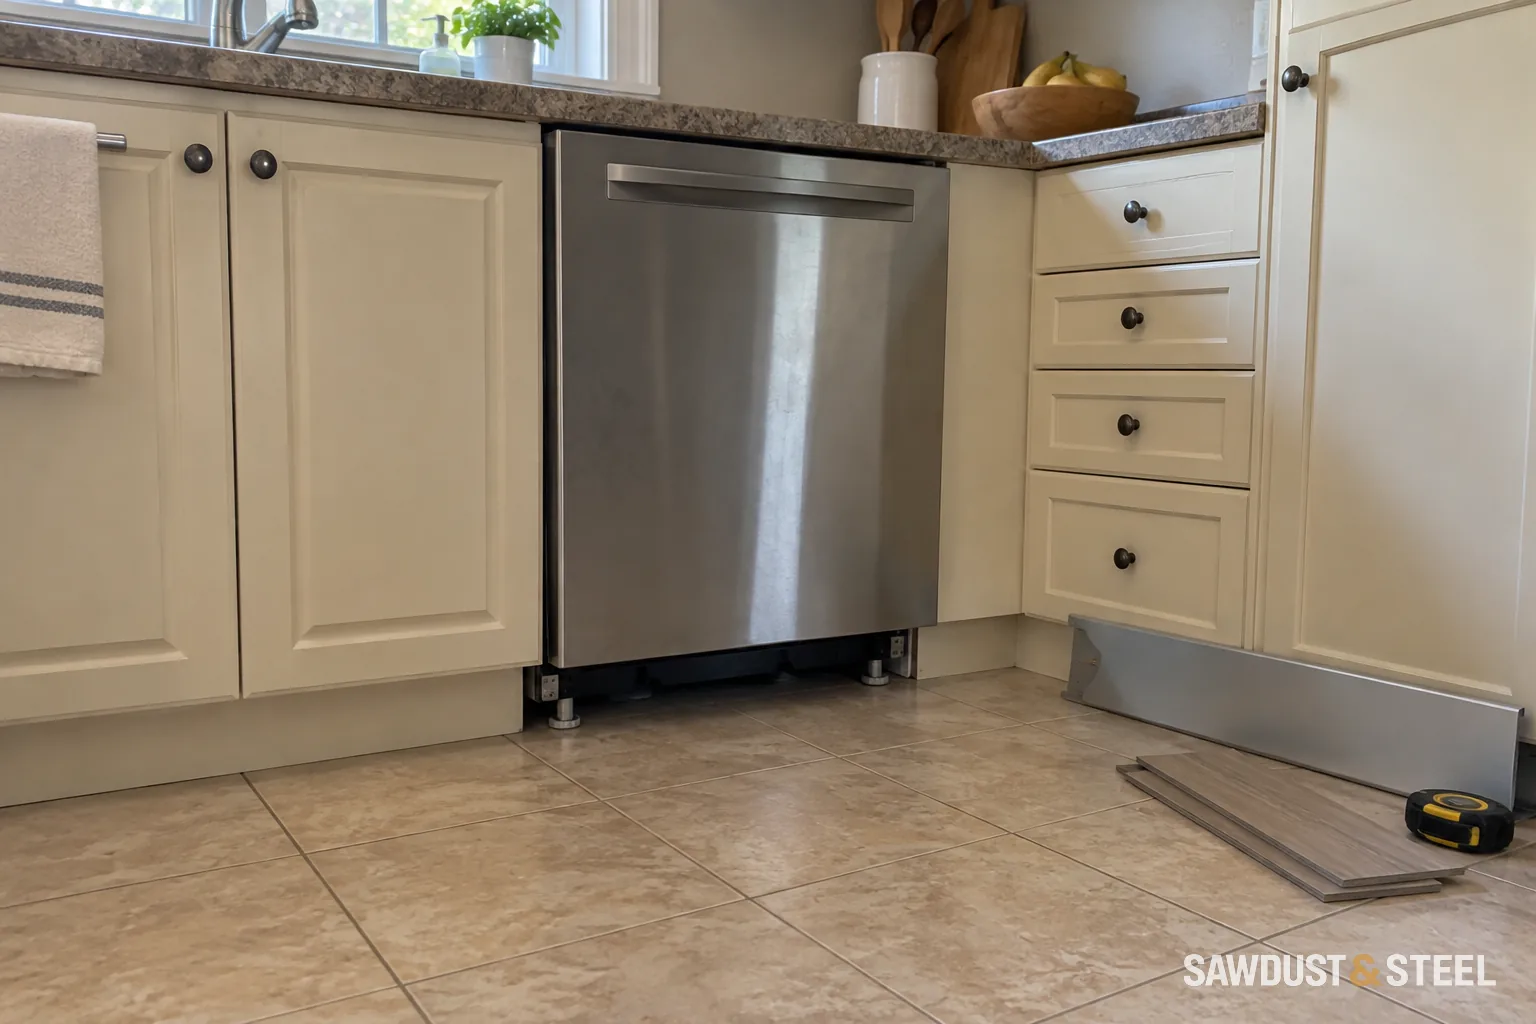
Before finishing the surround, check the dishwasher's removal path and drain-hose routing. If the kitchen has timber counters nearby, the sink-area wood guide explains the other edges worth protecting.
Before signing off the repair, record what caused the moisture, what was replaced or adjusted, and what was observed during normal operation afterward. Keep an early photograph of the repaired edge so a returning problem is easier to spot.