
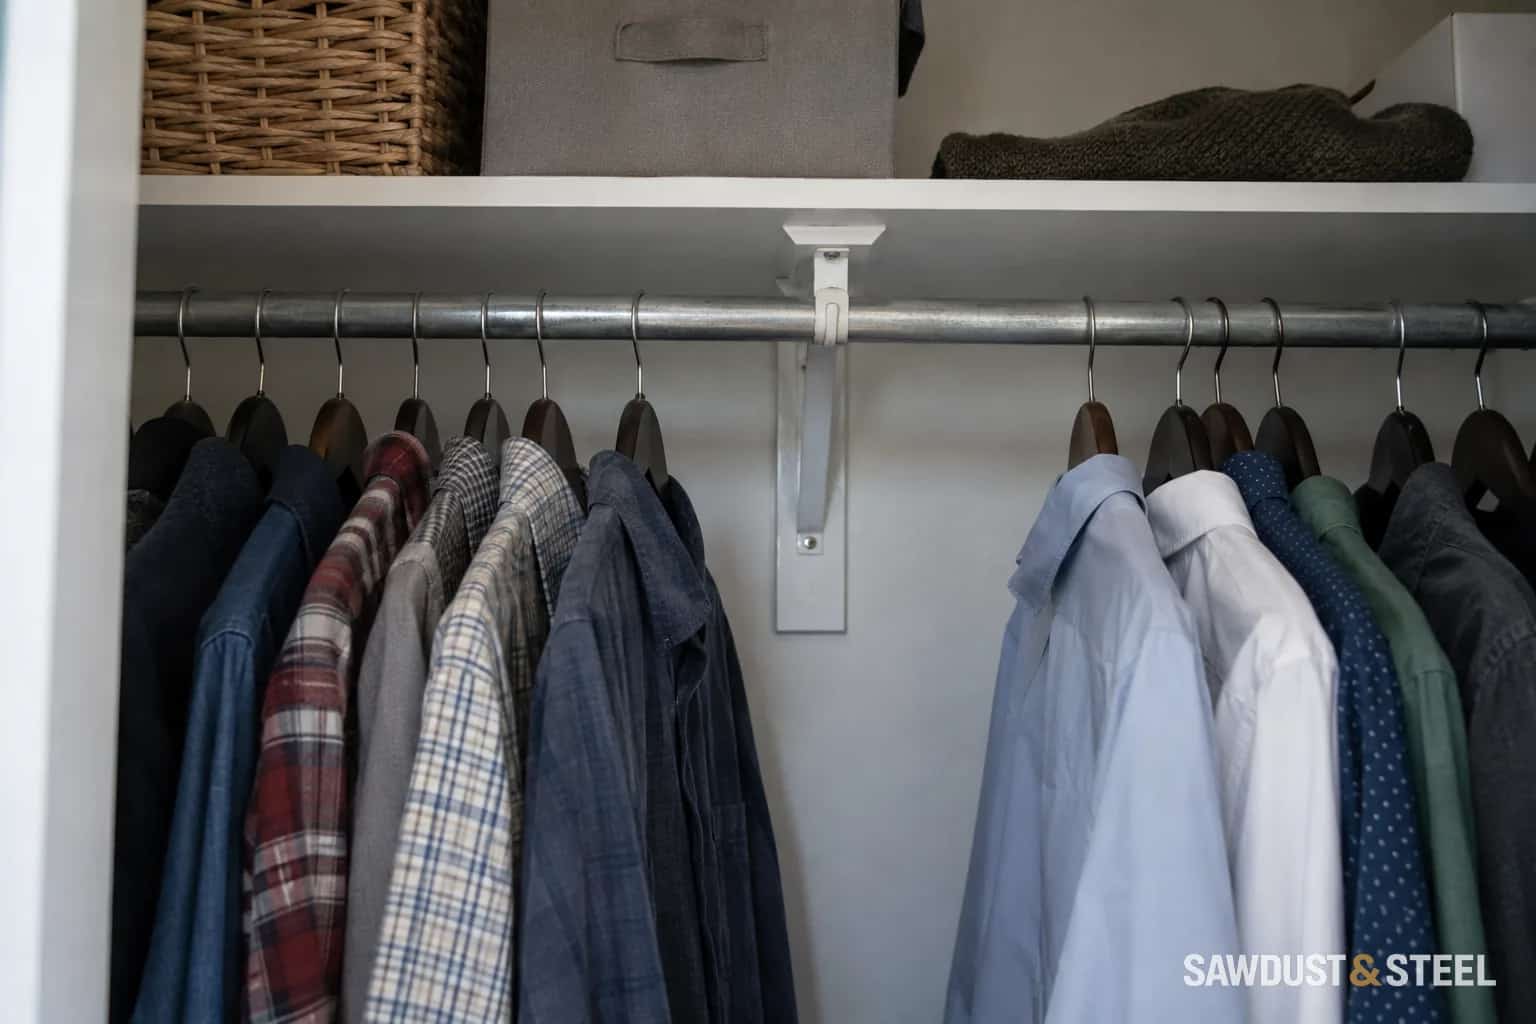
Double hanging is one of the most useful changes in a closet full of shirts and folded trousers. It is less useful when the upper row sits on the lower rod or the bottom row brushes the shoes.
There is no reason to start with a supposedly universal pair of rod heights. Start with the clothes, the hangers and the person who needs to reach them. The right layout is the one that works on an ordinary rushed morning.
Measure from the rod contact point
Hang representative clothes on the hangers you actually use. Measure from the point where the hanger rests on the rod to the lowest part of the garment. Include the longer shirts, bulky jackets and trousers in their normal hanging arrangement. A trouser folded over a hanger and one hung full length need different space.
Sort the wardrobe into short hanging, long hanging and folded storage. Elfa's wardrobe planning material distinguishes these different storage needs, while its measuring guidance starts with the available room. Use those categories to allocate space rather than assuming every garment can join a double row.
Count how much rail length each group occupies when clothes can be separated comfortably. Compressing everything into a tight bundle gives an optimistic capacity that is unpleasant to use. Leave room to move a few hangers aside and take one out.
Build the vertical stack from the bottom
Choose what sits below the lower garments: clear floor, a drawer unit, a shelf or shoe storage. Measure its finished height. Add the actual garment drop and a useful clear gap based on a physical trial. That locates the lower rod for your clothes, subject to comfortable reach and the support system.
Then repeat the exercise for the upper row. Check that its garments clear the lower rod and any hangers below, not merely the tops of the lower garments. Include shelf thickness and brackets if there is a shelf over either rail.
Lower boundary
Identify the finished floor, shelf or drawer top beneath the clothes.
Lower garments
Measure from hanger contact point to hem using the longest regular item.
Upper boundary
Keep upper garments clear of the lower rail and the hangers in use.
User reach
Check placing and removing a hanger at the proposed upper height.
Long-hanging bay
Reserve uninterrupted height for clothes that do not fit either short zone.
For example, a lower garment drop of 900 mm does not mean setting the rod at 900 mm above the floor. You still need the chosen clearance below and must account for any shelf or stored item occupying that lower area. The example is a measuring exercise, not a recommended rod height.
Test the upper rail with a real hanger
Mark the proposed upper height and have the user place and remove a hanger safely. Avoid balancing on furniture or constructing an unstable temporary rail. A helper can hold an unloaded hanger at the mark for a reach check; the final loaded trial belongs on a properly installed system.
The ability to touch the rail is not the same as comfortably lifting a hanger over it. Coat weight, shoulder movement and the depth of the closet can make the action harder. Keep frequently used clothes within comfortable reach. If assistance is needed, compare a pull-down wardrobe rail by its actual operating effort and space requirements.
At a shared closet, we gave one person a lower daily-use rail and kept the higher section for the other person's shirts. Equal-looking compartments would have been less useful. The symmetry on the drawing mattered less than who could reach their own clothes.
Preserve somewhere for the long things
Reserve a full-height bay for coats, dresses or other long garments, even if the current collection is small. Measure the rail length they need and put that bay where doors and corners do not conceal it. A narrow usable long-hanging zone is better than a generous one blocked by a drawer bank.
Check the depth with clothes in place. Sleeves should not be crushed against the doors, and sliding doors must expose the section you need. If the closet is a walk-in, confirm the occupied aisle space after adding clothes to both levels.
Support the finished layout properly
Choose rods, brackets and fixings suitable for the spans, contents and supporting structure. Follow the storage system's instructions, including intermediate supports where required. The planned garment height does not establish the rod's strength.
If an existing rail bows, the closet-rod support guide addresses that repair. For a new arrangement, confirm support positions before drilling, then load it normally and inspect for unexpected movement. Keep enough adjustability that a different wardrobe next year does not require starting again.