
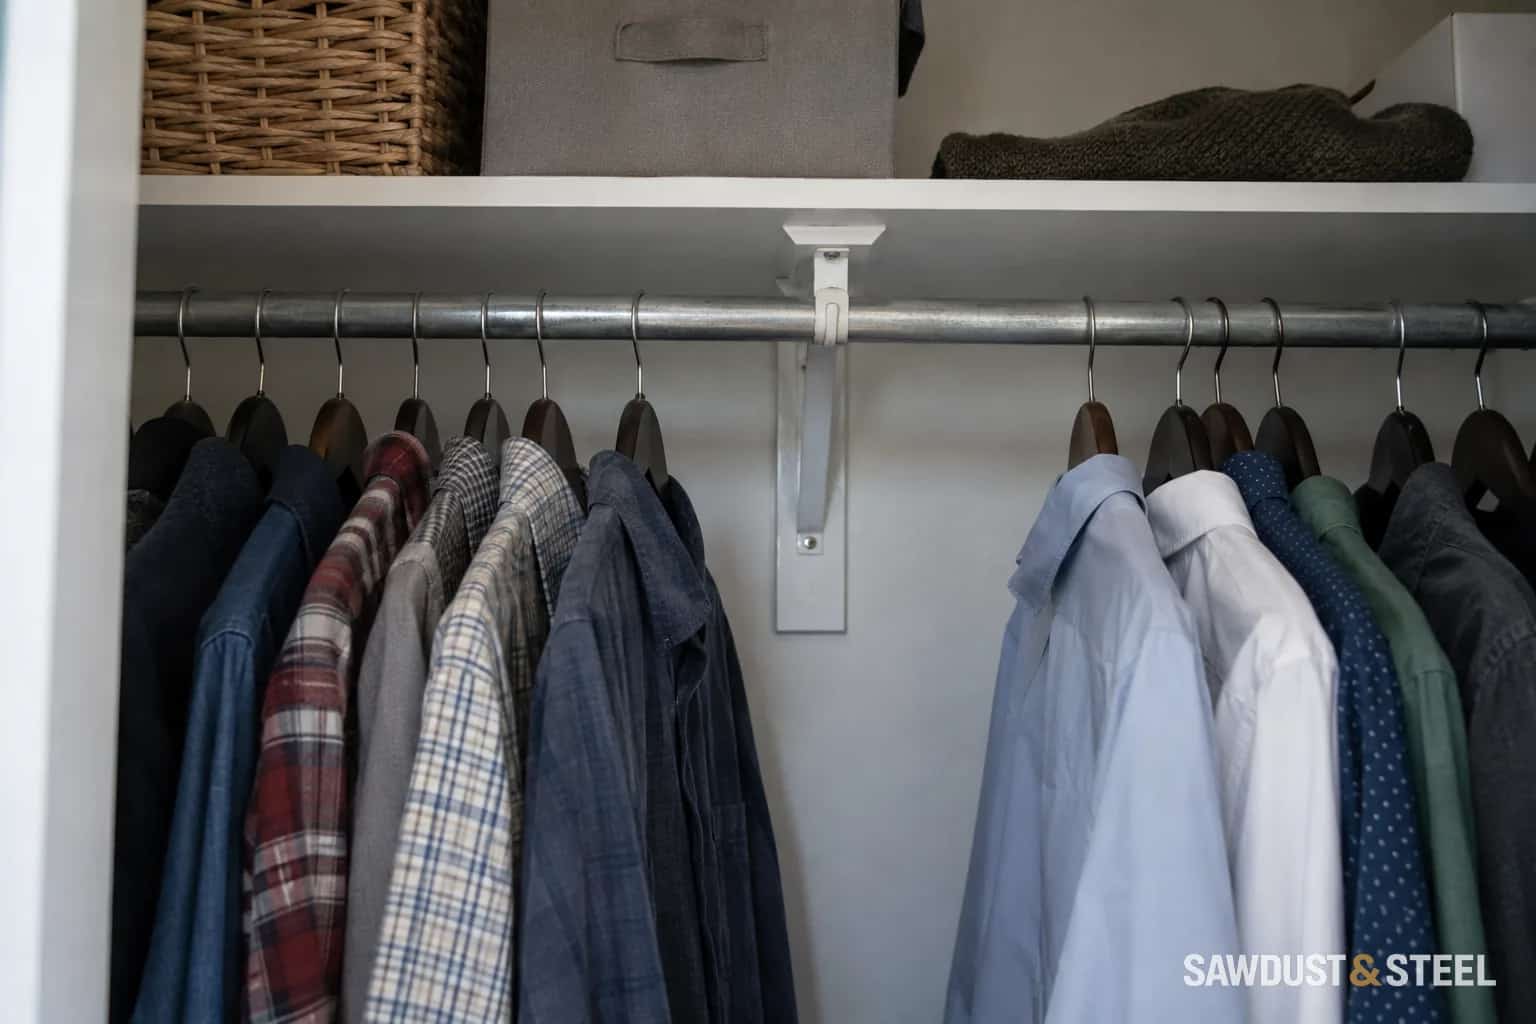
A pull-down clothes rail looks like an easy answer to high storage: pull the handle and the clothes come to you. Whether it is easier in practice depends on the person, the clothes and the mechanism's path through the wardrobe.
The width of the rail is only the first fit check. You also need the mounting arrangement, the arc travelled by the arms, the space occupied by the lowered garments and a handle you can control comfortably.
Start with the exact mechanism
Get the installation drawing and user instructions for the chosen model. Record its permitted cabinet width, mounting positions, load limits and any requirements for adjusting or distributing the load. Do not use dimensions from a photograph of a similar lift.
The Hafele wardrobe-lift mounting sheet specifies model-specific installation and loading conditions, including attention to load distribution. Obtain the complete sheet for the item you are purchasing from the supplier before setting out the cabinet. A product family name or a headline capacity is not enough to locate the mounting holes.
Check the cabinet side material and construction. The mechanism transfers its load through its mounting points, and a thin decorative panel should not be assumed suitable. Resolve any required reinforcement with the cabinet maker and hardware supplier before installation.
Draw the entire sweep
Mark the rail's upper position, lower position and the space swept between them. Include hangers and the longest garments intended for that rail. Check adjacent shelves, doors, handles and an opposite wall. A coat can hit something before the metal rail does.
The cabinet doors must open enough to clear the moving arms and clothing. With sliding doors, check the actual opening available when the chosen panel is parked. With hinged doors, include the hinge projection and any internal drawer that could be left open.
Stored position
Check garment depth, top clearance and access to the handle.
Lowering path
Keep arms, hangers and clothes clear throughout the movement.
Working position
Leave room for the user to reach, remove and replace garments.
Return path
Confirm the loaded rail can be guided back without catching or unexpected resistance.
If the wardrobe faces a narrow aisle, compare the lowered position with the walk-in closet space check. The mechanism may fit perfectly inside the cabinet and still occupy the space where you need to stand.
Weigh clothes rather than counting hangers
A dozen light shirts and a dozen winter coats are different loads. Put a representative group on a household scale using a suitable container or other safe weighing method, then include the hangers. Compare the result with the exact model's permitted load and operating conditions.
Do not pack all the heavy garments at one end. Follow the manufacturer's loading directions. Also check whether the mechanism has any minimum loading or adjustment requirements; assisted movement can behave differently with different loads. The supplier should explain how the selected model responds when nearly empty and when normally filled.
Keep some margin for the clothes that inevitably get added later, without inventing your own capacity rating. If the normal wardrobe exceeds the model's range, divide the storage or choose another arrangement instead of relying on careful handling.
Try the handle with the person who will use it
A showroom demonstration is worth arranging when reach or strength is the reason for buying. Test the handle at the proposed installed height, ideally with a representative permitted load. Check initial reach, pulling effort, balance and control during the return movement.
Do not assume a lift is accessible merely because it lowers. A handle may still be too high to start, or require an uncomfortable pull. Someone may need space for a mobility aid or a helper in front of the wardrobe. Include those actual conditions in the trial.
A simpler fixed lower rail can be the better choice when it keeps everyday clothes within reach without a mechanism. Double-hanging layout helps allocate upper and lower zones; reserve the higher section for someone who can use it comfortably or for less frequent storage.
Keep operation predictable
Install and adjust the unit according to its instructions, then demonstrate it with the normal load. Keep children away from moving arms and pinch points. Stop if the movement becomes uneven, a fixing loosens or the mechanism no longer behaves as instructed; do not keep pulling harder.
For an ordinary fixed rod that bows, use the separate closet-rod support guide. A moving lift is an access decision, not a substitute for repairing a weak static rail.