
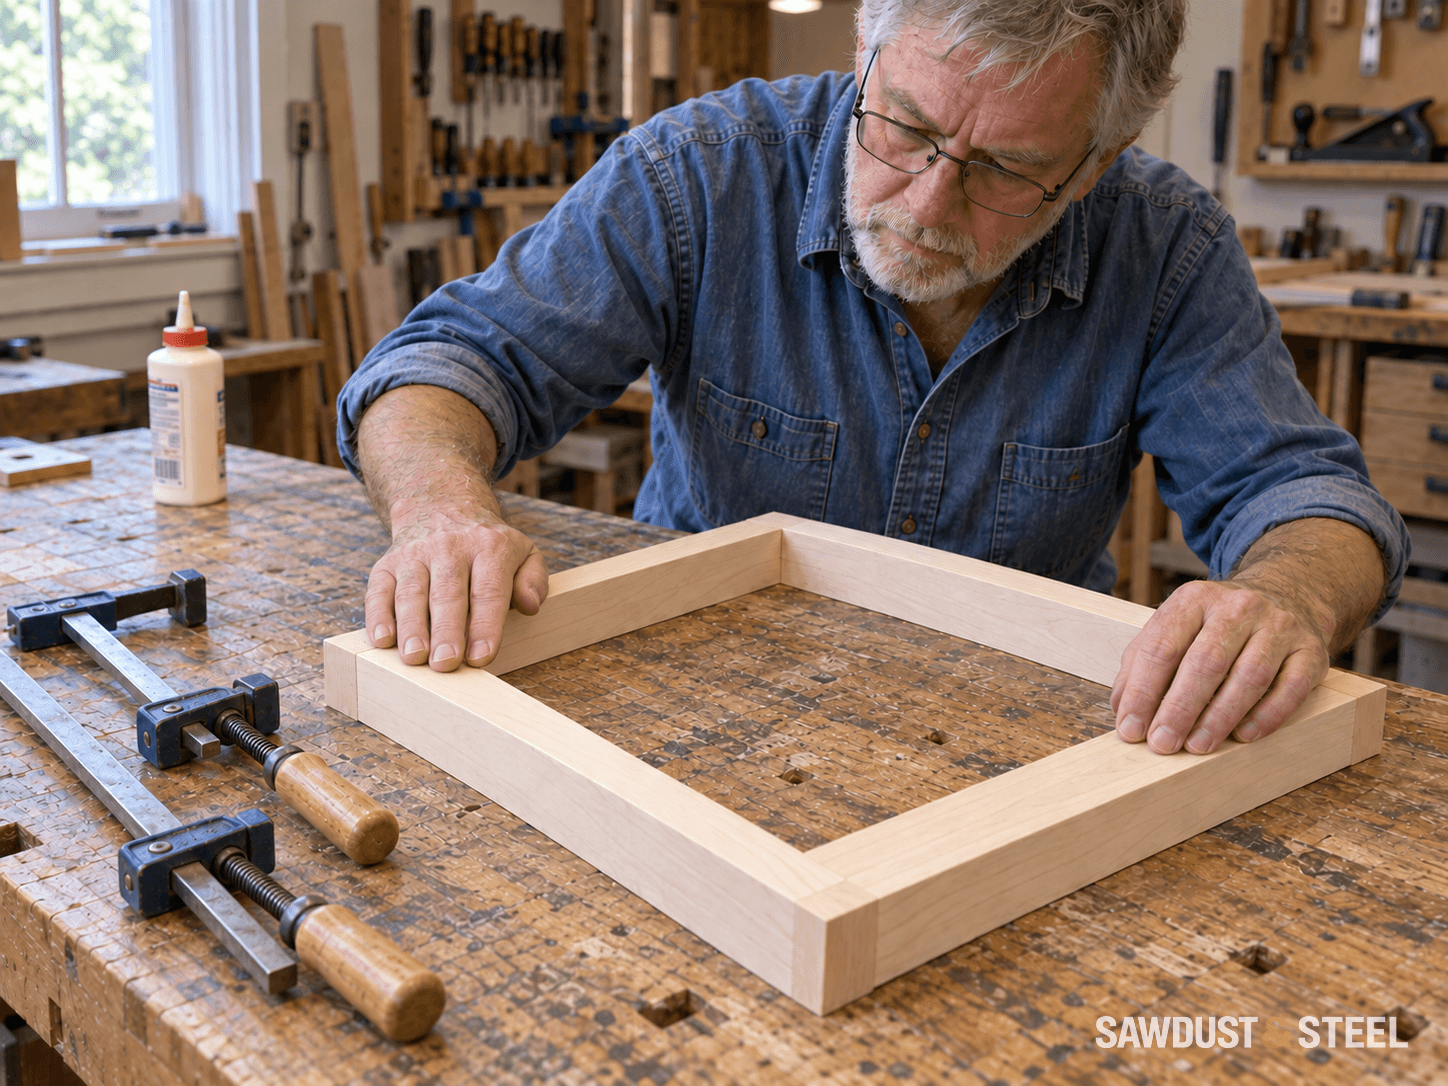
The first clamp fits. The second hits the first clamp's handle. The third is somewhere under the offcuts, which were carefully moved out of the way ten minutes ago. None of this is especially serious until the glue is already on the wood.
A dry fit is a complete rehearsal of the assembly, without adhesive. For a small frame, drawer or cabinet component, it answers more than 'do these pieces touch?' It tells you whether the right faces meet, whether the parts stay aligned and whether your hands and clamps can reach the places they need to reach.
Try the whole assembly, not just the difficult corner
Lay out the parts on a stable surface in their intended orientation. Identify the front, top and inside before the pieces become difficult to tell apart. A pencil mark across adjoining faces is often enough; put it where it can be removed or where it will remain hidden. Photograph the layout if several similar rails belong in different positions.
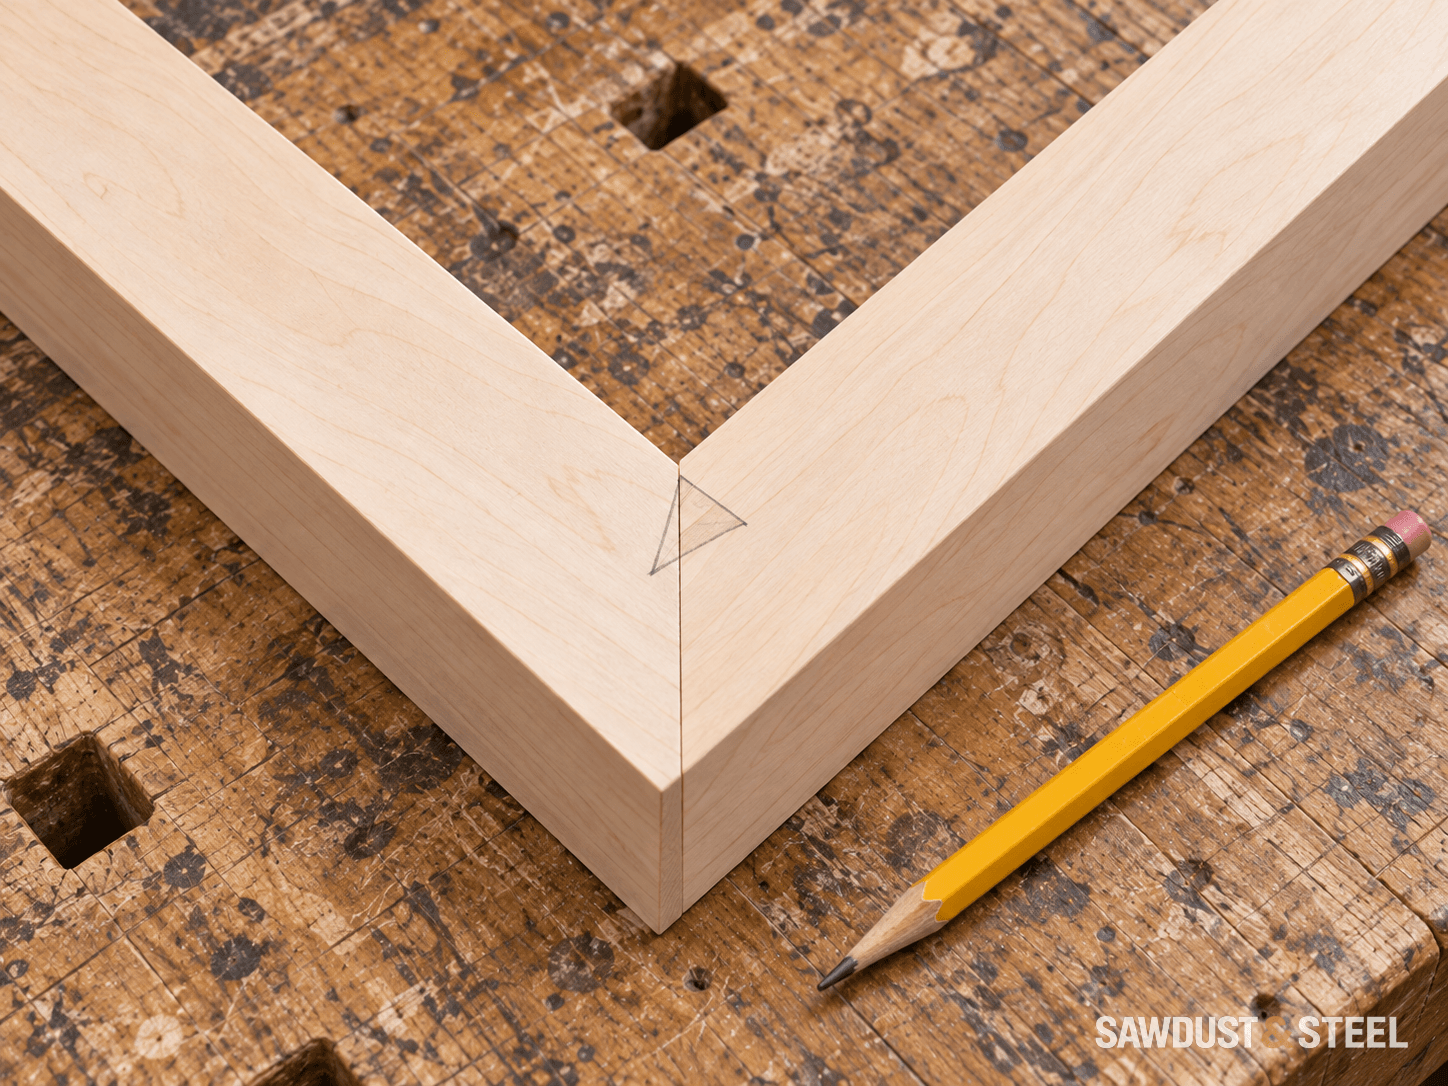
Bring the pieces together using the sequence you intend to use with glue. A joint that only closes when you wrestle the assembly against the floor needs attention. Check for debris, a misplaced component, an out-of-square cut or a joint that is too tight. Do not assume the glue will lubricate away a fitting problem.
Look at the whole shape while the joints are together. On a rectangular frame, compare its diagonals from the same reference points and check the corners. Sight across the assembly for twist. A frame can have four closed joints and still sit badly against the cabinet it is meant to fit. If it must fit an existing opening, bring that measurement or template into the rehearsal too.
Put every clamp in its actual working position
Open the clamps to the required span before you need them. Add the pads or cauls you plan to use, then check that the jaws land on supported surfaces. A clamp should draw the intended joint together without crushing an edge, bending a thin part or pulling the assembly out of line.
- Can each handle turn without meeting another clamp, the bench or the work itself?
- Can you still see the joint lines and check the diagonals after tightening?
- Can you reach the squeeze-out that will need cleaning?
- Can the assembly remain supported in this position while the glue sets?
Try moderate pressure and watch what moves. If a rail slides sideways or the frame lifts off the bench, solve that tendency now. More pressure is not a universal correction. Repositioning a clamp or changing the assembly order may do more useful work than leaning harder on the handle.
Lee Valley's gluing guide recommends laying out and marking parts, considering subassemblies, and dry-clamping to find access problems or missing tools. The useful habit is to rehearse the operation you will actually perform, including the uninteresting bits between the joints.
Use the glue's working time to choose the sequence
Read the exact adhesive's instructions before the rehearsal. Open assembly time and total assembly time are different limits. For example, Titebond Original lists 4-6 minutes of open time and 10-15 minutes total assembly time at 21°C and 50% relative humidity. Those are product-specific conditions, not a promise that every glue gives you fifteen leisurely minutes before the pieces meet.
If the dry run already feels rushed, simplify it. You may be able to assemble two sides first and join them later, provided the design still lets the remaining pieces go in. Work out which panel, bottom or rail must be captured before a frame closes. Discovering the drawer bottom on the bench afterward is a very effective way to remember it next time.
An Ontario garage in November also deserves a temperature check. The same Titebond product specifies temperatures above 10°C for the glue, air and materials. Moving a cold board into a warm room does not immediately warm its core. Choose a suitable workspace and adhesive instead of improvising a drying treatment after assembly.
Take it apart in a way you can repeat
Once the rehearsal works, set the clamps and pads back within reach. Keep matching parts together. Make room for the glued assembly to remain undisturbed, and gather the cleanup materials specified for the adhesive. Do not use an important finished surface as the overflow area for wet glue.
Remember that some parts are meant to move. A dry fit does not give permission to glue every touching surface, particularly a wide solid-wood panel held within a frame. Follow the construction plan and hardware instructions. For exterior work, the separate outdoor-glue guide covers exposure and product selection; a good indoor rehearsal does not make an interior adhesive weatherproof.
The useful stopping point is simple: you can put the piece together, clamp it, check it and leave it supported without inventing a new manoeuvre halfway through. Then open the bottle.