
The siding sample is on the kitchen table. The insulation discussion usually starts a little later, when someone asks whether the wall could do more while it is uncovered. Ask that question before the trim and windows have been ordered. Adding thickness changes a surprising number of small things around a house.
Begin with the wall beneath the finish
Record the existing cladding, available wall drawings and any history of leaks. Ask what inspection openings are needed to establish the sheathing and existing control layers. A dry-looking patch near the front door does not describe the whole elevation, especially beneath a leaking window or behind an old deck ledger.
NRCan's exterior wall retrofit guidance identifies re-siding as an opportunity to add insulation. The opportunity is access, not permission to cover damage. Resolve wet or deteriorated material and the water-entry cause before a new layer makes it difficult to see. The rotted-sill guide explains how to turn exposed decay into a defined investigation and repair scope.
If a competing quote leaves the old cladding in place, compare the full overlay assembly with the removal scope. Saving demolition is useful only if the concealed condition, attachment and drainage details are understood.
Walk the perimeter with a list
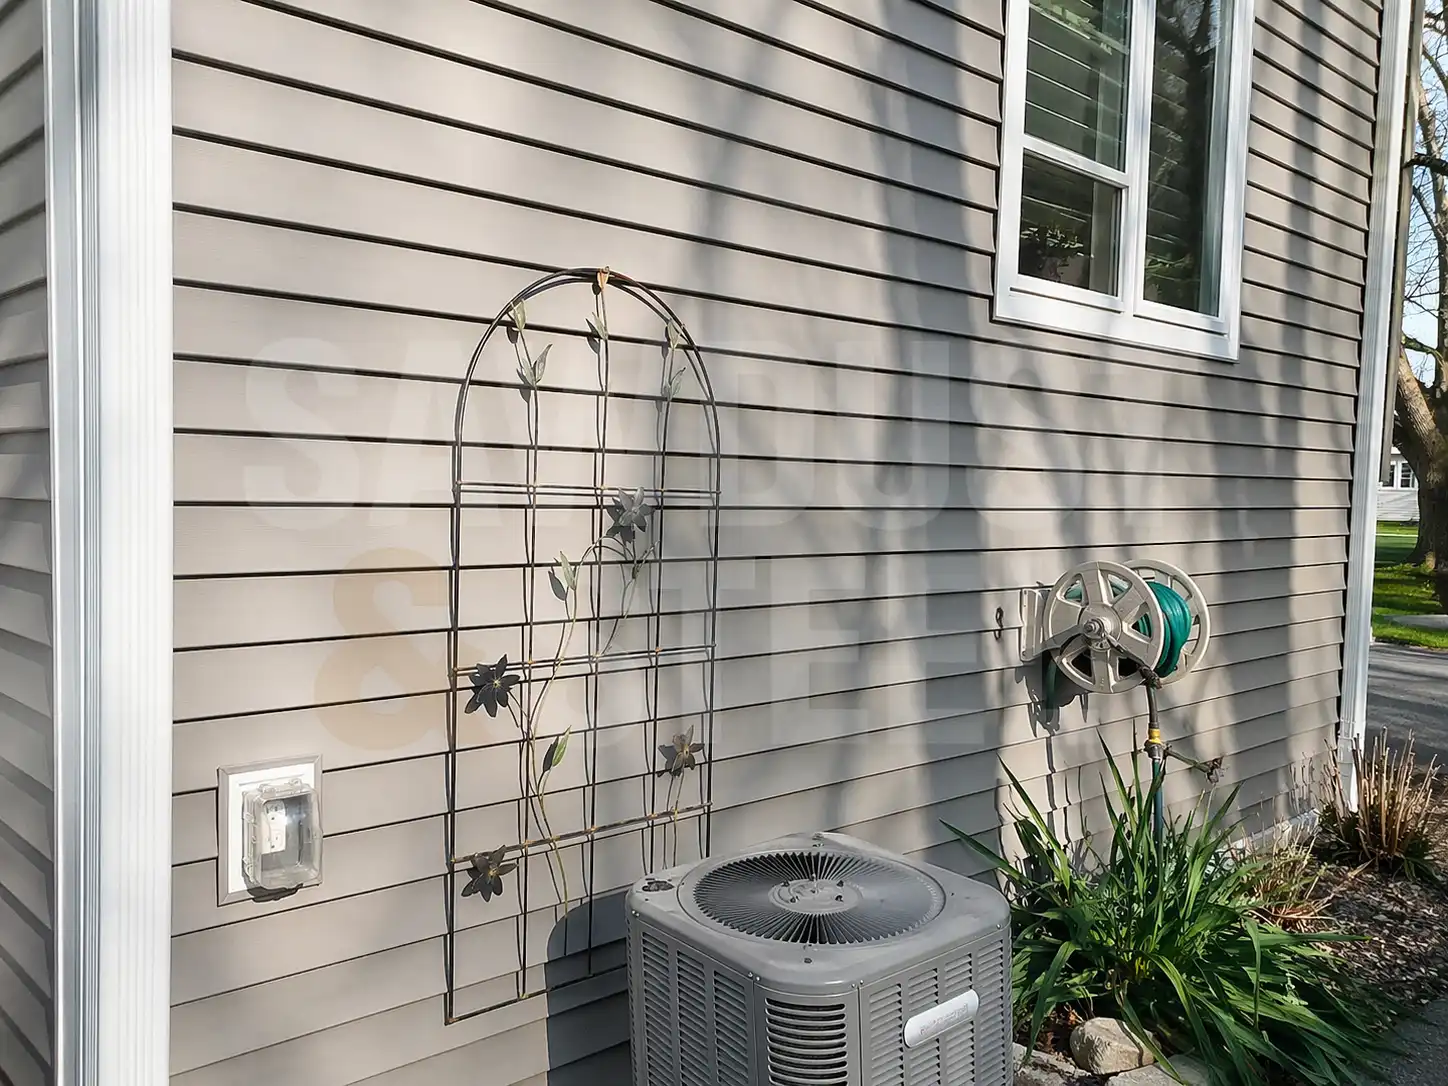
Look at windows, doors, hose taps, lights, receptacles, vents, meters, downspouts, roof edges and deck connections. Ask what remains in its existing plane and what moves outward. A small fixture can require a mounting block, an extended connection and a new weather detail; it does not move successfully just because someone uses a longer screw.
| Edge or fixture | Question for the scope |
|---|---|
| Window and door returns | How will flashing and trim meet the new cladding plane? |
| Vents, taps and electrical fittings | Which trades move or extend them, and how are openings sealed? |
| Roof and gutter edges | Does the finished wall still meet the water-shedding detail? |
| Decks and other attachments | What access and connection changes are required? |
Measure the proposed finished depth at an actual opening. Hold a mock trim sample in place and view it from the path. An exterior insulation upgrade can produce deeper returns and a different relationship between the window and cladding. That can look good, but it should be an approved detail rather than a delivery-day surprise.
Identify each layer's job
Ask the designer to name the insulation, air-control layer, water-management layer and cladding attachment. Some products may perform more than one function, but the transitions still need details. NRCan explains the different routes taken by air and water vapour; adding a low-permeance layer without understanding the existing wall is not a reliable shortcut to a better wall.
The quote should identify how the insulation is held and how the cladding is supported through or around it. Fastening depends on the actual materials, thickness, loads and substrate. Ask for the accepted system detail rather than choosing screws from the total new wall thickness. Keep the planned drainage and ventilation space compatible with the selected cladding.
Decide what happens to the windows
Keeping sound windows may be sensible. Replacing deteriorated ones at the same time may avoid reopening the surrounding work. In either case, make the opening detail explicit: head flashing, jamb returns, sill drainage, interior air sealing and who repairs uncovered damage.
Use the insert versus full-frame comparison to name what stays. A window estimate and a siding estimate can each be reasonable while leaving the connection between them unpriced. Ask both installers to review the same section and agree where their work meets. Include temporary protection if the projects run on different dates.
Compare the incremental work honestly
Request a base re-siding scope and a clearly described insulation alternative with the same cladding and finish level. Separate the insulation material from the extra trim, fastening, service relocation and labour. That tells you what the upgrade really adds while the access work is already happening.
For a staged project, ask where an insulated elevation will stop and how the temporary edge will be finished. Do not let an attractive front elevation create an unresolved joint at the side wall. A complete plan may support doing the whole envelope together, or it may identify a clean staged boundary. Price the boundary, not just the area.
Save the details before they disappear
Photograph the repaired sheathing, opening flashings, service penetrations and attachment arrangement before the cladding covers them. Record the products and approved revisions. At handover, check that vents, taps and electrical fittings remain usable and that downspouts still discharge properly.
Inspect the first wet-weather result from the ground and report new staining or water entry. The new siding is the visible part of the job; the careful connections behind it are what make the insulation opportunity worth taking.