
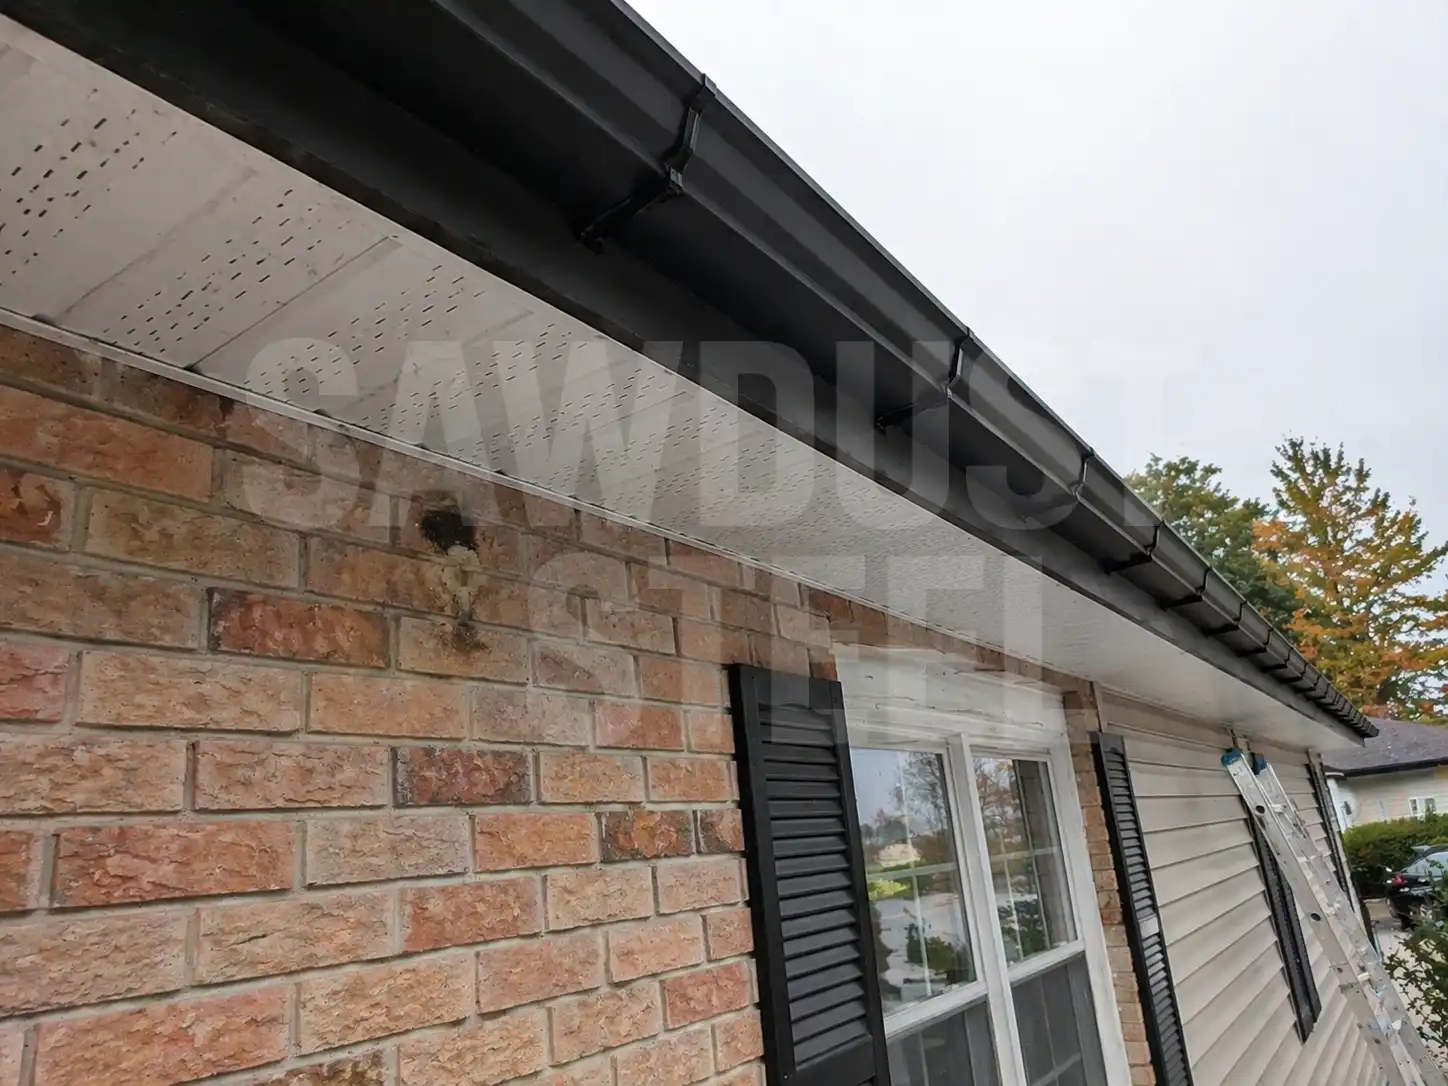
The gutter can hide the worst part of a fascia board. Peeling paint below it may be the first visible clue, or a hanger may begin to pull away. Keep clear of loose sections and arrange an inspection with safe access.
Separate water damage from the cosmetic cover
Ask whether the inspection includes the wood behind any metal wrapping, the gutter attachments and the roof-edge detail above. A new cap can make the edge look excellent while leaving the same weak fastening base underneath.
IKO Blueprint for Roofing explains that drip-edge flashing directs water away from the fascia and into the gutter. That relationship belongs in the assessment alongside gutter overflow and leaking joints.
Expose and assess
Remove enough covering and gutter to identify damaged material.
Resolve the wetting route
Coordinate the roof edge, flashing and gutter condition.
Restore sound attachment
Repair the supporting material and reinstall compatible components.
Document before covering
Keep photographs of the repaired backing and water detail.
Ask what happens if damage extends farther
The final extent may be unclear until the gutter and cover are removed. Agree in advance how additional damage will be documented and approved. If decay extends into roof framing or other structural members, that needs appropriate assessment rather than an improvised splice concealed by new fascia.
Include the soffit edge in the review. A loose soffit panel may be a separate channel problem, or it may depend on the same damaged area. Reuse sound components where practical, but do not make reuse the condition that prevents a proper connection.
Plan the gutter reset, not just the new board
The work description should cover hanger attachment, the roof-edge relationship and the discharge route. It should explain whether existing gutter sections can be reused or need replacement. Matching the visible colour is only one part of the repair.
After completion, observe the roof edge during ordinary rain from a safe ground-level position. Record any water still running behind the gutter. The separate drip-behind-the-gutter guide helps distinguish that observation from water overtopping the front. Keep the contractor's before-and-after photographs with the repair record.