
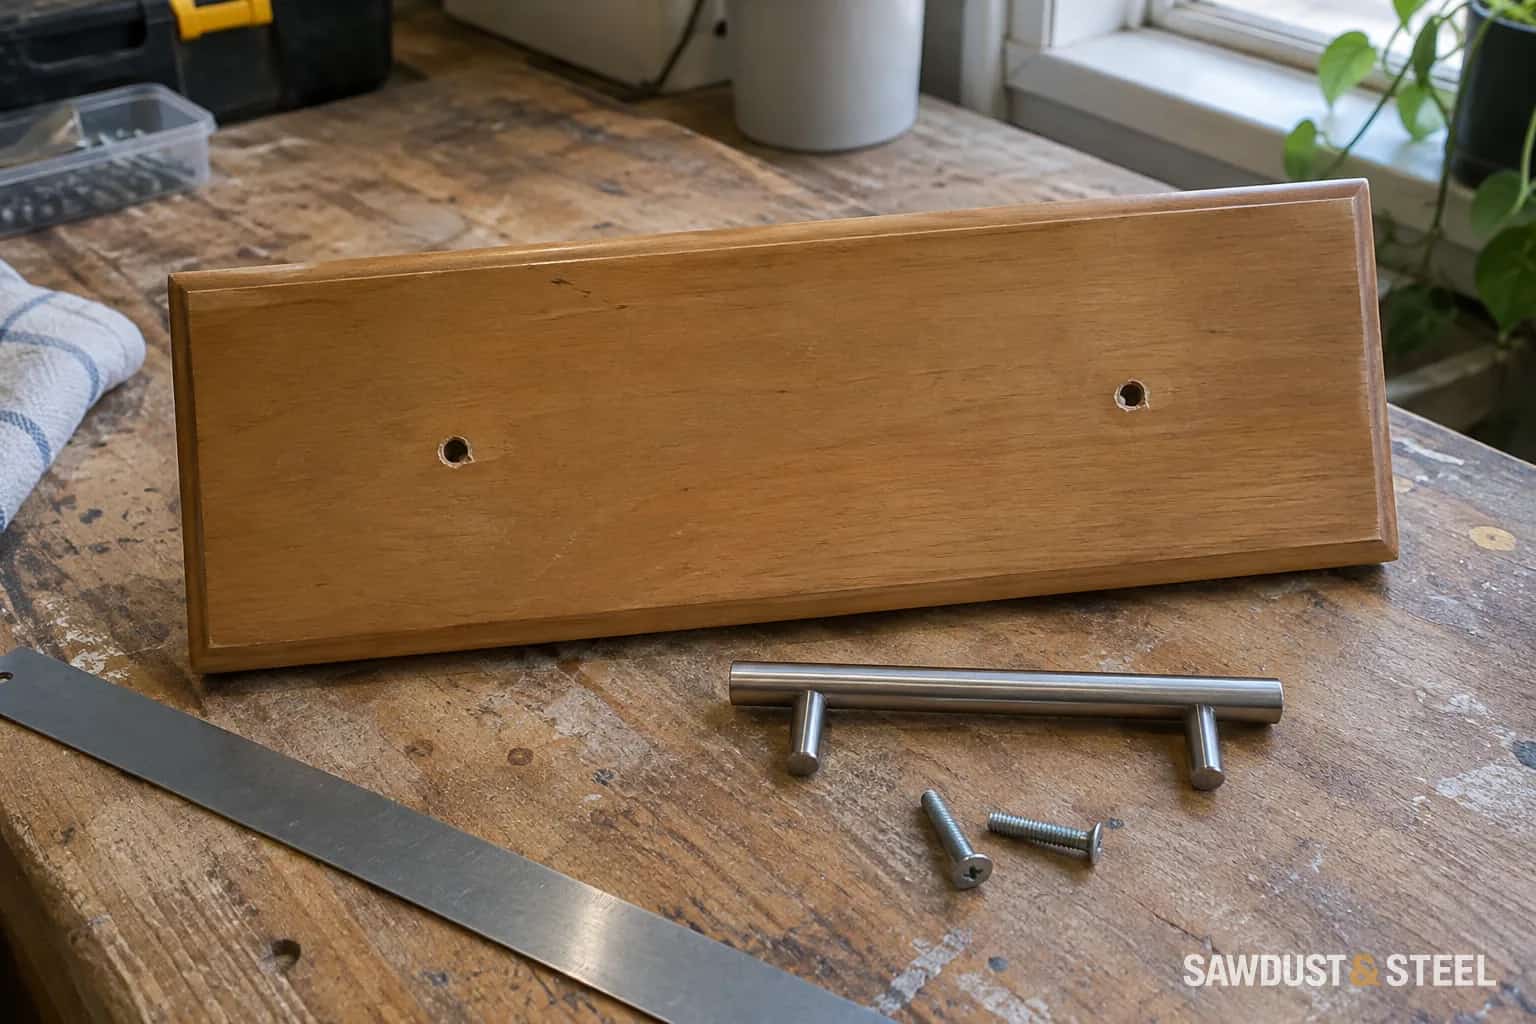
The new handle is the same length as the old one. Unfortunately, its screws are not in the same places. This is how a five-minute kitchen refresh turns into a discussion about filling holes.
Replacement pulls are normally chosen by the distance between their fixing centres, not by their overall visible length. Measure that distance carefully, then check the details that the centre measurement cannot tell you: screw fit, base footprint, projection and clearance.
Measure the centres, not the ends
Hole centres
Distance between the fixing centres; this matches existing holes.
Overall length
Visible end-to-end size; this does not determine hole spacing.
Base footprint
Area that must cover old marks and sit on sound finish.
Projection and screws
Finger space outside; correct fixing engagement behind.
Remove one representative pull and keep its screws labelled with the door. Measure from the centre of one hole to the centre of the other in millimetres. If the hole edges are clearer than the centres and the holes are the same size, measuring from the same edge of each gives the same spacing. Avoid mixing the outer edge of one with the inner edge of the other.
Check more than one front. Older kitchens sometimes contain a mix of hardware sizes, especially after a drawer was replaced. Record the counts for each spacing and note any knobs, cup pulls or unusually thick drawer fronts separately. A quick phone photograph of the measuring tape helps prevent a transcription mistake later.
Amerock's Rift BP36900G10 product listing is a useful example: it lists 128 mm centre-to-centre spacing and 140 mm overall length. Those are two different dimensions on one pull. Compare the dimension labelled centres, hole centres or C-to-C when matching existing holes.
Check what the old handle covered
Clean the area gently using a method suitable for the cabinet finish. Then look for a darker outline, compressed paint, scratches or enlarged holes under the old bases. A new pull with smaller feet can fit perfectly while revealing every mark the previous hardware concealed.
Hold the sample in position before tightening it. Check its base footprint against the old marks from both standing height and an angle. A backing plate can sometimes cover an old footprint, but choose it intentionally and test the combined projection and appearance. Do not assume filler will disappear under a clear or stained finish.
If paint is lifting around the holes, investigate that first. Our cabinet-paint peeling guide separates a weak coating from ordinary wear and loose hardware. Tightening a new handle onto unstable paint can simply move the chip to a new location.
Match the screws as carefully as the pull
Door thickness is only part of the fixing stack. A drawer may have an applied front and a separate box behind it, so the screw passes through more material than it does on a door. Measure the actual stack and follow the hardware manufacturer's required thread and engagement.
Do not force an old screw into a new pull because its diameter looks close. Metric and imperial threads can appear similar at a glance. The Amerock example supplies particular screw sizes for that product; other manufacturers and models may differ. Keep each pull with its supplied hardware until the fit is established.
A screw that is too long may bottom out before the handle is tight. One that is too short may barely engage. Neither is fixed by overtightening. Use the correct length and thread, and tighten evenly so the bases sit flat without damaging the cabinet face. If a hole is badly enlarged or split, repair the substrate rather than asking extra torque to hold it together.
Test the handle in use
Open the door or drawer fully with the sample fitted. Check your fingers behind the pull, nearby appliance handles, adjacent fronts and the inside corner of an L-shaped run. Our hardware and appliance conflict guide covers those movement checks in more detail.
Try the largest and smallest fronts before committing to one style throughout. A long pull may look balanced on a wide drawer but feel crowded on a narrow door. The finish should also work under the kitchen's evening lights, where a brushed surface can look different from a showroom sample.
Once the sample passes, count again and order the exact model and finish code. Keep a spare if practical, along with a note of the centres and screw specification. Replacing hardware is still a small job. Measuring the right things keeps it that way.