
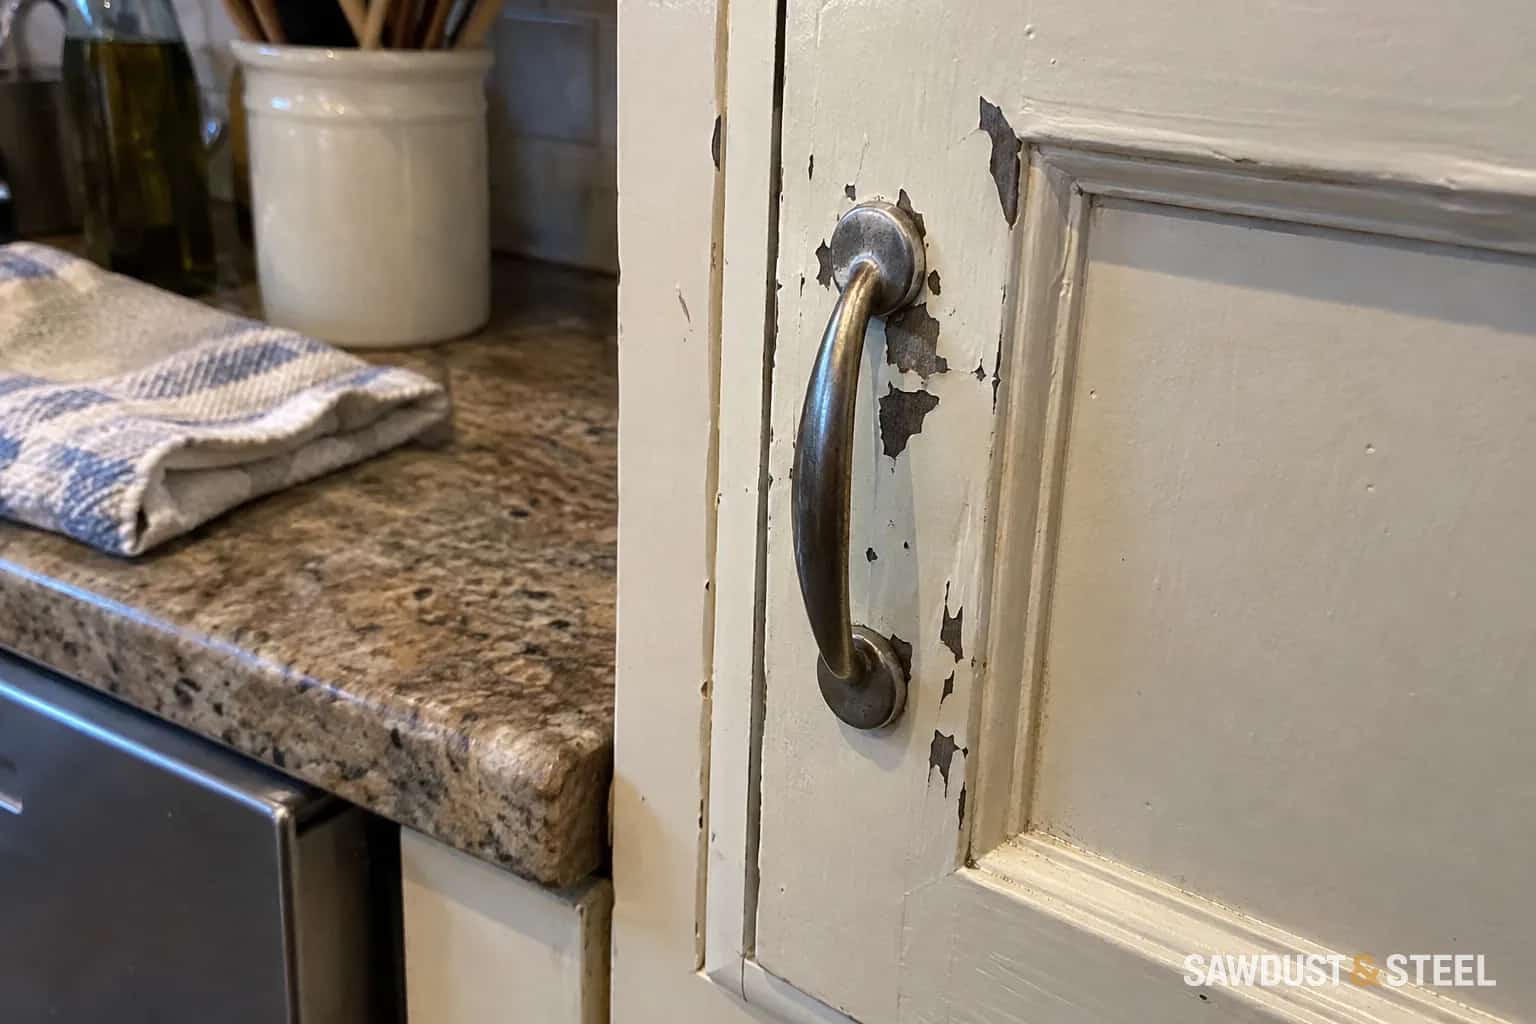
The first chip appears beside the handle. A week later, the edge lifts when you wipe it. Adding another dab of paint feels productive, right up until that dab joins the peeling layer beneath it.
Start by finding out what is letting go. Local wear around a pull can involve grease, repeated rubbing, a loose handle or a coating that never bonded properly. Paint that is still soft is a different problem from a hard film lifting cleanly off an older finish. The repair should follow the failure, not the colour match.
Look at the back of the chip
Soft but attached
Check curing time, temperature and product instructions.
Hard film lifting
Investigate contamination and coating compatibility.
Wrapped skin lifting
Resolve the door surface failure before painting.
Swollen or wet core
Find moisture damage and decide whether the front remains repairable.
Remove one door only if you can do so safely and label its position. Examine an already loose fragment rather than gouging a sound area. Does it expose bare wood, an older glossy finish, primer or a plastic skin? Photograph the layers in good light. That small edge can tell a paint supplier much more than a photograph of the whole kitchen.
Find out what the door is made from. Solid timber, veneered board, painted MDF and wrapped fronts need different preparation decisions. A plastic film lifting from its core is a substrate problem; a new paint coat cannot fasten the film back down. Swollen board near a wet edge also needs its moisture source addressed before refinishing.
Check the hardware at the same time. A pull that rotates or rocks can rub the finish repeatedly. A rough edge on the handle base may mark the coating. Fix that mechanical problem before asking paint to survive it. If replacing hardware, use our hole-spacing guide to avoid adding another repair around the same spot.
Separate contamination from cure time
Benjamin Moore's cabinet-painting guidance puts cleaning, surface preparation and suitable primer ahead of the finish coat. Follow the instructions for the products you actually used, including compatibility with the existing finish. A strong primer cannot reliably compensate for grease left underneath it.
The handle area gets hand oils, cooking residue and repeated wiping. Clean with a product approved for the surface and coating system, then follow its rinsing and drying directions. Do this before abrasion so you are not simply distributing residue across the door. Avoid improvising a mixture of cleaners or soaking vulnerable edges.
If the coating dents under light contact but remains bonded, investigate curing conditions and timing first. Our painted-cabinet return-to-use section explains that separate question. If a firm film peels away in sheets, waiting longer is unlikely to restore the missing bond underneath.
Prove the repair on one representative area
Before sanding an older coating, consider its age and testing needs. Health Canada's lead-paint guidance is the starting point for suspected older lead paint; do not dry-sand an unknown old coating just to see what happens.
Once the material and preparation method are established, choose a door that represents the problem rather than the easiest untouched corner. Remove failed material back to a sound edge using the agreed method. Feather a repair only where the surrounding coating is genuinely secure. If the edge keeps lifting as you work, reassess the scope instead of building a larger mound of filler and paint.
Ask the coating supplier for a complete compatible system: cleaning, abrasion where appropriate, primer, finish and drying conditions. Record the product names and batch information. Apply the test repair and allow the specified time before judging adhesion or returning it to heavy use. An informal tape pull is not a substitute for a manufacturer-specified adhesion test.
Decide how much to repaint
A small isolated defect can justify a local repair, but sheen and colour differences may remain visible. Repainting the complete front often gives a more consistent appearance. If several doors release at the same old layer, plan for a wider preparation problem rather than chasing chips individually.
Check the repaired door under the actual kitchen lighting with the handle installed. Clean it normally after the required cure period and inspect the repair boundary. Keep the handle snug without crushing the finish. Do not judge success while the paint is freshly wet and everything looks temporarily perfect.
The useful stopping point is a stable substrate, a repair that survives ordinary handling and a repeatable method for the remaining fronts. That is slower than touching up seventeen chips tonight, but considerably faster than touching them up every month.