
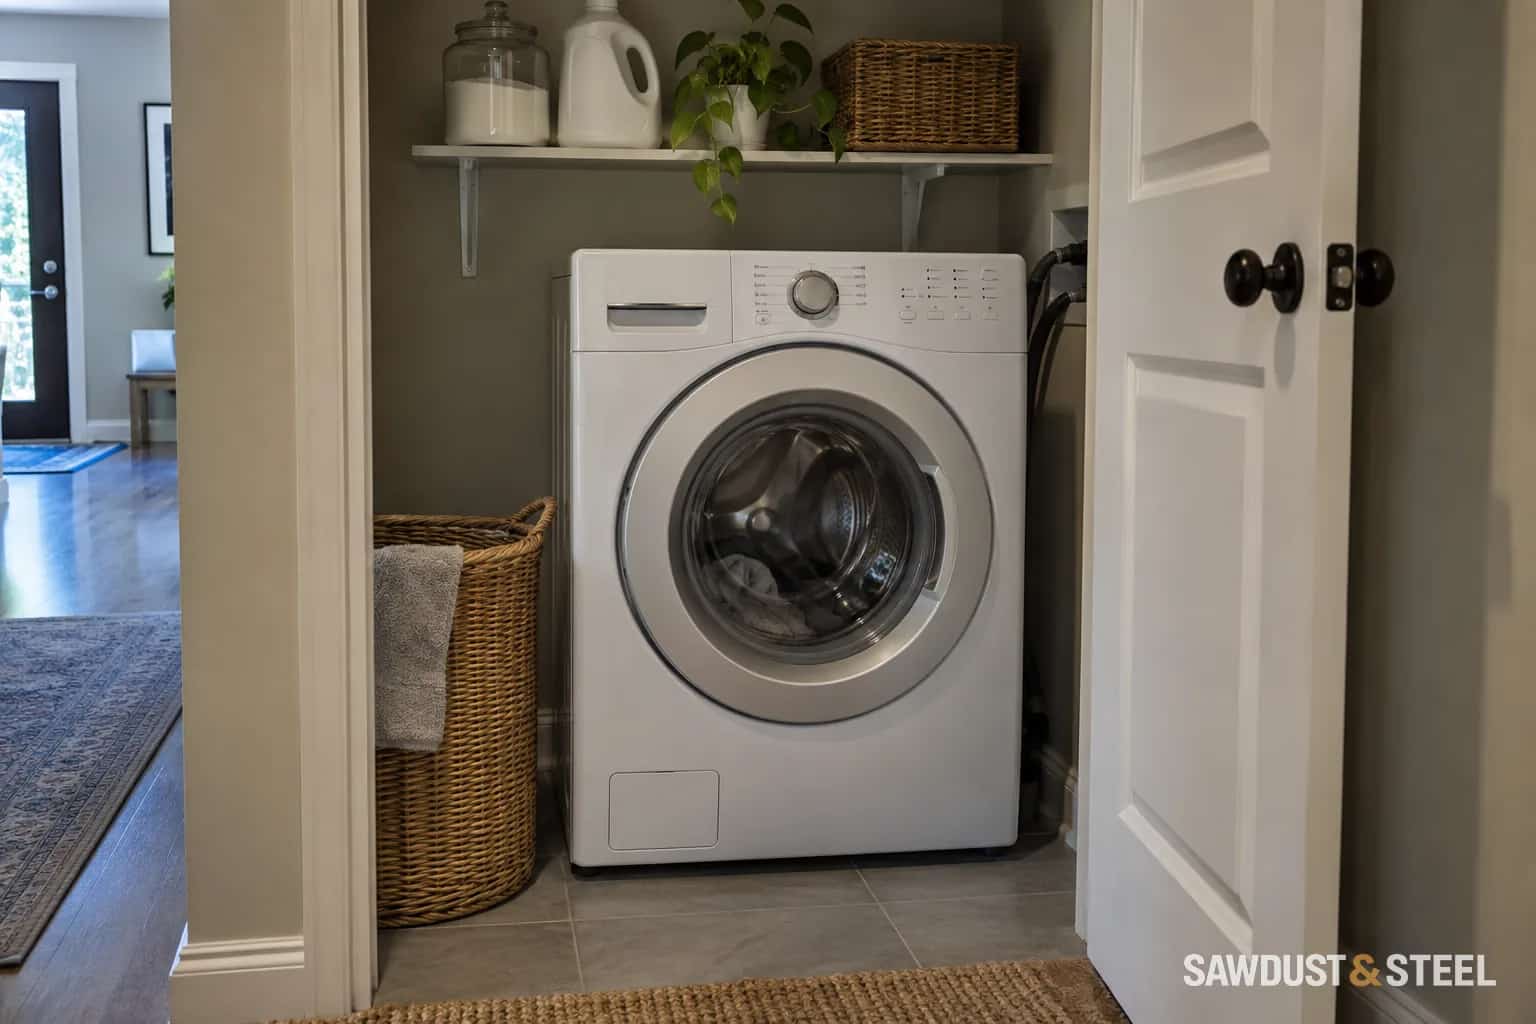
The counter looks so natural above a pair of machines that it is tempting to let them hold it up. Do not make the appliances part of the furniture structure. They need to operate, vibrate within their normal limits and come out again.
Draw a section through the counter and machines
Record the finished floor height, appliance height with adjusted feet or approved base, counter thickness and supporting rails. Mark any drawer that opens upward or dispenser that needs access. Include the rear connections and any drain pan; those details can change the finished fit.
Whirlpool washer and dryer sizing guide emphasizes connection space and model-dependent appliance dimensions. Its general sizing examples are a starting point for planning, not the clearances to copy into a custom counter drawing.
Installed appliance height
Include feet, approved bases and the actual finished floor.
Manual clearance
Record the model's required space above and around it.
Support depth
Show rails or brackets below the counter, not only its top line.
Removal opening
Confirm the machine can pass out after the room is finished.
Design support for the chosen countertop material
A timber top, laminate top and stone slab do not have the same spanning and support requirements. Have the fabricator or carpenter specify suitable supports for the material and width. Avoid a generic promise that a certain thickness can bridge any pair of appliances.
End panels, cabinets or wall supports need appropriate attachment and must leave the machines their required space. Do not screw a support into an unknown wall location near pipes or wiring. The counter should remain stable if both appliances are removed.
Make removal an ordinary task
Show how the washer can slide out without cutting a fixed front rail, damaging flooring or disconnecting an inaccessible valve. If part of the counter must be removable, use a deliberate, documented detail that the service technician can understand.
Check shutoff access with baskets and storage in place. For a vented dryer, preserve connector depth behind the machine. A deeper counter may be the cleanest way to accommodate a valid appliance position.
Listen during the installation check
Have the installer confirm normal operation after the counter is fitted. If the machine strikes the top or support, review the clearance and the washer installation. Do not use the counter as a restraint for a shaking machine. Finish by checking controls, drawers and door swings from the position where laundry will actually be done.