
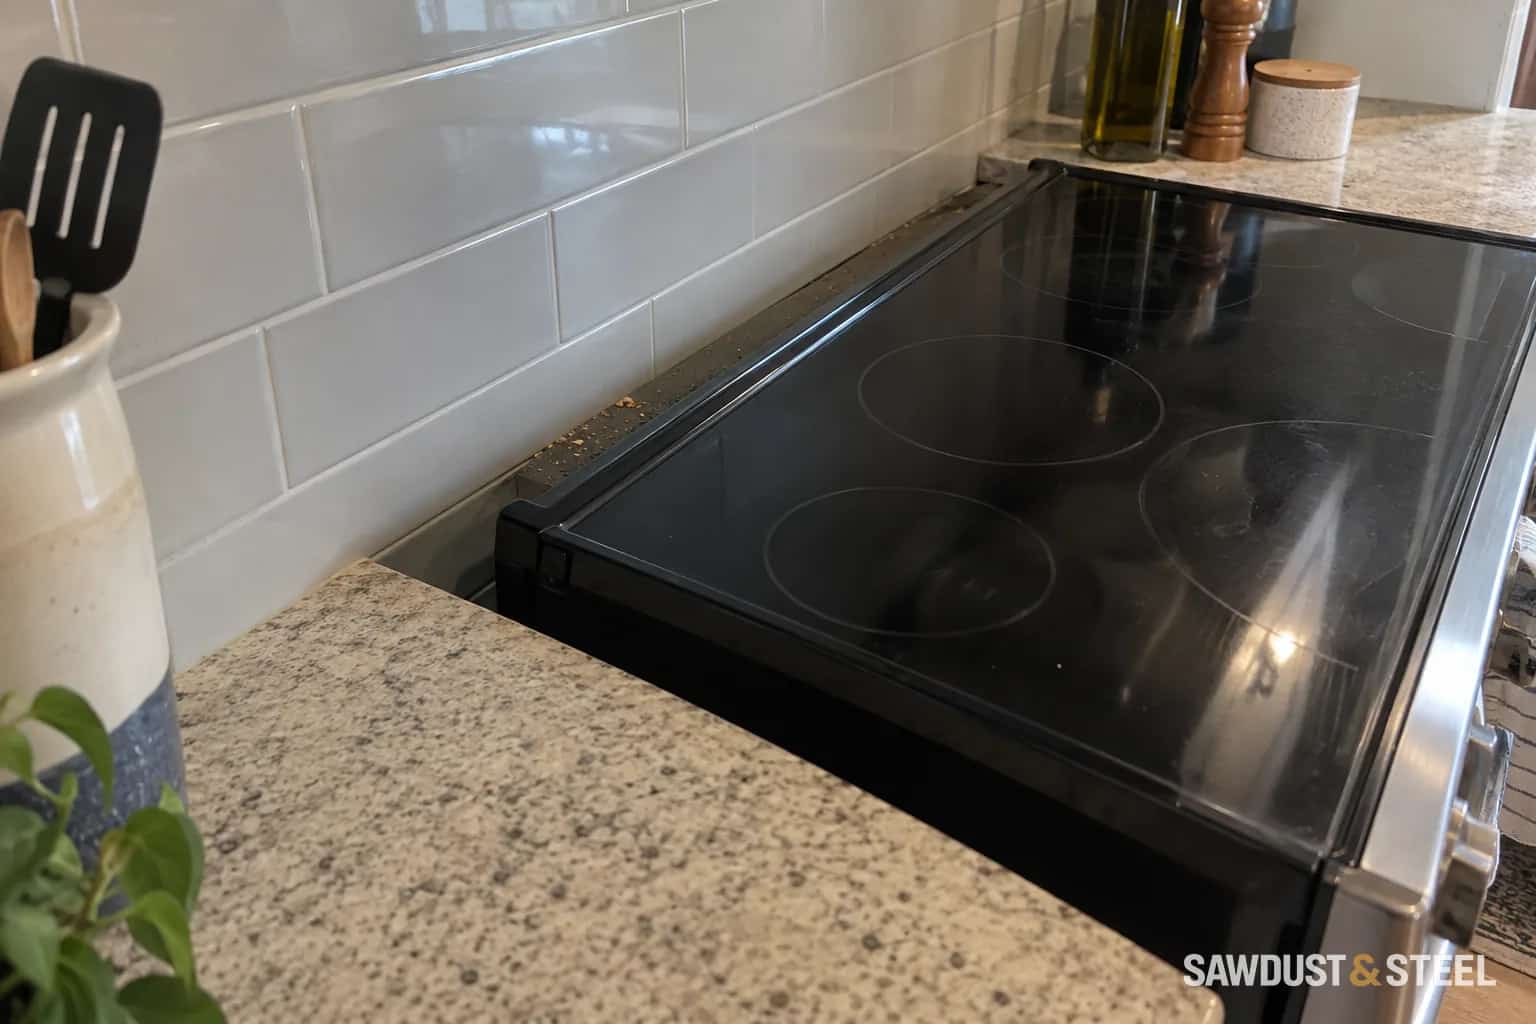
The stove is back between the cabinets, the counter edges line up, and the cleaning job appears finished. One small detail remains behind the appliance: has the part that restrains it actually caught? Appearance from the front cannot settle that question.
What the bracket is supposed to do
An anti-tip device restrains a range when weight or force acts on its open door. Many designs capture a rear levelling foot; other appliances use different arrangements. It is separate from the feet that make the cooking surface level. A range can stand level and still be unrestrained.
GE's anti-tip guidance requires the supplied device on its covered ranges and explains how to check engagement. The important word is engagement: finding a bracket nearby, or remembering that one was fitted years ago, does not establish that it still holds this appliance.
Start with what changed
| What happened | What needs checking |
|---|---|
| The same range was pulled out for cleaning | That the appliance returned along the correct path and re-engaged its device. |
| New flooring was installed | Whether the changed floor level or finished position affects the bracket and foot relationship. |
| A different range replaced the old one | The new model's supplied or approved device and installation layout; the old bracket may not match. |
| The range stops short of the wall | Possible obstruction, service connection or bracket misalignment before anyone pushes harder. |
| The bracket cannot be identified | Model instructions and an installer check, rather than a stability experiment. |
For a replacement, keep the model number and installation sheet together. Ask the installer to confirm the correct bracket was fixed to the specified surface and is engaged after the final levelling. If a flooring contractor moves the appliance, agree who will make that final check before work begins.
Use a model-approved check you can do without moving the range
Some ranges allow a visual check after removing a storage drawer. GE limits its published drawer-and-flashlight method to particular 30-inch electric ranges with removable drawers; it excludes gas ranges, double ovens and warming-drawer models from that method. A removable-looking panel is not permission to take it off.
Find the checking section in your own manual first. Where a simple visual check is provided, look for the actual retained foot or other specified connection, not merely a piece of metal on the floor. If the view is blocked or the result is uncertain, ask the installer or appliance service company to verify it. Do not pull a connected gas range out to improve the photograph, dismantle service panels or improvise a forward-tip test.
Never stand, sit or place a heavy load on the open oven door to see what happens. Health Canada's tip-over advice explains why climbing and leaning on appliances can make apparently stable equipment dangerous. Keep children away from an appliance awaiting correction.
If it misses, correct the installation
A rear foot beside the bracket is an installation problem, not a reason to wedge the stove in tightly with cabinet trim. Send the installer the appliance model, photographs available without moving it, and a description of the work that preceded the problem. If the supplied device is missing, obtain the correct replacement through the appliance maker.
Do not crush a hose or cord to make the front sit flush. Our range-gap guide separates a normal installation gap from an obstruction. The final handover should include the range in its intended position, level, with its restraint verified and services undamaged.
A new cooking appliance can change more than this one connection. If the renovation also includes separate induction cooking, check the drawer space beneath the cooktop before approving cabinetry.