
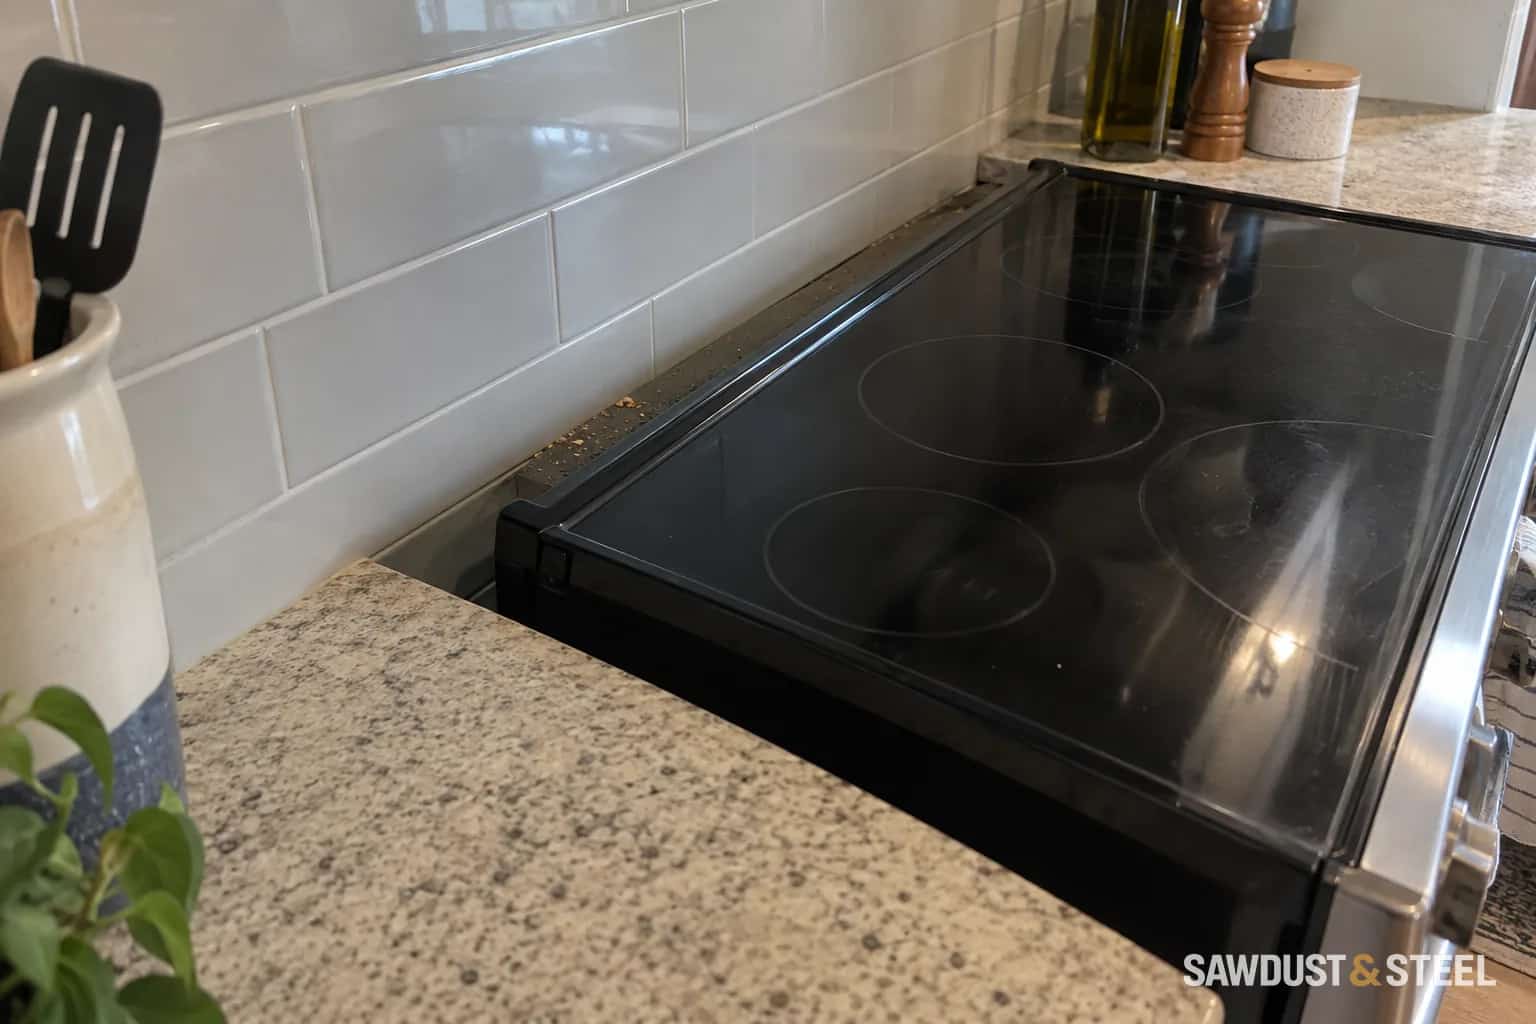
A client in Milton sent us a photograph of a lovely new range and a not-lovely strip of darkness behind it. The old cooker had a tall back panel. The new one did not. "Can we just put a bit of wood there?" was the question. We started with the model number instead.
Width is only one of the measurements
Two ranges described as the same width can have different body depths, rear projections, ventilation details and countertop requirements. Whirlpool's comparison of slide-in and freestanding ranges describes the different backguard and installation arrangements. Those differences can expose unfinished areas that the previous appliance concealed.
Read the drawing for the exact replacement, including its required opening and the permitted location of electrical or gas services. Check the backsplash thickness too. A tile layer added after the original kitchen can change where the appliance stops.
Do not solve an obstruction by pushing harder
The range may be sitting correctly, or a service connection may be preventing it reaching the intended position. Have the installer establish which. Do not force it back, compress a hose, crush a cord or remove a spacer because the front looks better without it.
The anti-tip device also needs to remain correctly installed and engaged. Whirlpool's anti-tip guidance treats that as an installation check, not a decorative extra. Ask the installer to verify it after the final positioning; do not experiment by climbing or loading the open oven door.
Choose the filler after the fit is right
| What you find | What to discuss |
|---|---|
| A gap anticipated by the model's instructions | The specified rear trim or a compatible accessory. |
| Old countertop geometry that does not match | A countertop modification or replacement detail agreed with the fabricator. |
| A cord, outlet or gas connection in the way | Correction by the appropriate installer or licensed trade. |
| Unfinished wall visible above the range | A suitable wall finish that respects appliance clearances. |
A universal-looking strip is not proof of compatibility. Leave ventilation slots clear and preserve access for future service. Check the material and fastening method against the appliance instructions before turning a leftover offcut into part of the cooking enclosure.
A small detail worth measuring early
In Milton, the appliance was correctly positioned; the old rear upstand had simply hidden a gap the replacement exposed. A compatible trim piece finished it neatly. We took the tempting wood offcut back to the van, where it could resume its proper job of being useful someday.
Put this check beside appliance selection before cabinets, countertop template readiness, and the backsplash sequence. The earlier everyone sees the same drawing, the fewer little mysteries delivery day produces.