
Ask each bidder to draw what comes out
Replacement-window terminology is not always used consistently. Ask the installer to mark the components being removed and retained on a photograph or section sketch. Does the existing main frame remain? Are exterior metal caps staying? Is interior casing included? A quote that simply says 'new windows installed' leaves too much to interpretation.
Renewal by Andersen describes insert replacement as retaining the existing frame and full-frame replacement as removing the frame and sash, with different disruption and repair opportunities Renewal by Andersen: Full-frame versus insert replacement.
Neither name guarantees good workmanship. An insert in a sound, suitable frame can be a sensible project. A full-frame installation still needs correct preparation, fastening, air sealing and water management. Compare the actual installation details rather than treating the larger scope as automatic proof of better performance.
The retained frame needs a reason to stay
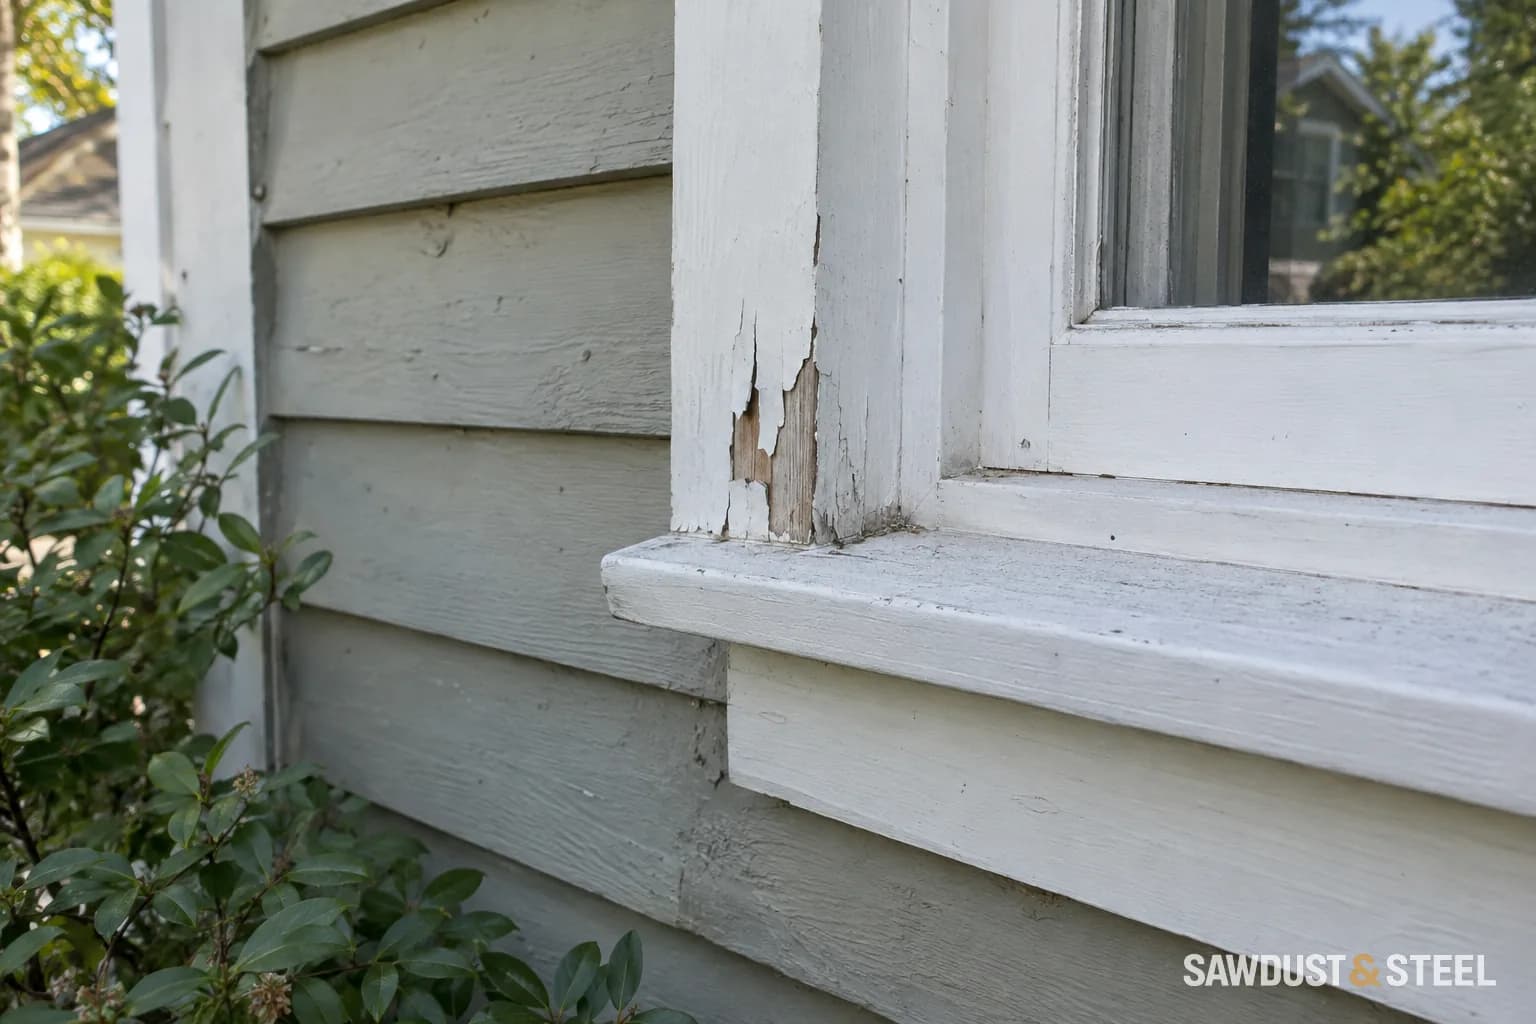
Check condition, alignment, moisture history and attachment. Ask how inaccessible areas will be assessed and what happens if damage appears during removal. Fresh paint or exterior capping can hide deterioration. A persistent rainwater problem should be explained before fitting a new unit inside the same unresolved assembly.
Insert replacement
The main old frame remains, and the new unit fits inside it. Inspect that retained frame and compare the resulting daylight opening.
Full-frame replacement
The old frame is removed. The replacement is fitted to the exposed opening, giving access to inspect and detail the surrounding junction.
Horizontal jamb sections, not flashing or fastening details. Frame profiles and glazing dimensions vary by product; the colours identify retained and new components. Renewal by Andersen replacement methods.
Retained components
Identify every frame, cap and trim piece that remains.
Glass and clear opening
Request finished dimensions, not just the old rough opening.
Wall connection
Show how air sealing and water management are addressed.
Finishes
Include casing, jamb extensions, exterior trim and repainting.
Compare glass area and opening function
An insert adds its own frame within what remains, which can reduce visible glass or usable opening. The amount depends on both products. Ask for the proposed daylight opening and clear operating opening in writing, especially in a small room. Do not assume that a unit sold to fit the same wall hole preserves the same ventilation or escape opening.
Where a bedroom escape opening or another regulated function is involved, have the installer confirm current local requirements for the proposed finished unit and installation. This guide does not supply a universal minimum opening or approval for changing window type. Changing the wall opening itself also introduces a different project scope.
Include the work that happens after the window arrives
Request line items for removal, disposal, damage allowances, air sealing, flashing connections and finish restoration. Ask who paints, whether blinds will still fit and how exterior cladding is made good. A lower price that excludes the trim and wall repairs may not be lower when the room is finished.
If the only defect is fogged glazing, first investigate glass or sash replacement. If the frame is sound but operation is poor, a balance repair or compatible hardware service may be enough. Choose the smallest scope that actually resolves the observed faults, with the retained parts assessed rather than assumed good.
Windows or siding first? Coordinate the opening
For full-frame work, removing the adjacent siding can provide useful access to the opening and its water-management layers. An insert may leave that junction largely untouched. Agree the assembly first, then schedule removal, repair, window installation, flashing, trim and cladding around that detail. Product arrival dates are a poor substitute for this sequence.
The Vinyl Siding Institute installation manual treats window flashing as part of the installation detail. Give the window and siding crews the same drawing. Name who repairs damaged sheathing, connects the flashing to the wall's drainage layer, installs trim and restores the interior. Keep siding drainage openings working.
Insert
Existing wall opening -> retained main frame -> new insert frame -> glass and operating sash.
Full frame
Existing wall opening -> prepared opening and wall connection -> complete replacement frame -> glass and operating sash.
Component order only; actual fastening, flashing laps and dimensions follow the chosen window detail.
Compare finished dimensions with a small example
If one proposal gives 900 mm of visible glass width and another gives 840 mm at the same 1,000 mm glass height, the areas are 0.90 and 0.84 m². That is a 0.06 m² difference in this comparison, not a typical insert-window loss. Use the actual proposed products. The clear escape opening is a different measurement and needs the exact operating window data.
Stage replacement without burying the next job
When the budget covers siding now and only two deteriorated windows, mark those two for coordinated full-frame work. For retained windows, specify how future replacement will reach the flashing and which trim or siding will need reopening. Price that future disruption before deciding all windows can wait.
| Handoff | Responsible scope to name |
|---|---|
| Wall opened | Temporary weather protection and daily closing procedure |
| Damage exposed | Who assesses, authorizes and repairs it |
| Window installed | Flashing and air-seal checks before cladding |
| Siding finished | Trim, drainage openings and photo record |
| Later window phase | Access route, materials to save and reinstatement |
Keep photographs before siding conceals the junction and label them by opening. Temporary protection must account for an overnight delay or postponed delivery, not just a dry installation morning.