
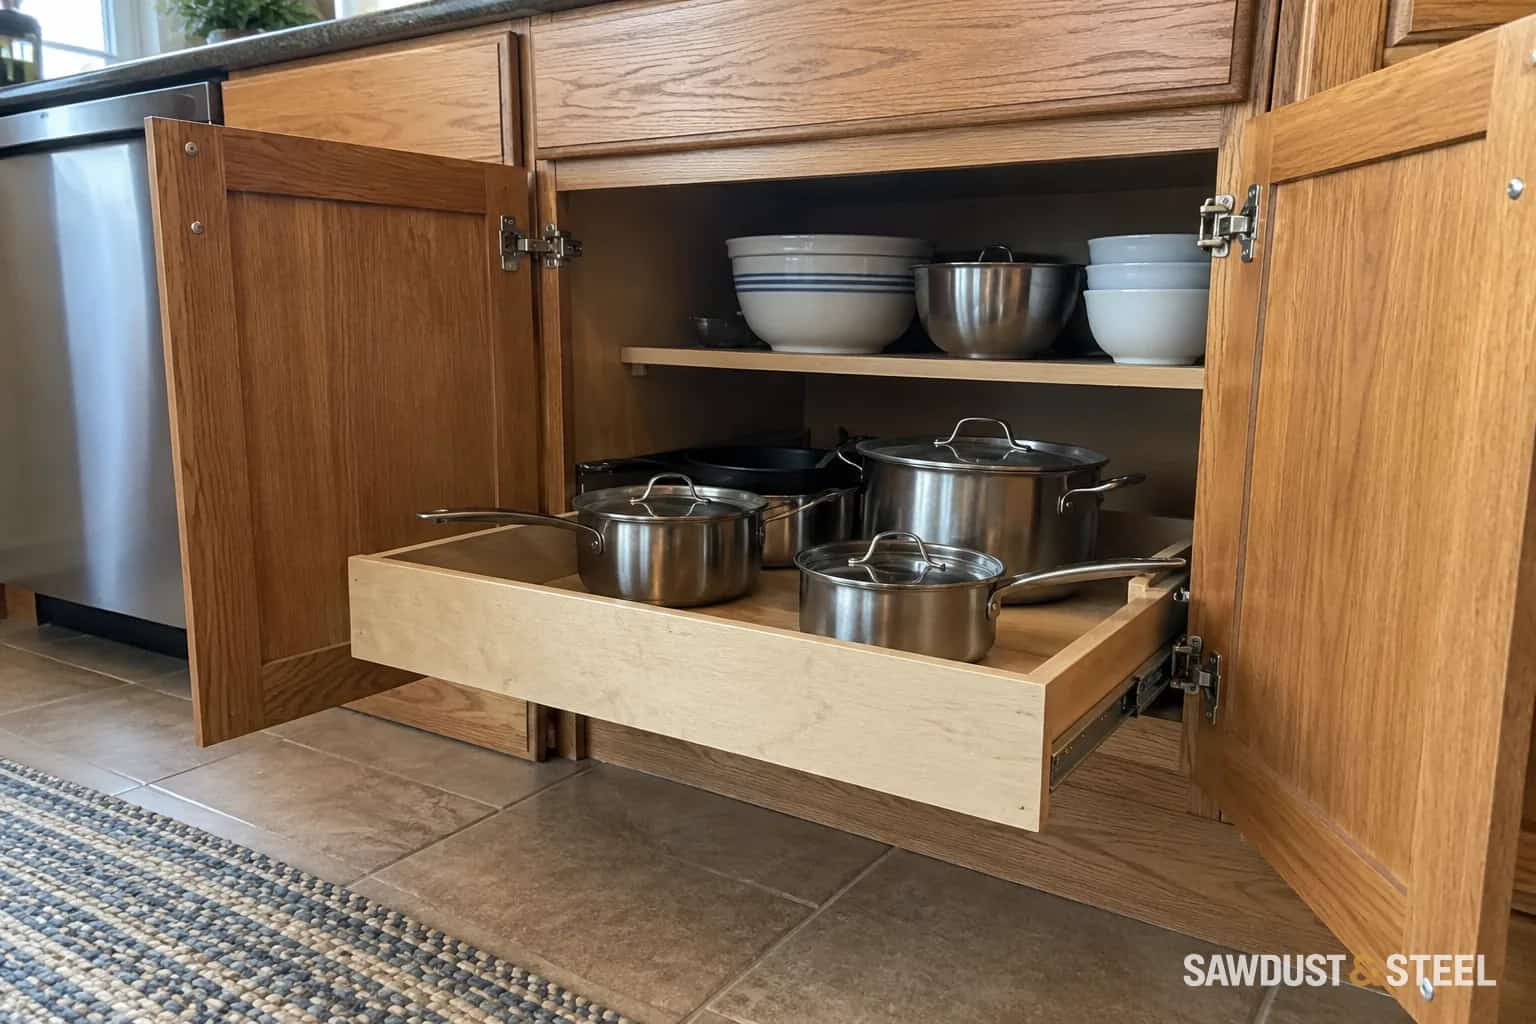
A fixed shelf can hide a surprising number of saucepan lids. A rollout brings the back row forward, but buying one by the cabinet's outside width is how a simple upgrade becomes a return trip. The narrowest part of the journey usually controls the tray.
Measure the doorway, not just the room inside
Open the cabinet door to the angle it can actually reach in the kitchen. A wall, neighbouring handle or appliance may prevent its full advertised swing. Measure the clear width at the planned tray height, allowing for the door edge, hinge arm, frame and any centre stile. Repeat at the rear to find obstructions or a cabinet that is not square.
Rev-A-Shelf's measuring guide distinguishes face-frame and frameless cabinets and requires width, depth and height checks with hinges and plumbing included. Its minimum-opening dimensions describe whether the product can fit; they do not promise that every nominally similar cabinet is suitable.
Plan view: measure the exit
Face-frame edges, the open door and hinge projection can narrow the exit below the cabinet's interior width. A tray sized only to the interior can get stuck at the front. Check at the proposed tray height.
Side view: allow the full travel
The extended tray and the person using it both occupy the aisle. Also check whether the tray can be removed for cleaning without dismantling the door.
Concept views, not a runner installation plan. Match the tray, runners, mounting supports and hinges to their manufacturers' instructions; a wide opening angle alone does not establish compatibility. Blum: hinges for inner pull-outs.
For example, a tray may fit comfortably between the cabinet sides but hit the open door on its first few centimetres of travel. Making it narrower or choosing a suitable mounting arrangement can solve that. Ordering another tray with the same outside dimensions cannot.
Make a small measurement sheet
| Check | Record before ordering |
|---|---|
| Cabinet construction | Face frame or frameless; fixed shelves, centre stile and door arrangement. |
| Clear exit width | Narrowest opening with the door at its usable angle, at each proposed tray level. |
| Usable depth | Space from the kit's specified front position to back panel, pipes or other obstruction. |
| Vertical space | Tray, runners and tallest stored item, including access above it. |
| Mounting surfaces | Sound cabinet bottom or sides compatible with the complete kit. |
| Space in front | Full-extension tray plus the person retrieving and lifting the item. |
Use a cardboard footprint to check the route and the contents. Lay your largest pan on it, with its handle. Check that you can lift it out without catching a shelf above. This exercise often suggests two separately positioned trays rather than a closely spaced stack.
Hinges and mounting method work together
A face frame can sit in front of the cabinet side, so side-mounted runners may need a kit-approved support arrangement to bring them into the opening. A bottom-mounted organizer may avoid that issue but still needs a sound floor and suitable fixings. The kit instructions should settle the mounting details; a thin back panel is not automatically a load-bearing fixing surface.
Blum's hinge range includes hinges intended for internal drawers and pull-outs. Some provide zero protrusion, meaning the open door does not occupy the needed passage in the intended application. A large opening angle alone does not establish that result. Door overlay, cup drilling, mounting plate and neighbouring fronts still need to match.
Changing the hinge can be worthwhile, but have the cabinetmaker check the complete combination. Do not remove a centre stile simply because it is inconvenient. It may affect the cabinet, door closure or shelf support. Two narrower trays may be a better retrofit than rebuilding a sound cupboard.
Choose the load and daily operation you need
Compare the rating of the installed organizer with the actual contents, and check whether it includes the tray itself. Runners, tray bottom, mounting blocks and cabinet fixings all have a job. Our drawer-capacity guide explains why a strong pair of slides does not make the rest of the cabinet unlimited.
After installation, operate the empty unit through its full travel, then load it within the approved limit. Confirm the door opens far enough before pulling the tray and that closing one does not trap the other. Keep the release instructions so the tray can come out for cleaning or service.
If the cupboard has a child latch, keep its keeper and release space clear of the new tray. Recheck engagement after the retrofit; our cabinet-lock fit guide covers the door and drawer details that change which device works.
A rollout is not always the best way to handle one particularly heavy appliance. If the problem is lifting a stand mixer from a low cupboard, compare a mixer lift before dividing the cabinet into trays. That requires a different movement and support check.