
Every few months a homeowner walks us through their living room, points at a baseboard, and asks why there's a dark line running along the top of it where it meets the wall. Or why the bottom of the trim rises off the floor on one side of the room like it's trying to take off. The answer is almost always the same, and it's almost never the baseboard's fault.
The baseboard is perfectly straight. The wall isn't. The floor isn't either. And whoever installed it treated a crooked house like a straight one.
That gap is the thing scribing exists to solve. It's a skill that sounds fussy and looks like wizardry and is actually just geometry done with a compass and a block plane. If you live in a house built before 1990 in the GTA — and most of Oakville, Burlington, Mississauga, and Toronto proper qualifies — the odds that your walls are flat and your floors are level are somewhere between slim and none. Scribing is how a carpenter makes trim sit tight against a house that has stopped being rectangular.
What is scribing in trim carpentry?
Scribing is the process of transferring the exact shape of a wall, floor, or ceiling onto a piece of trim so the trim can be cut to match it. You hold the trim where it wants to live, run a compass along the irregular surface with the pencil riding on the wood, and end up with a line that mirrors every bump and dip in the thing you're fitting against. Then you cut to the line. That's the whole trick.
The reason it matters is that walls aren't flat and floors aren't level, especially in any Ontario house that's been settling for more than twenty winters. A baseboard is a perfectly straight piece of wood. A wall is a lumpy, wavy surface pretending to be flat. If you push the straight thing against the lumpy thing and nail it, you get gaps in all the low spots and pressure in all the high spots.
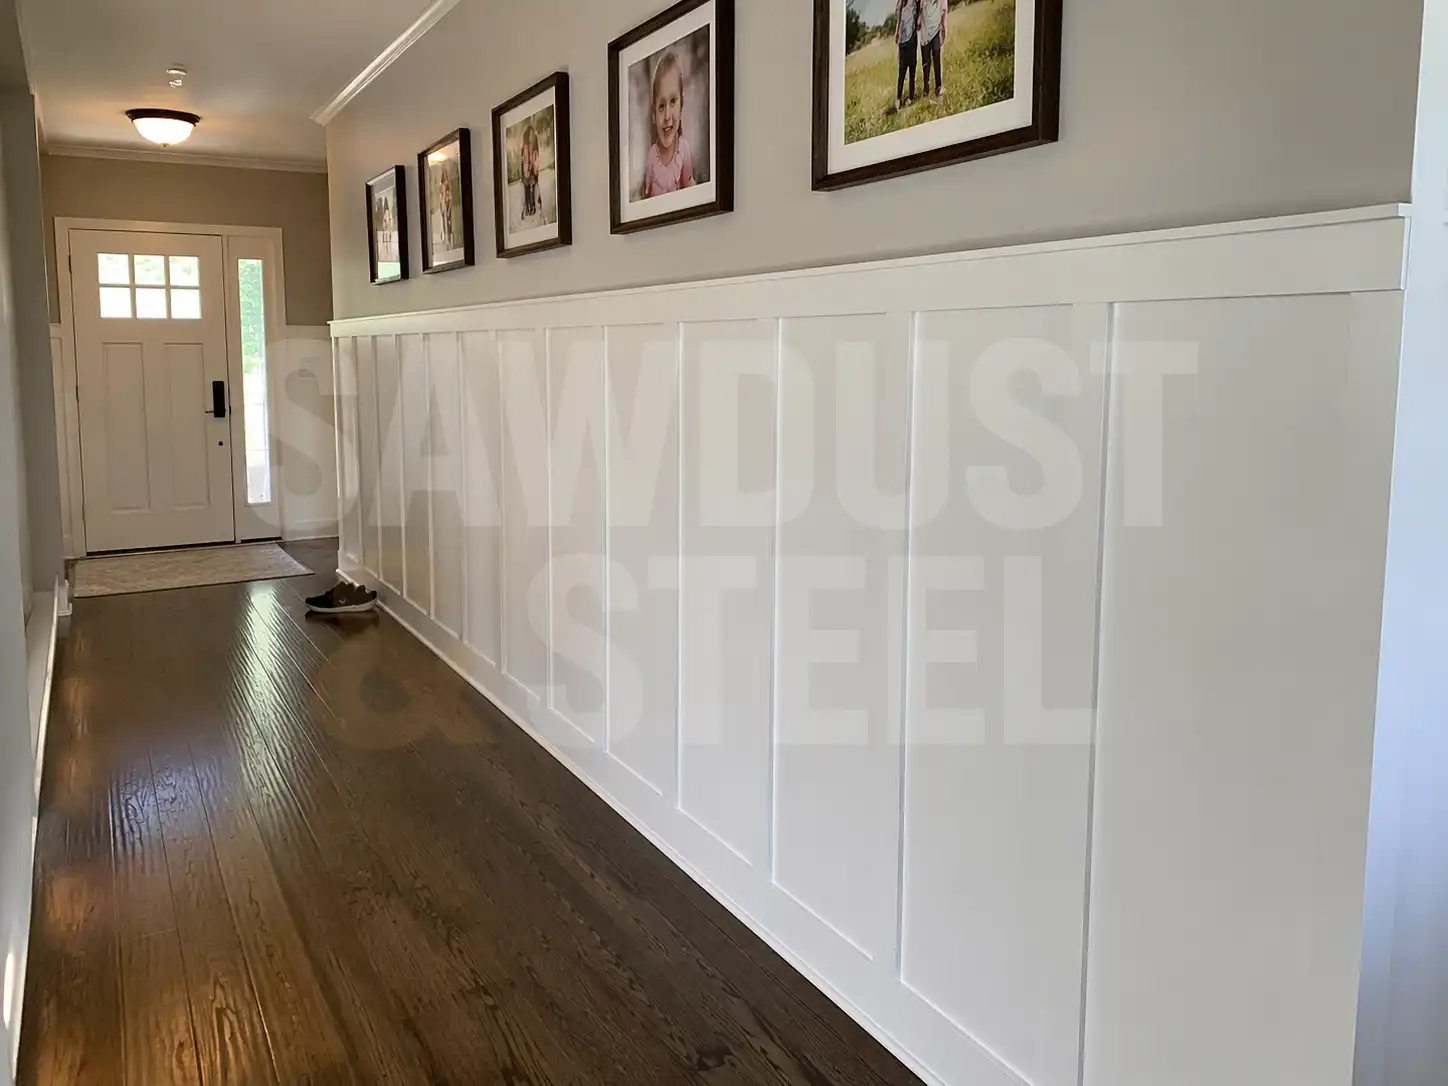
Scribing removes the high spots from the back of the trim so the front edge reads as a clean, consistent line to anyone looking at the room. The material choice for this kind of work matters too — our MDF vs poplar vs pine trim comparison lays out why poplar is the default for heavy scribing.
There's a faster method. You slap the trim up, nail it, and fill every gap with paintable caulk. That's the entire finish carpentry industry in a sentence for jobs under $5,000 CAD. It works until the heat kicks on in November and the caulk shrinks, or until somebody actually looks at the baseboard in raking sunlight. We have a level. We brought it. It is correct. The floor is wrong. Scribing is what you do when you'd rather fix that than argue with it.

How do you fit baseboard to an uneven floor in an old Oakville house?
Before we cut anything, we run a laser level the length of the wall and measure the slope of the floor from one end to the other. In older GTA houses, 3/8" over eight feet is common and 5/8" over a twelve-foot run isn't rare. That's not a structural problem, it's just what a house does when it's been sitting on clay soil since 1968.
The number matters because it tells us how much stock we have to remove from the bottom of a 5.25" or 7.25" baseboard to keep the top edge reading as a clean horizontal line across the room.
Once we know the slope, we dry-fit the baseboard against the wall at its final height, hold it level, and use a compass scribe set to the widest gap under the bottom edge. We walk the compass along the floor with the pencil riding on the wood, and the line it leaves mirrors the floor. Then we take the piece to a sawhorse, clamp it face down, and remove material to the line with a block plane, a jigsaw for deeper cuts, or both.
A sharp low-angle block plane — we run Lie-Nielsen and Veritas — will take a paint-thin curl off poplar all day long. The goal is a bottom edge that matches the floor and a top edge that's dead level.
- Set a laser level at the baseboard's finished top height, not at the floor.
- Mark the widest gap between the baseboard and the floor — that's your scribe setting.
- Open the compass to that width and trace along the floor, pencil on the wood.
- Cut to the line with a jigsaw for the rough work, a block plane for the final few shavings.
- Back-bevel the cut edge 5 to 10 degrees so only the front face lands on the floor.
- Test-fit, mark the tight spots in pencil, plane them, repeat until it sits dead.
The tools that make scribing possible (and the ones we actually use)
You can scribe trim with a $4 compass from a stationery store, and for a straight run against a floor that's the right call. A cheap compass with a sharp pencil in it gives you a cleaner line than a $90 marking tool because the geometry is simple and nothing beats a thin graphite line you can actually see. The rest of the tool kit is about removing wood accurately once the line is on it.
For anything curved — a baseboard dying into a stone fireplace, a piece of casing landing on a rounded drywall corner, trim wrapping a radiator pipe — we reach for a contour gauge. The Bosch and General Tools versions both work, though we run a 10" stainless Veritas gauge because the pins don't drift. Press it against the irregular surface, it captures the profile, you trace the captured shape onto the trim, cut to the line. That's the whole process for a contour that's too complicated for a compass.
- Compass scribe — $4 to $20, the workhorse for floors and mostly-straight walls.
- Contour gauge — 10" minimum, stainless pins preferred, for radii and shaped obstacles.
- Low-angle block plane — Lie-Nielsen or Veritas, razor sharp, used daily.
- Japanese pull saw — for back-cuts on crown and trim returns where a miter won't work.
- Jigsaw with a down-cut blade — rough removal when you've got more than 1/8" to lose.
- Sharp pencil, 0.5mm mechanical — a fat pencil line is half a millimeter of error built in.

Why scribed trim is more expensive in older houses
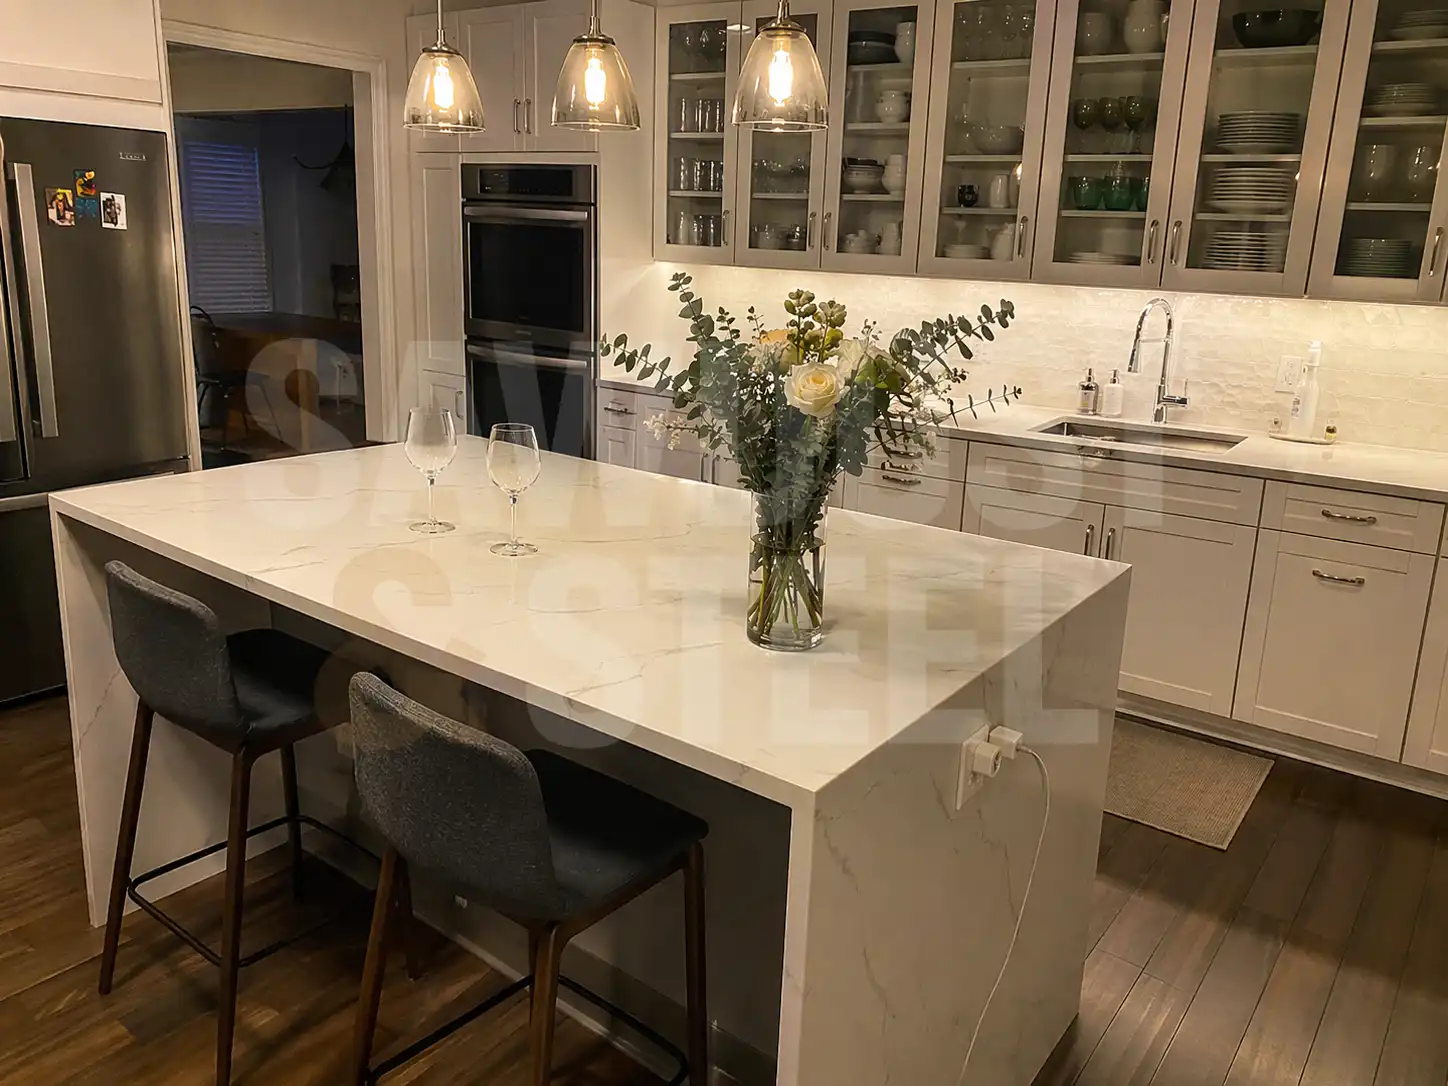
A straightforward baseboard run in a new-build Oakville townhouse runs $8 to $14 per linear foot in CAD, installed, for 5.25" MDF profile, paint-grade, in one color. That price assumes the walls are within 1/8" of flat and the floors are within 1/4" of level over any single run, which in a 2018-build is usually true. Caulk covers the rest. The crew can hang a whole floor in a day and the result looks fine because the house was built fine.
The same profile in a 1950s Kerr Village bungalow — walls that bow 3/8", floors that slope 5/8", corners that aren't square, a previous homeowner who stuffed the old baseboard gap with silicone that now has to come out — runs $22 to $35 per linear foot in poplar, installed, scribed, caulked with paintable acrylic latex (not siliconized, never siliconized, you can't paint it cleanly), and finished.
The wood is more expensive. The labor is much more expensive. A room that takes a new-build crew six hours takes us a day and a half. That's not padding. That's scribing plus the time it takes to make an old house look like the carpenter noticed.
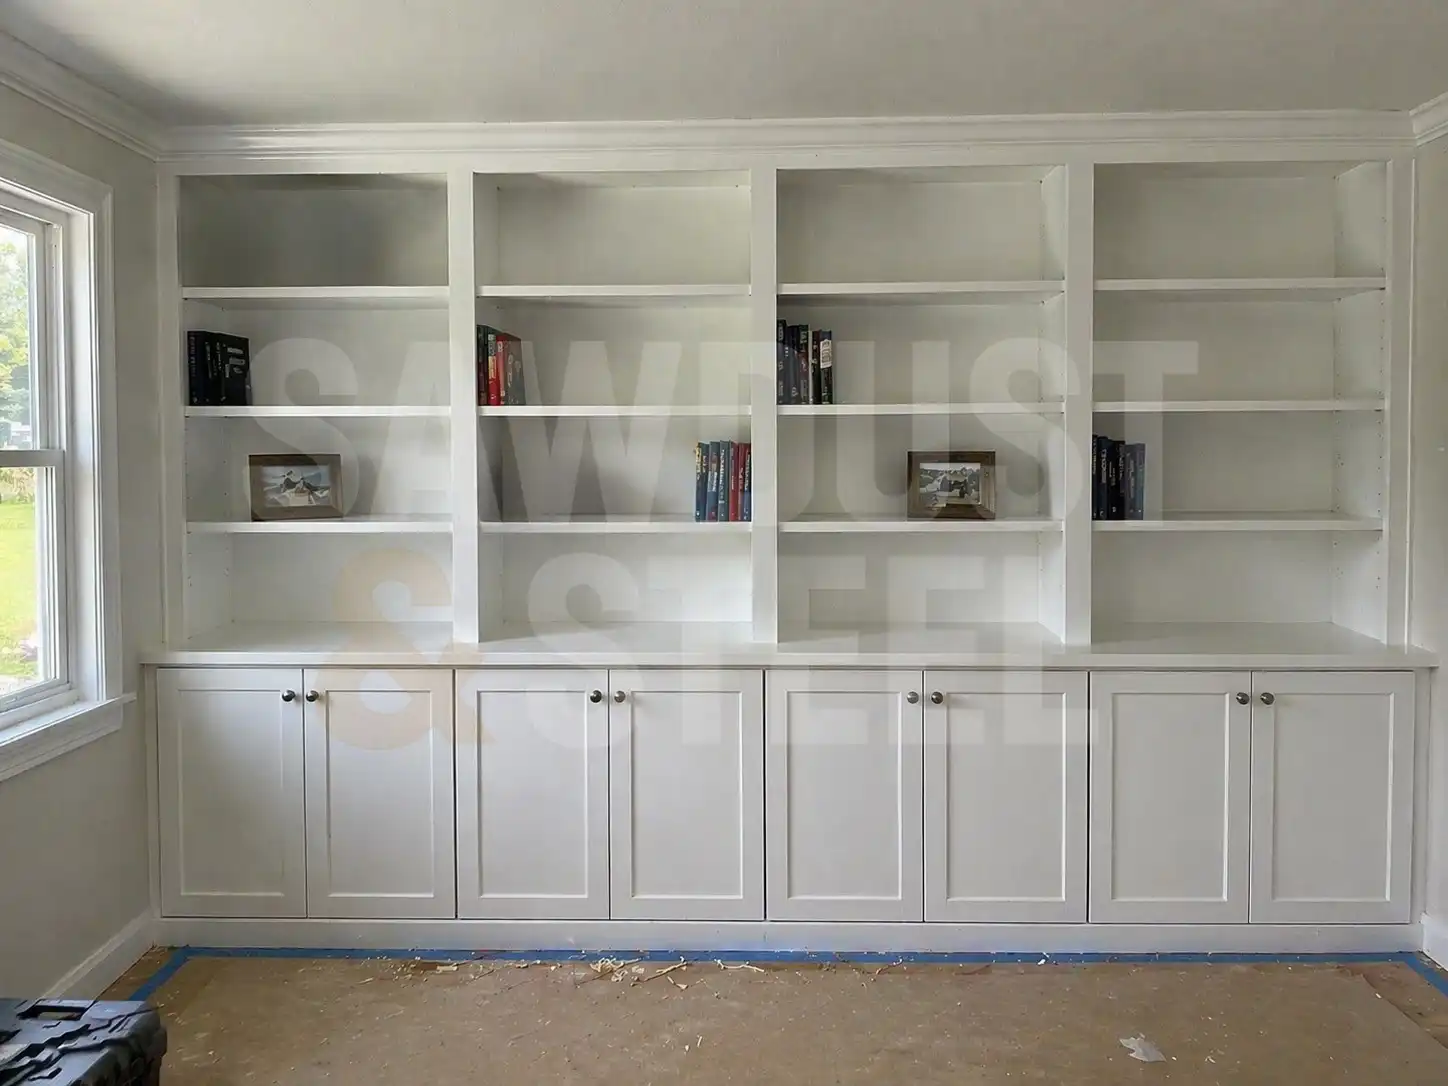
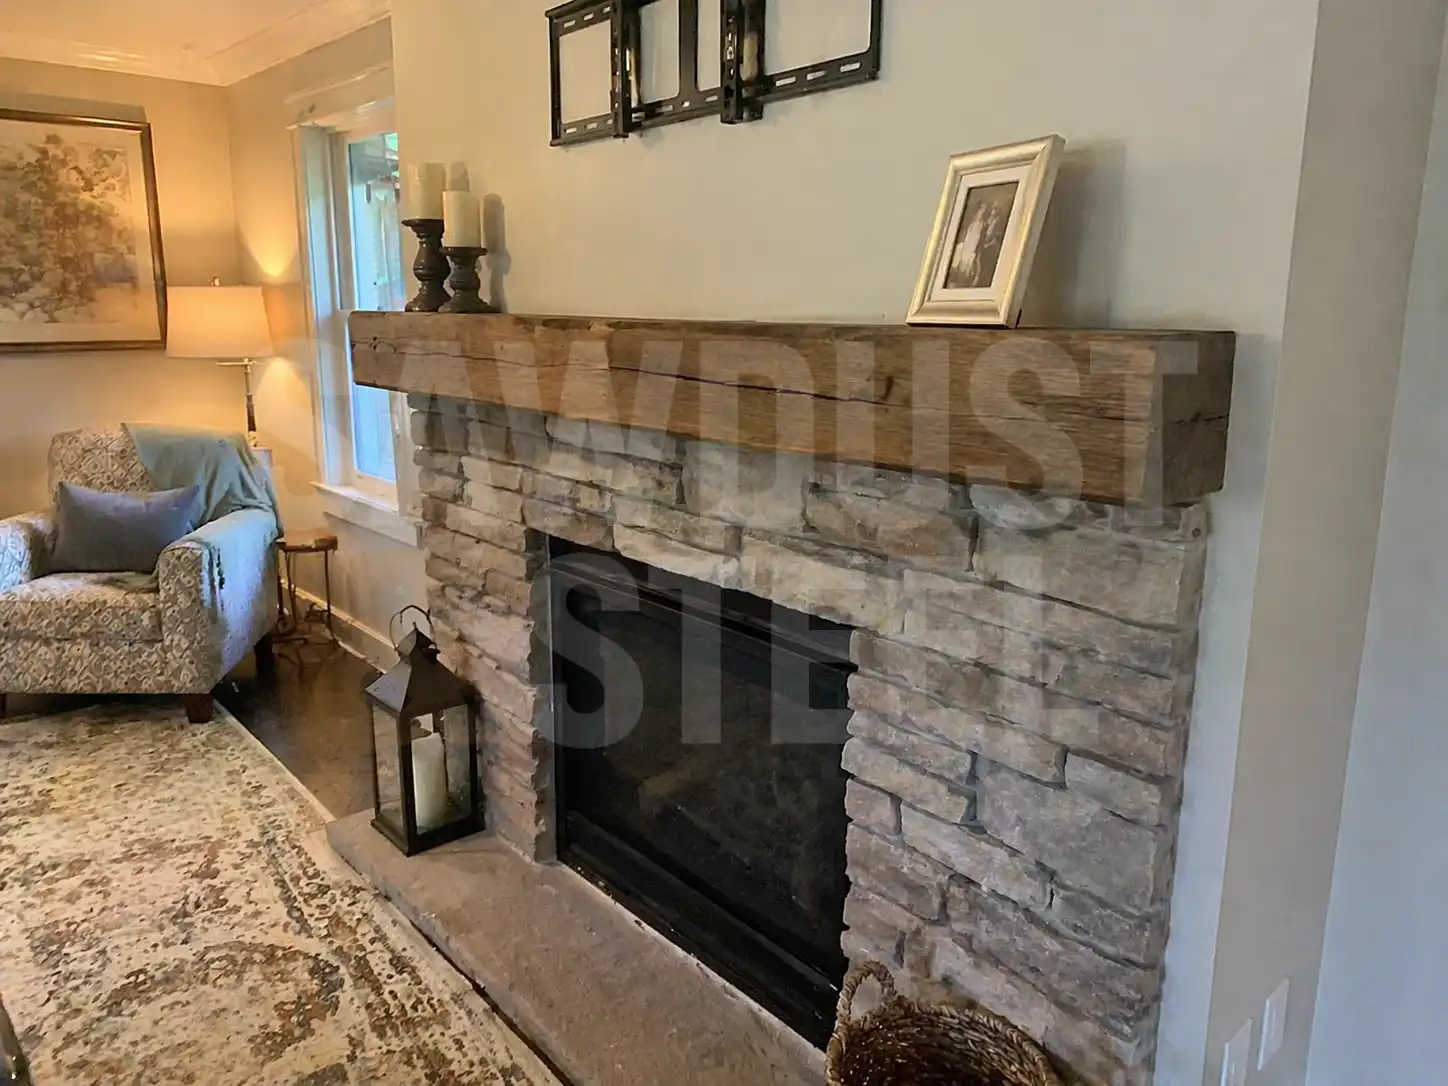
Crown molding is the same math with more drama. Builder-grade 3 5/8" primed MDF crown runs about $18 to $28 per linear foot installed in a square new-build room. Custom profile crown milled on our shop shaper to match a 1925 Rosedale original, scribed at every inside corner, coped instead of mitered, and painted on site runs $55 to $95 per linear foot. Most of that gap is labor. Some of it is the poplar or LDF stock. A little of it is the fact that we ran the profile knife ourselves because nobody sells that molding anymore. This is the kind of work our finish carpentry and trim service was built around.
“We found the one thing I didn't know I wanted fixed until it was. The baseboard finally looks like it belongs to the house instead of being held up against it.”

One more note on caulk, because it matters and people get it wrong. The only thing that belongs in a scribed trim joint is paintable acrylic latex caulk — something like DAP Alex Plus or Sherwin-Williams SherMax. Siliconized acrylic looks the same in the tube, but paint beads up on the silicone like water on a windshield and you get a visible stripe on top of your baseline forever.
If the tube says anything about silicone, put it back on the shelf. If you already scribed the piece properly, the caulk bead is the width of a pencil line anyway, and you'll barely see it. That's the point.