
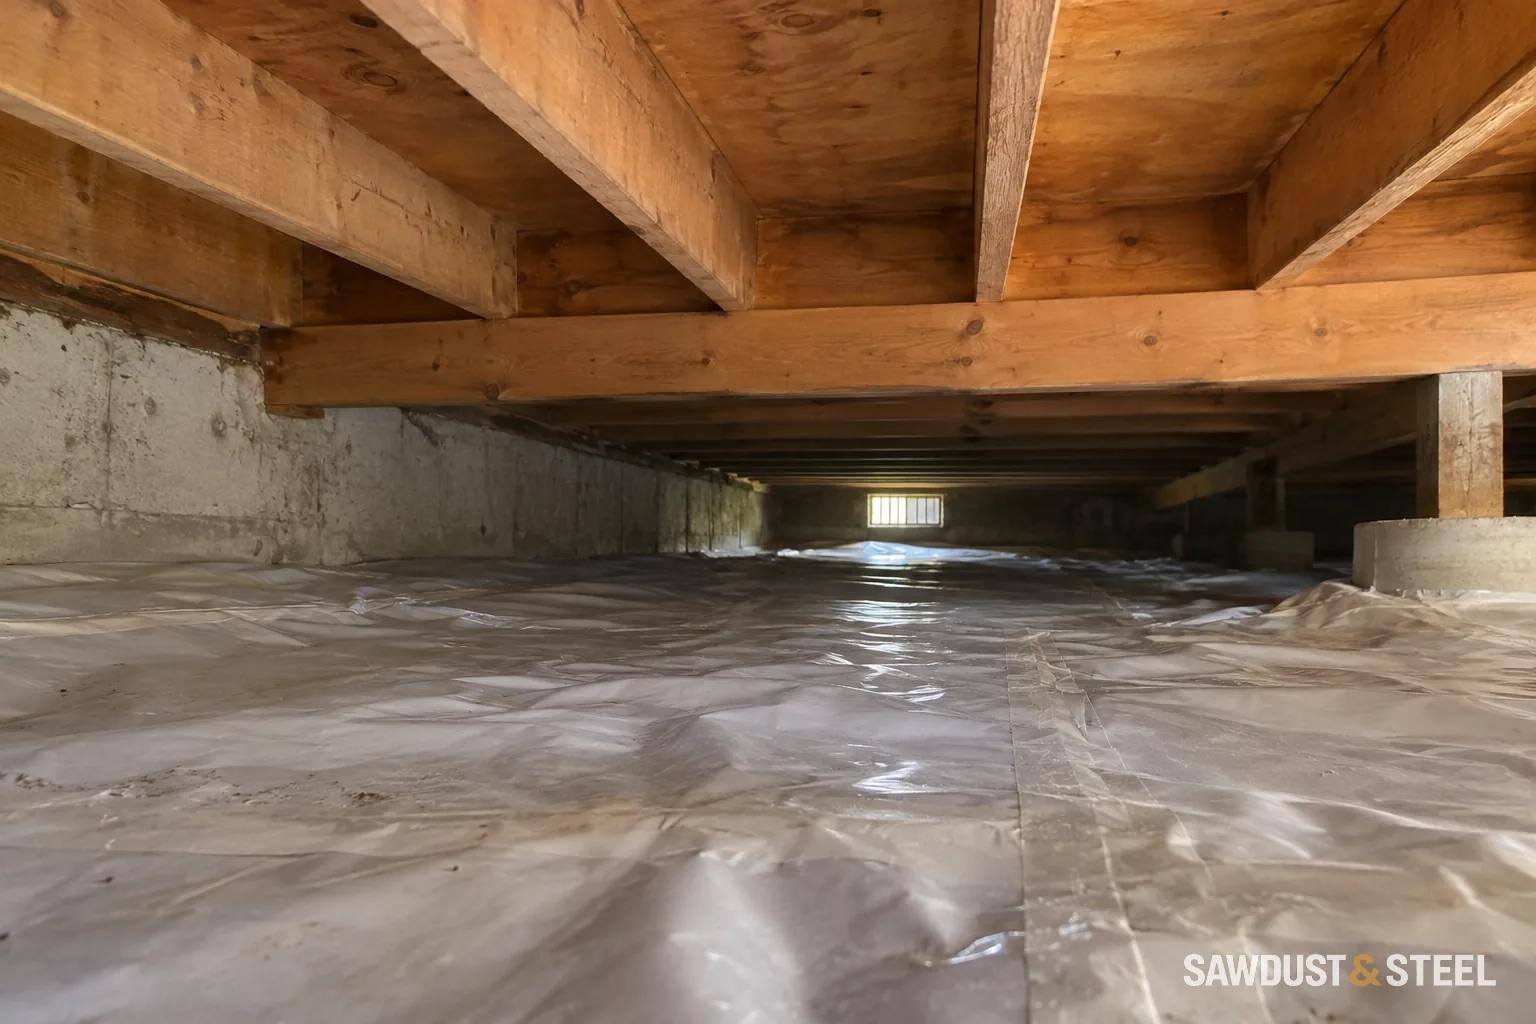
The old carpet is gone. The room looks worse, sounds familiar, and is briefly more accessible than it will be for years. This is a useful moment to walk slowly. Walk the room and mark where the floor squeaks before new underlay and flooring cover the subfloor.
Make a map while the room is empty
Mark repeatable noises and note where a second person can observe from below. Weyerhaeuser's squeak guidance describes multiple causes within floor systems. The subfloor, framing, and nearby components can each contribute.
- Label each repeatable spot on a room sketch, using a doorway or fixed wall as the reference.
- Have the installer observe the same spot from accessible space below while one person walks normally above. Do not bounce to make the noise louder.
- Ask which contact is moving: panel against framing, a panel joint, a fastener, or a framing connection. Mark an uncertain cause as uncertain.
- Record the agreed repair at each location, then repeat the same walk before underlay or flooring covers it.
Weyerhaeuser's technical sheet identifies several different squeak interfaces, including panels, joists, blocking and hangers. One screw pattern cannot be assumed to repair all of them. If the complaint is movement across a larger area, separate the noise from floor bounce and stiffness.
Do not turn diagnosis into random fastening
Ask the installer which interface is moving and how the proposed repair addresses it. Confirm concealed pipe and cable locations before any fixing. Damaged or altered engineered members need an appropriate repair detail. Photograph completed work and repeat the walking check before underlay and flooring hide it.
Match the noise to an observable movement
Start with a pencil sketch of the exposed room. Number the repeatable noises A, B and C, using two fixed walls as reference edges. Record whether each occurs under a heel, while stepping off the spot, or only when someone crosses the room. A short phone recording with the location spoken aloud is more useful than ten identical close-ups of plywood.
Where the underside is safely accessible, a second person can watch the same location while someone walks normally above. Do not bounce-test a damaged floor. Look for movement between parts rather than assuming the nearest nail is the culprit. Weyerhaeuser's technical sheet separates panel connections, blocking, hangers and other rubbing interfaces; repairs differ accordingly.
Before approving a screw, the installer needs the panel and framing type, the intended fixing location and penetration, and evidence about services beneath. A stud finder alone is not a complete concealed-service survey. If a pipe or cable cannot be ruled out, change the access or investigation plan. Do not drill exploratory holes through an unknown floor sandwich.
Agree a small first repair, then repeat the marked walk before expanding it. Record which noise disappeared and which remained. If the sound is gone but the floor still moves, retain that separate finding for the flooring installer. New underlay is a poor substitute for understanding the support beneath it.
| Repeatable observation | Interface to investigate | Useful evidence |
|---|---|---|
| Noise along a panel seam | Panel edges or support at that seam | Joint location and movement while loaded normally |
| Panel lifts or moves at a joist | Panel-to-joist connection | Accessible underside photo and fixing condition |
| Noise near a support line | Hanger, blocking or bridging | Exact member and connection identification |
| Sound beside a pipe or duct | Service rubbing against framing | Trade assessment of contact and safe access |
Before the next step
- Mark noises before the installer covers the subfloor.
- Identify the source and safe fixing locations.
- Repeat the same walking check after the repair.
Walk the same route again before the new flooring arrives, while you can still point to the noise. Then check whether the exposed floor needs flattening or levelling. This is the convenient moment for both conversations.