
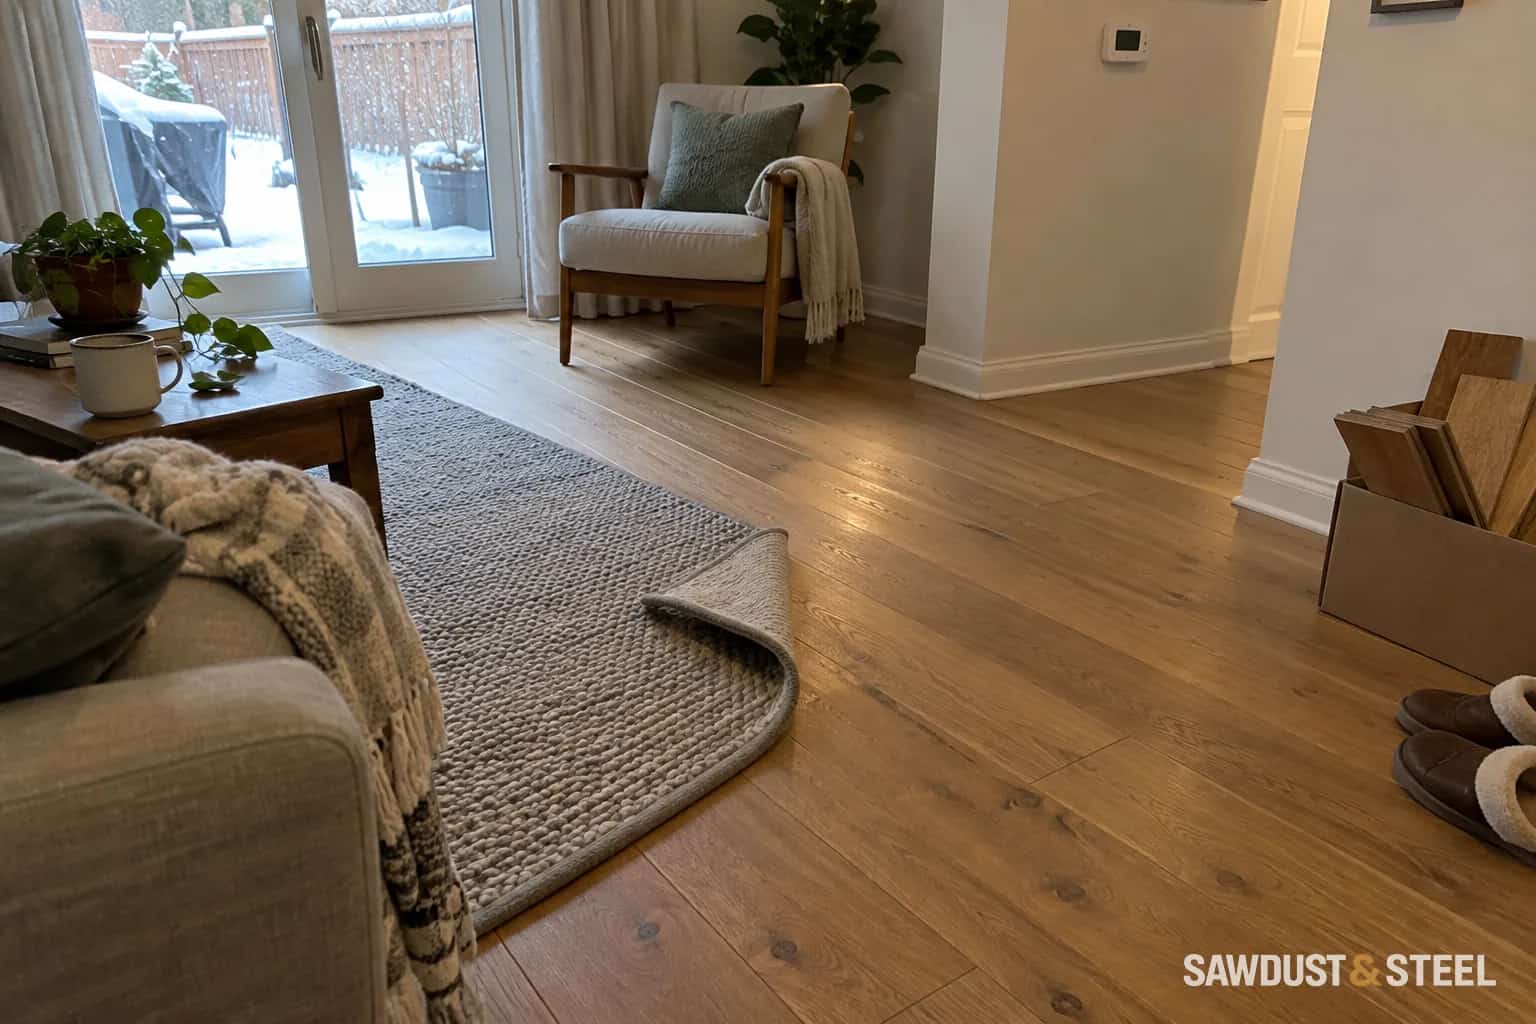
The longest wall is a useful place to start a sketch, but it does not get the final vote. Wood-floor direction depends first on what is supporting the floor and how the boards will be installed. Once those requirements are satisfied, you can choose the layout that looks best from the places you actually stand.
Start underneath the boards
Record whether the floor will be nailed, glued or floated, the product construction, and the existing subfloor layers. Find the joist direction where it matters. A rule heard about nailed solid wood may not apply to a floating engineered product over a different substrate.
The NWFA installation guidelines separate installation methods and substrate conditions. Follow the applicable detail together with the flooring manufacturer's instructions. If your preferred direction requires additional support or an overlay, include that in the height and cost before ordering. Do not assume an attractive direction overrides the required assembly.
Draw the connected rooms together
Sketch the whole connected floor area, including doorways, halls, stairs, islands and changes in width. Mark the direction of the proposed boards with arrows. A layout that looks tidy in the living room can produce awkward cuts or a difficult connection in the hall.
Choose a few important views: the front entrance, the kitchen approach and the main seating area are usually more useful than every possible angle. Dry-lay several boards in both directions. Include boards with varied grain so the sample represents the delivered floor rather than three carefully selected quiet pieces.
| Decision | Check first |
|---|---|
| Across or along the joists | Applicable substrate and installation requirements |
| Toward the main window | Appearance after structural requirements are met |
| Continuous through several rooms | Product limits and connection details |
| Diagonal or changing direction | Cuts, labour, waste and transitions |
Work out the edge rows
Measure across the proposed board direction and calculate the likely first and last rows using the actual board coverage and required perimeter allowance. The aim is to avoid an unnecessarily narrow strip at a prominent wall while maintaining the installation requirements. Walls may not be parallel, so measure more than one location.
A chalk line or other installation datum should be chosen deliberately. Starting flush against a crooked wall can carry the error through the room. The installer may adjust the starting layout so visible rows look balanced while cuts absorb the irregularity at the edges. Discuss that before the first row is fixed.
Treat changes of direction as details
Turning the boards at a doorway may suit the rooms, but the joint needs a planned detail. Confirm whether the chosen product can make that connection and whether a transition is required. Floating products can have limits on continuous runs and connected areas that are separate from appearance.
Read where to place a transition beneath a closed door when different rooms meet. If the new work must connect to existing boards, check the old product and profile before promising a seamless extension; matching discontinued flooring covers that awkward but common situation.
Price the layout you actually want
A diagonal layout or a plan with several direction changes may alter cutting waste, labour and the way edges are finished. Ask for that particular layout to be priced. Do not compare a straight installation quote with a complex pattern and assume the material quantity is the only difference.
For example, in a long hall opening into a wider living room, you may prefer one continuous direction for a quieter view. If the substrate or product rules prevent that choice, consider the required preparation or a deliberate threshold. Make the decision with a drawing, sample boards and a complete installation plan, then keep the approved direction on the order.