
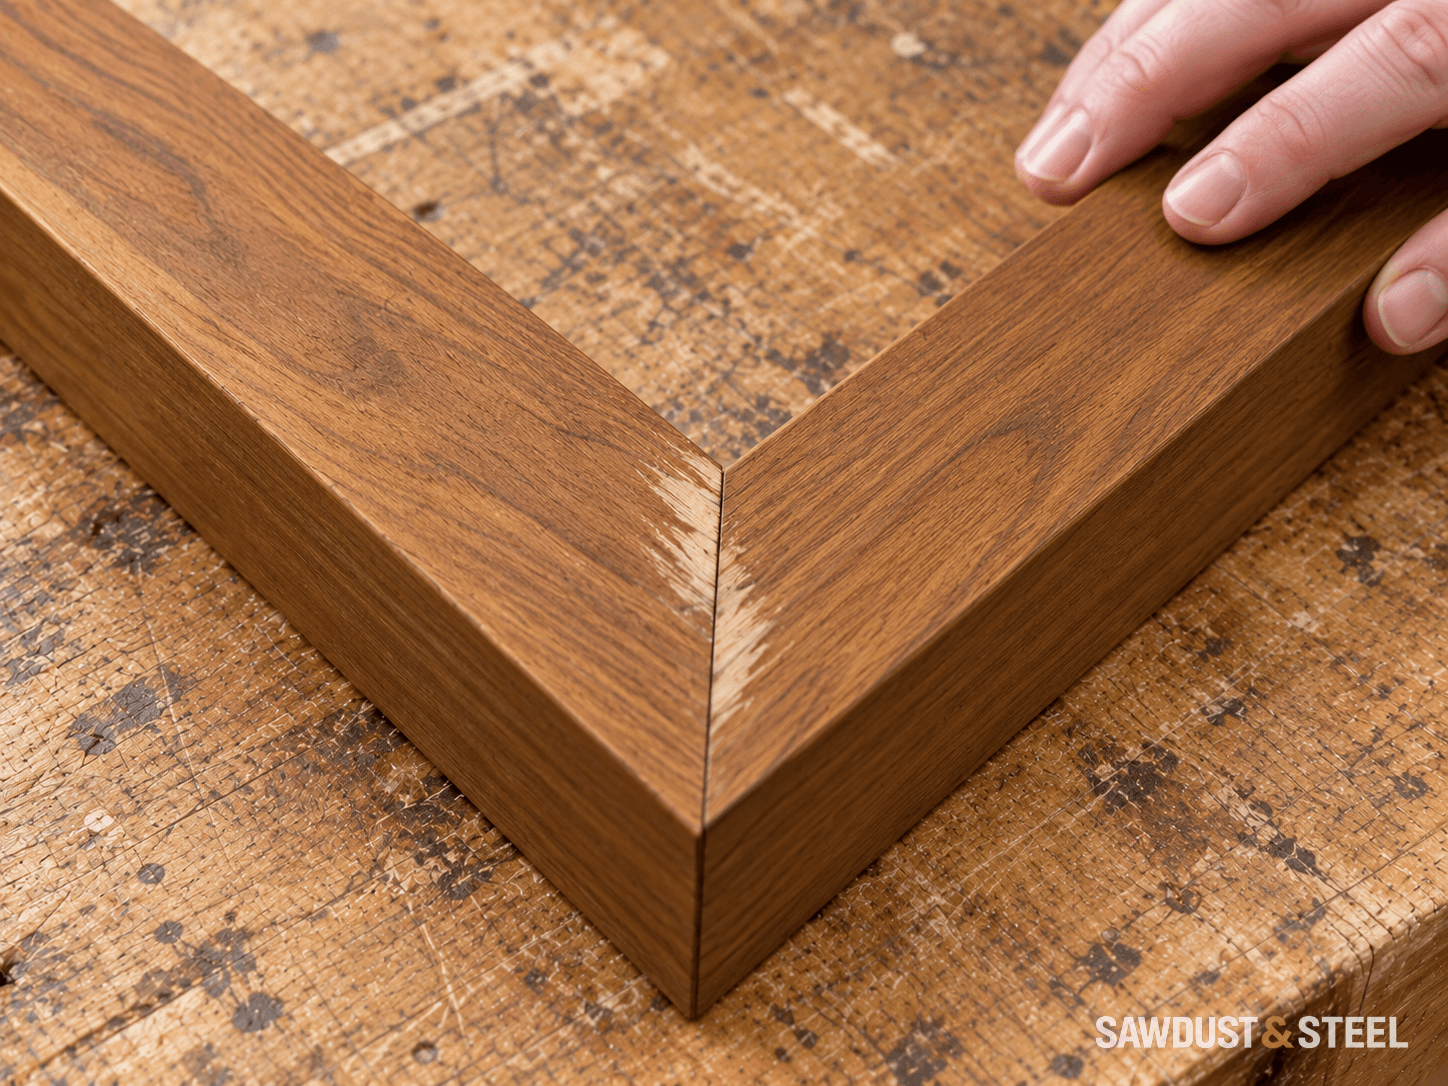
The bare frame looked ready. Then the brown stain found a pale stripe along the joint and made it the most interesting part of the room. A second pass of stain colours the surrounding wood more deeply while the stripe remains remarkably committed to its original position.
Glue residue is one possible cause, especially where a mark follows a joint or a wiped squeeze-out trail. It is not the only cause of uneven colour. Begin by identifying the surface and what has already been applied, before turning a local mark into a much larger sanding exercise.
Compare the mark with the assembly history
Look in ordinary daylight and at a low angle across the surface. Does the pale area follow the glue line, a drip or the arc of a cleanup cloth? Is the grain still intact? Was this exact area handled or repaired before staining? A visible raised deposit gives you a different starting point from an unexplained colour change with no known glue history.
Broad uneven absorption on pine belongs in the blotchy-stain guide. A patch where the face grain has disappeared may be sanded-through veneer. Neither should be diagnosed as glue simply because it is pale. Keep the product names and a photograph of the mark with your notes.
Stop before a topcoat makes access harder
Do not immediately cover the mark with a clear finish. That adds another layer to any later removal. Equally, do not keep brushing stain over the spot and hope that enough pigment will persuade it. If a residue is limiting absorption, more colour may create a dark halo around the same pale centre.
If the stain is still wet, follow its maker's directions for removing excess and handling the surface. Do not introduce an improvised solvent mixture. Identify the adhesive too: water-based wood glue, polyurethane adhesive and epoxy do not share one cleanup method.
Plan the repair around the wood you can afford to remove
Check whether the piece is solid wood or veneer, including veneered plywood and furniture panels. A flat-looking surface may have very little decorative wood above the core. On thin veneer, aggressive sanding to chase a glue mark can leave a permanent pale patch for an entirely different reason.
Ask the stain and adhesive makers for a compatible repair sequence for the products already present. For bare-wood cleanup, Titebond Original's instructions distinguish damp-cloth cleanup of wet glue from scraping and sanding dried excess. Those instructions do not mean a damp cloth will remove cured glue underneath an existing stain or topcoat.
Test the proposed removal in an inconspicuous spot, with the grain and surface thickness in mind. Keep a scraper controlled and avoid digging at a joint edge. Restore a consistent preparation over the appropriate visible area rather than excavating a small dish around the mark. If the repair needs more removal than the face can tolerate, consider a professional colour repair or a different finish plan.
| Stage | What to establish before proceeding |
|---|---|
| Suspected residue | Known glue history and intact wood beneath the pale area |
| Removal test | A compatible method that leaves the face and joint sound |
| Colour test | The repaired preparation accepts the complete stain sequence consistently |
| Topcoat | The colour is acceptable and every layer meets its drying requirements |
Protect the faces before the next glue-up
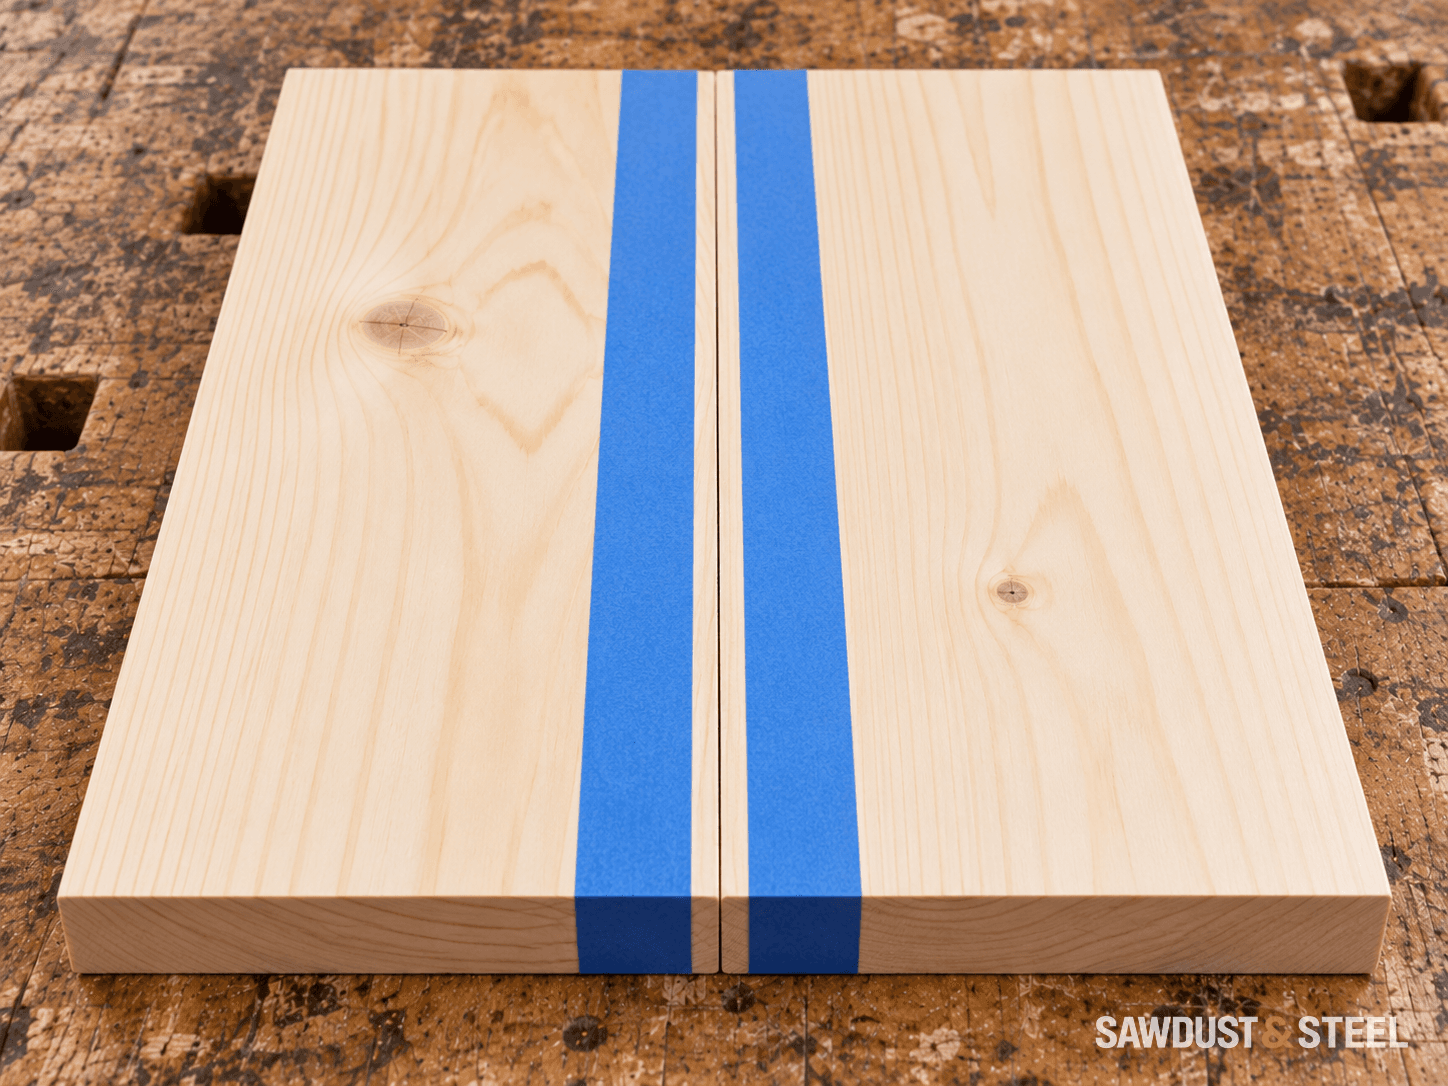
Titebond recommends masking areas that will later receive stain to protect them from squeeze-out. Put the tape on the exposed faces near the joint, leaving the actual mating surfaces clean and bare. Test that the tape releases cleanly from the wood and remove it according to its instructions. Tape trapped in the joint is not a finishing aid.
Prepare the cleanup tools before applying glue, and use the adhesive's required amount and cleanup method. Do not spread a small bead across a much larger visible face with a dirty cloth. Check inside corners and the underside of rails while access is still easy. A dry-fit rehearsal is a good time to discover which corner will be inaccessible after the clamps go on.
Make a small glued sample from the same wood and finish it through the same preparation, stain and topcoat stages. It gives you a place to test the cleanup method without sacrificing the project. Inspect the actual work again before staining; the glue bottle can leave the bench before its evidence does.