
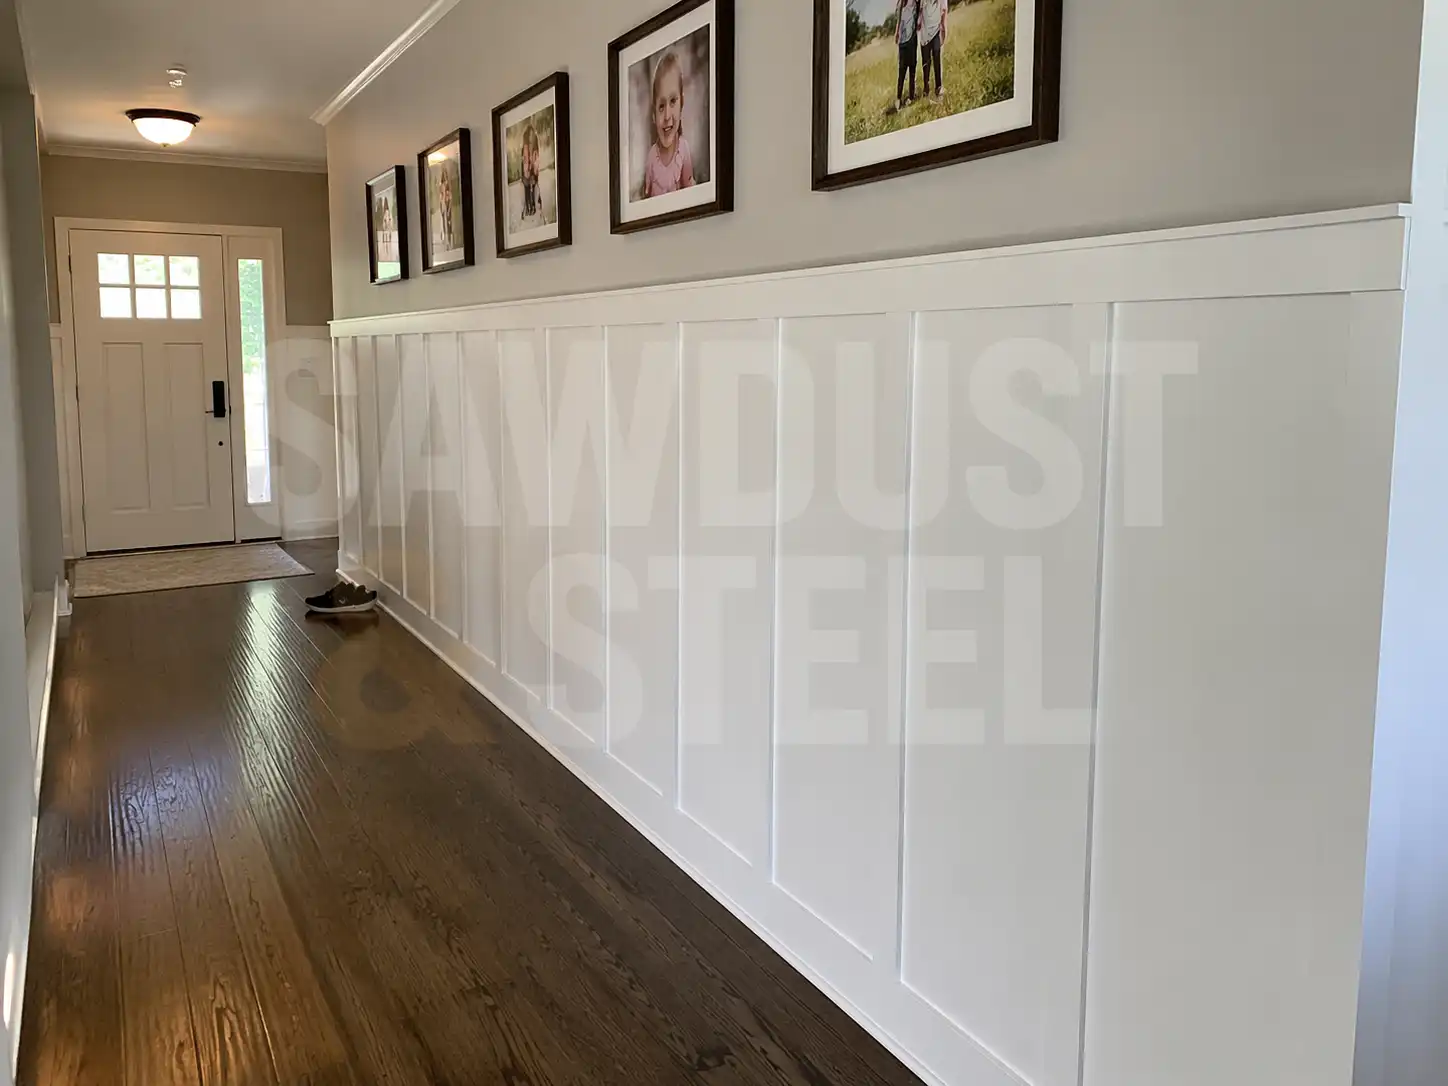
A panelled wall usually looks most satisfying on the day the last trim goes on. Everything lines up, the paint is fresh and nobody has yet asked what happens when the room's humidity changes. Leave that question until later and the answer may arrive as an opening joint or a bowed plank.
Find out what the panel actually is
Solid timber, MDF-based planks, plywood and thin veneer over a core are not interchangeable. A wood-grain surface does not establish solid-wood construction. Keep the product code and installation sheet with the order, including whether that specific finish is approved for walls and for the intended room.
The Armstrong Canadian WOODHAVEN instructions contain separate ceiling and wall sections. The wall guidance distinguishes vertical and horizontal installation, conditioning and backing requirements. Its ceiling expansion details should not be copied into an unrelated wall layout. Use the section for the actual application and ask the maker to resolve anything the drawing does not cover.
Draw the edges before filling the middle
A straight blank wall is the easy part. Mark internal corners, outside corners, skirting, ceiling trim, sockets, window reveals and door casings. Decide where a long run ends and whether a change in plane requires a separate detail. The final narrow strip should be planned before the first full-width plank is fixed.
Material identity
Record product, core and approved wall orientation.
Room conditions
Meet the maker's storage and conditioning instructions.
Panel boundaries
Show corners, openings and any prescribed movement detail.
Trim attachment
Cover edges without defeating the intended movement arrangement.
For example, a wall has a door near one end and a window near the other. Centring full boards between them may leave a tiny strip at the door casing. Shift the layout on paper and test the resulting joints at both openings. That small change can improve the finish without deleting a gap required by the product. Do not compensate for a poor layout by forcing the last board into a space that is too small.
Condition the material in the room it will occupy
Follow the maker's storage, unpacking and acclimation instructions. Do not assume time in an unheated garage counts as conditioning for a heated hallway. Complete wet work and bring the room to its required conditions before installation. If dampness is already visible, identify the cause before a decorative layer conceals it.
Keep a note of the delivery and installation conditions. The point is not to turn a small wall into a laboratory. It is to avoid fitting material straight from a very different environment while the room is still drying out. If the heating will be off for an extended renovation phase, discuss the sequence with the supplier instead of relying on a standard number of days.
Fix the system that you bought
The attachment method may involve clips, a specified adhesive, mechanical fasteners, backing or a combination. More adhesive is not automatically better. Nor does an extra face nail improve a detail designed to allow movement elsewhere. Follow the specified substrate preparation and fixing arrangement, including the required support behind the finish.
Have outlets and other services coordinated with the new wall thickness. Keep electrical boxes accessible and let the electrician deal with extensions or alterations. A panel should not be cut tightly around an exposed device as a substitute for a proper finished detail. If old coatings or suspect materials will be disturbed, resolve that before sanding or drilling.
At one hallway, the panel layout was settled but the baseboard return had not been drawn. We made a short corner mockup before continuing. It showed that the planned cap and casing met at three different depths. Adjusting the trim selection was easy while the pieces were on the bench; filling the mismatch afterward would have looked like exactly that.
Finish without locking the detail
Use the maker's requirements for exposed cut edges and coatings. Where a gap is intended to remain capable of movement, do not pack it with rigid filler simply because it can be seen before trim is fitted. Ask where the trim is fastened and which component it should bear against. The answer belongs to the selected system.
If the concern is the lower junction, panelling over an existing baseboard is a separate design choice. For a seasonal opening elsewhere, compare winter trim gaps before calling the whole wall defective. Record the product and concealed details now, while the next repair can still begin with useful information rather than a guess about what is behind the paint.