
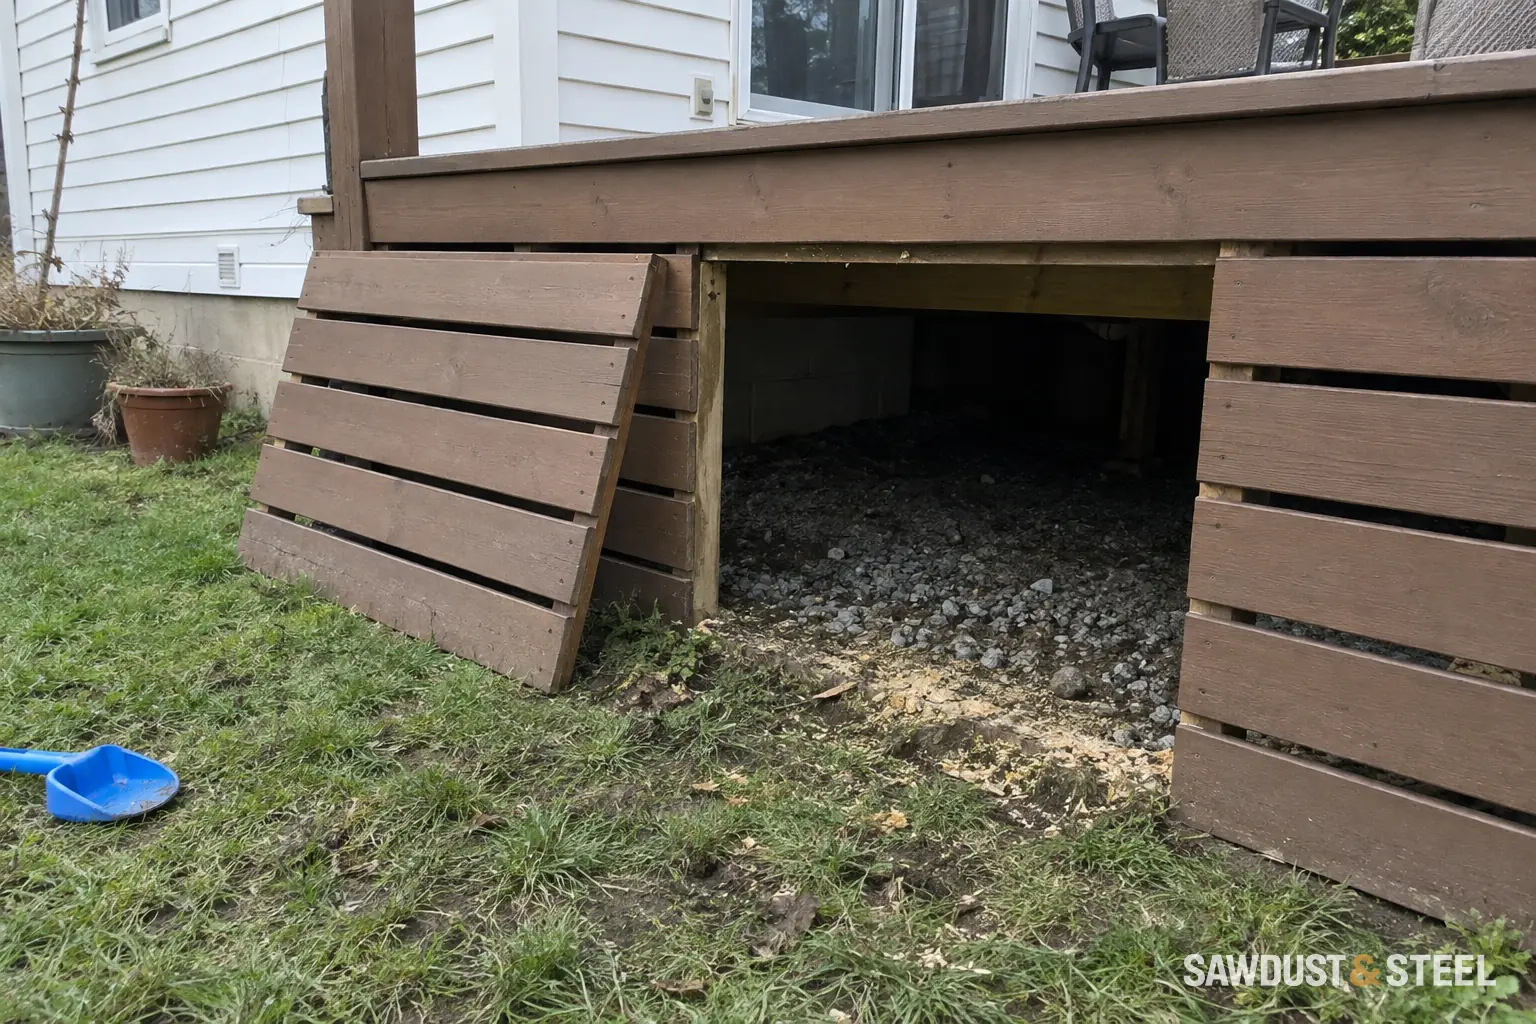
The deck boards look fine. The neat band around the edge has developed a wave. It is tempting to pull it flat and add another screw wherever it disagrees.
Identify the board before repairing it
Find the fascia product name, installation date, and photographs from the build. Check whether the material is fascia supplied for that use or a decking board adapted on site. The fastening detail may be different.
Trex's fascia guidance describes spacers and product-specific fasteners. Use the instructions applicable to the installed product, not those for a visually similar board. A wider screw head is not automatically the required fixing.
Separate movement from an uneven backing
Ask the installer to inspect gaps, fastener placement, and the surface behind the fascia. Record whether the wave changes with weather, ideally using photos from a similar angle at cooler and warmer times. A bowed rim, trapped debris, or a joint squeezed tight calls for a different response from an unsuitable fastening detail. Work out which condition is present before ordering a strip that may behave exactly like the old one.
Agree the repair boundary
- Which pieces will be removed and can they be reused?
- What will be corrected behind them?
- Which fasteners and spacing detail will be followed?
- Will colour differences between new and weathered pieces remain visible?
Do not promise yourself an invisible colour match from a small sample. Ask to see the replacement against the existing deck in daylight.
Is the backing bowed, or is the fascia being restrained?
| Clue | What it suggests checking |
|---|---|
| Wave changes noticeably with temperature | End clearance, movement holes and fastener system. |
| Wave follows the same frame shape in all weather | Bowed or uneven backing, spacers and debris. |
| Bulge at a tight corner or splice | Insufficient clearance or an incompatible joint detail. |
| Distortion around each screw | Hole preparation, screw type and over-driving. |
| Soft or deteriorated timber behind the face | Repair the support before fitting new fascia. |
Photograph the edge from one end with a straight reference in view. A low-angle picture shows a wave more clearly than a front-on image. Record the weather and repeat at a different temperature if the area remains safe. The installer may need to remove part of the fascia to inspect the backing; do not assume that loosening every screw is a harmless first step when the board is supporting accessories or hiding damaged framing.
One Trex example shows the detail to ask for
Trex's fascia installation demonstration uses rot-resistant spacers approximately 3/16 to 1/4 inch thick and a maximum 18-inch fastener spacing in that demonstrated arrangement. It calls for the selected fascia fastener's dedicated hole preparation. These are details of that installation, not instructions to add spacers or screws to every existing deck. Check the current guide, fascia width and fastener manufacturer together.
Ask whether the screws can allow the movement intended by the fascia system and whether the holes were prepared with its specified bit. A screw that feels tight is not evidence of a correct oversized movement hole. Equally, a deliberately prepared hole should not be enlarged further by guesswork. Keep the old piece until the installer has compared the original detail with the proposed repair.
If the rim is bowed, flattening the fascia by pulling it hard against the frame can simply reproduce the curve. If end gaps are missing, replacing the strip at the same length may recreate the wave next summer. Price the correction to the backing or installation detail separately from the cosmetic replacement so the owner can see what prevents recurrence.
Coordinate the repaired edge with the border and board-end layout, then compare the replacement colour outside. If the issue is a stain or scrape instead of distortion, use composite surface-damage diagnosis. A clean, straight edge and an invisible colour match are different outcomes.