
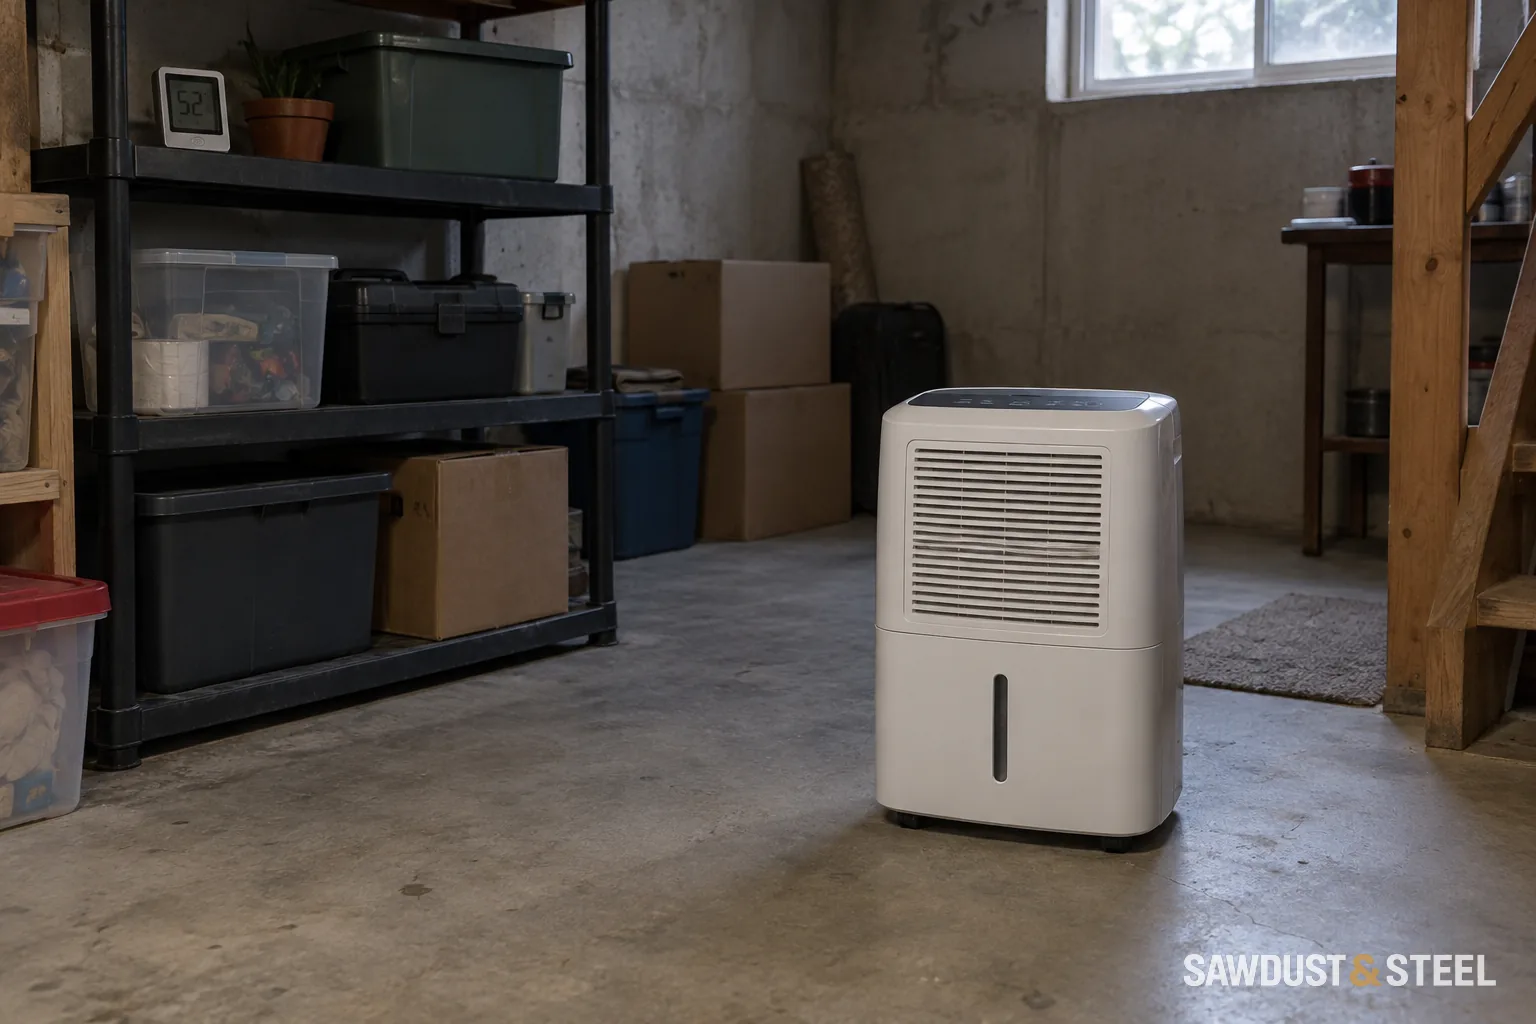
The dehumidifier in a Richmond Hill basement lived between a filing cabinet and Christmas. More precisely, six boxes of Christmas. Its display looked reassuring. The far corner beside the sofa felt less convinced. Before discussing a larger machine, we moved the boxes.
Start with the air openings
Find the intake and discharge on your model. They are not in the same place on every appliance. Follow its clearance instructions rather than copying a distance from another machine. Leave room to remove the filter and bucket as well as space for air.
GE's troubleshooting guidance calls for unobstructed airflow, appropriate sizing and a clean filter when a dehumidifier is not reaching the expected humidity. It also notes that moisture stored in the room and its contents takes time to remove after initial setup.
Do not build a snug cabinet around the unit to make it disappear. A shelf niche can recirculate recently dried air while the rest of the space receives little attention. If the machine is unpleasant to see, first consider a less prominent open position that still meets its instructions.
Measure beyond the display
- Place a separate humidity meter in the area you want to understand, away from the immediate discharge stream.
- Compare readings in the main room and any separated rooms over several days under similar conditions.
- Keep notes about laundry, weather, open windows and doors.
- Check whether the operating temperature is within the appliance's intended range.
A single display reports conditions near its sensor. It does not certify every corner of a divided basement. Doors and partitions affect air movement. Do not prop open a required fire-separation door just to help a portable appliance; a separated area may need its own plan.
The drain can decide the practical location
For bucket operation, make removal and carrying straightforward. For a gravity drain, the hose route needs a continuous suitable fall and an approved destination. A built-in pump changes the possibilities, but still has limits in its manual.
Avoid a hose across the walkway or an improvised raised perch. Use the required electrical connection; do not solve a poor location with an unsuitable extension cord. Keep the appliance away from places where water can spill onto electrical equipment.
Choose a hose route the machine can actually use
The GE APHL50 owner manual is a useful pump-model example. Its pump route uses the supplied 16-foot hose, with a maximum vertical lift of 16 feet; GE says not to substitute a longer tube. Treat those as two limits, not a promise that a 16-foot rise still leaves unlimited horizontal reach. Measure the entire route and check your own model, particularly the required outlet and control setting.
Air in
Keep the intake and filter-removal side open to the room.
Air out
Aim the discharge into open room space, not immediately back into a shelf niche.
Gravity hose
Use the gravity port and an unobstructed downhill route to a suitable drain. A shelf or sink rim can defeat the fall.
Pump hose
Use the pump port and specified tubing; check both lift and total hose route.
| Mode | What the layout must allow | Check during operation |
|---|---|---|
| Bucket | A clear pull-out and carrying route | Bucket seats correctly and its shutoff works as instructed |
| Gravity | Drain lower than outlet; hose protected from kinks and displacement | Water arrives at the receiving end without a puddle under the appliance |
| Pump | Model-approved lift, hose and outlet; bucket still accessible | Pump feature enabled and a real pump-out cycle observed |
Have a plumber confirm the receiving drain and connection if there is any uncertainty. A hose laid through a hole in a cupboard and disappearing behind it is not a completed drainage plan. Keep the end secured in its approved position without making an improvised sealed connection or blocking another drain's use. Do not assume a floor opening is a drain simply because it is low.
For the commissioning check, dry the accessible floor, run the unit until it actually removes water, and watch both ends of the hose during discharge. Pump models can retain water in the bucket between pump cycles, so a partly filled bucket alone does not diagnose a fault. GE also requires its bucket to remain seated when draining continuously. Do not defeat that interlock.
Finally, switch off and handle the unit as its manual directs, then repeat the small movement needed for filter or bucket access. Check that the hose has not slipped out, folded behind a caster or been pulled tight. Restore the normal position and recheck drainage. On Farah's Burlington installation, the tidy-looking route over a shelf failed this exercise: the gravity hose had to be replaced with an appropriate pumping arrangement. The shelf remained; the imaginary uphill gravity drain did not.
Do not ask it to fix water entry
In Richmond Hill, clearing the space improved the arrangement, and a second meter helped the owner see the difference between rooms. We also found that the basement window was routinely left open on humid days. That belonged in the summer humidity conversation, not on a shopping list for a bigger unit.
If water enters through the wall or floor, investigate that source. If the appliance repeatedly freezes, check the icing-up guide. Placement is worth getting right, but it is only one part of a dry basement. Once the moisture source and placement are understood, the dehumidifier buying guide helps compare removal capacity, room conditions and drainage without confusing the tank size with performance. The Christmas boxes ended up on a higher shelf. They took the relocation reasonably well.