
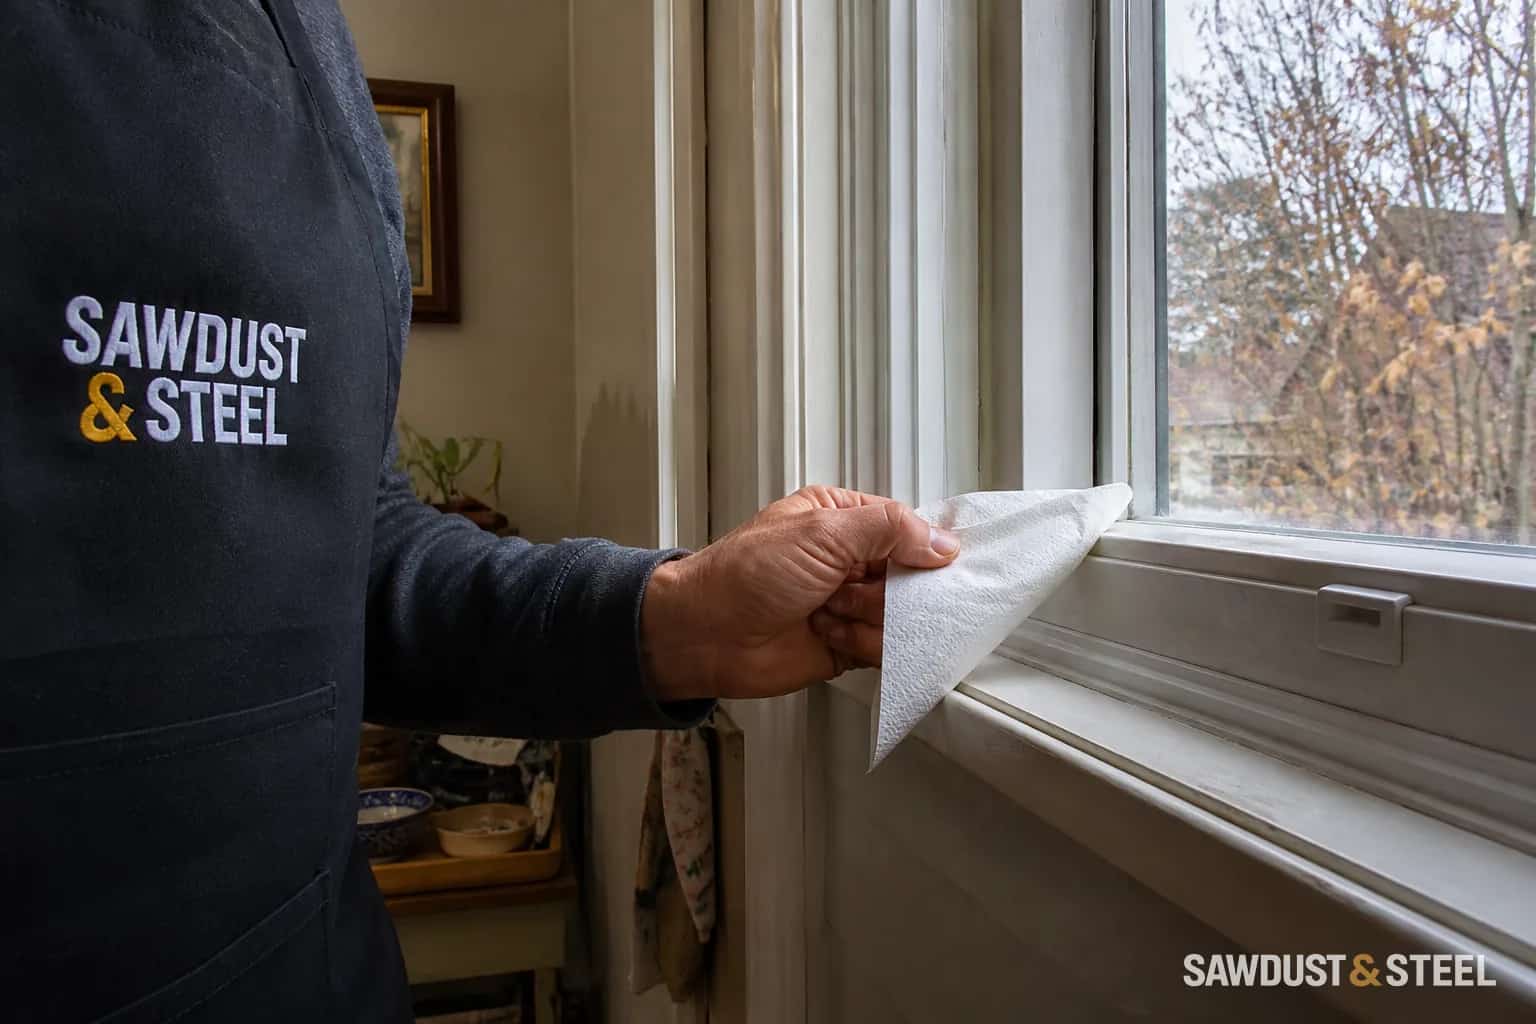
Everyone avoids the dining chair beside the window in January. Before buying another tube of caulk, find out what is making that seat cold. Outdoor air could be entering through a gap, but sealed glass can also chill the air beside it. A piece of tissue and a few minutes on a cold or windy day help separate those problems, so you can investigate the repair that fits.
Run the five-minute test without fire
Choose a cold or windy day. Close and latch the window normally, keep the heating system steady, and move a loose edge of tissue slowly around the sash, meeting rail, frame, and interior trim. Repeat with the back of a slightly damp hand. For a compression check, close a thin strip of paper at several points around an operable sash and compare how firmly it is held. Do not force hardware or trap thick material in the seal.
| Test result | What it suggests | First repair path |
|---|---|---|
| Tissue moves at the operable sash | Worn, dirty, misaligned, or poorly compressed weatherstripping | Clean and inspect the sash, locks, alignment, and specified replacement seal |
| Air movement appears at fixed frame or trim joints | Failed seal or leakage at the rough opening | Identify the air-control plane before sealing or removing trim |
| No local movement, but air seems to fall down the glass | Cold-glass downdraft and radiant discomfort | Assess glazing, coverings, heat delivery, and indoor humidity |
| Several windows and the whole room feel cold | Room envelope or heating imbalance | Compare surfaces, supply airflow, return path, and thermostat influence |
Match the repair to the leaking joint
CMHC's Homeowner's Manual explains that weatherstripping makes the seal between a frame and an operable window or door, while worn caulking can leave gaps at fixed joints. Natural Resources Canada's air-leakage guide likewise separates weatherstripping moving parts from caulking stationary joints.
- At an operable sash: clean the contact surfaces, check locks and alignment, and use the window manufacturer's correct weatherstripping profile. Do not glue the window shut.
- At a fixed interior joint: determine whether the gap is only a finish crack or connects to the rough opening. Seal the correct air-control layer rather than only covering the visible finish crack.
- Behind the casing: removing trim may reveal an undersealed rough opening. Preserve the window's drainage details and use materials suitable for the joint and installation.
- At the exterior: repair failed perimeter sealant where appropriate, but do not block weep holes, drainage paths, or openings the window system needs.
Cold glass is a different problem
A sealed window can still feel cold. Room air cools against the glass and drops, creating a gentle downward current, and your body exchanges heat with the colder surface. Better glazing, an appropriate interior storm window, well-fitted coverings that do not trap damaging moisture, or improved room heat distribution may help. Sealing a joint does not change the insulating performance of the glass itself. At one dining-room window, the tissue stayed still around the sash but moved gently downward near the centre of the glass. The owner had already caulked the trim twice. We stopped adding sealant and checked the room setup: a heavy curtain and a pushed-back sideboard were restricting warm-air circulation near the window. Moving them improved the seat beside it, though the old glazing still felt cooler than the wall.
Natural Resources Canada's condensation guide distinguishes moisture on the room side, between sealed panes, and on the exterior. Condensation between panes points to a failed sealed unit, not an interior caulking problem. Water on the room side also asks questions about indoor humidity, ventilation, glass temperature, and air circulation.
Make a small map before buying anything
Mark each repeatable leak location with low-tack painter's tape, note the outdoor temperature and wind, and test a second window for comparison. Photograph gaps, damaged seals, and condensation patterns. Then choose the narrow repair: sash service, weatherstripping, fixed-joint sealant, rough-opening air sealing, glazing work, or a room-level comfort assessment. Natural Resources Canada's window and door retrofit guide is a useful check before deciding whether repair or replacement fits the actual condition.
If the frame is dry but light shows at the door corners, check the weatherstrip and sweep junction. Water collecting in a window track needs a different check: follow the track and drainage route before sealing anything.