
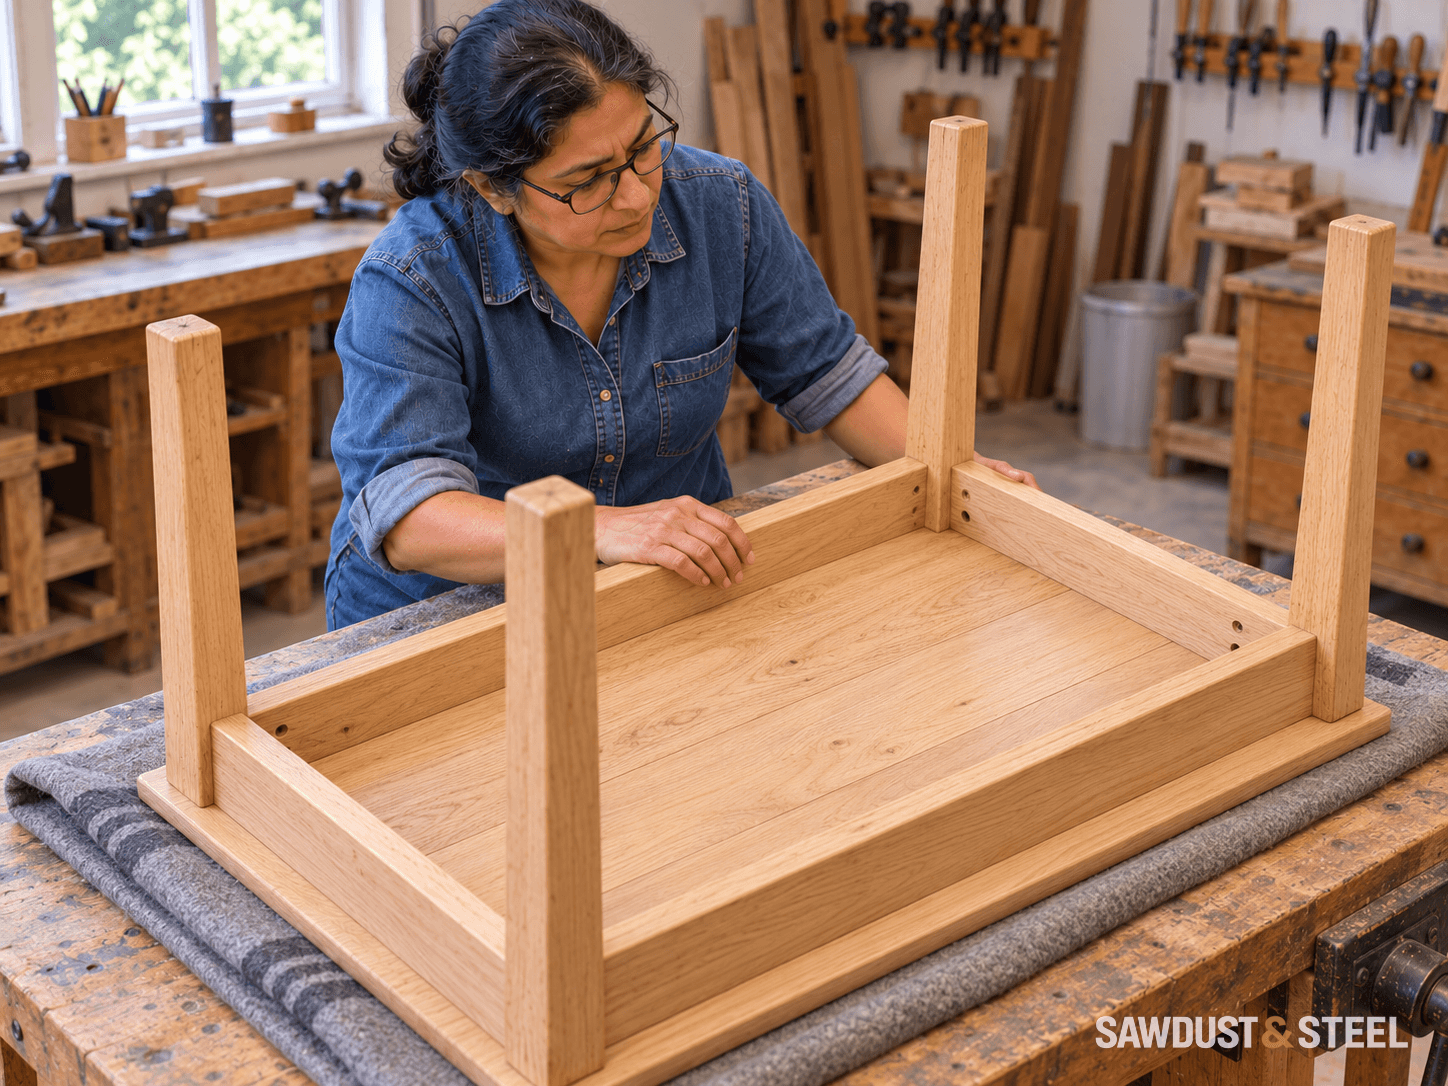
A new oak top sits neatly on the old table base. The obvious next step is to drive screws through every available bracket until nothing can move. With solid wood, that last part deserves another look.
The top must stay securely attached, but seasonal changes in its width need somewhere to go. The useful connection holds the top to the base while accommodating that change. This is a design detail, not an instruction to leave random screws loose.
Find out what the top is made from
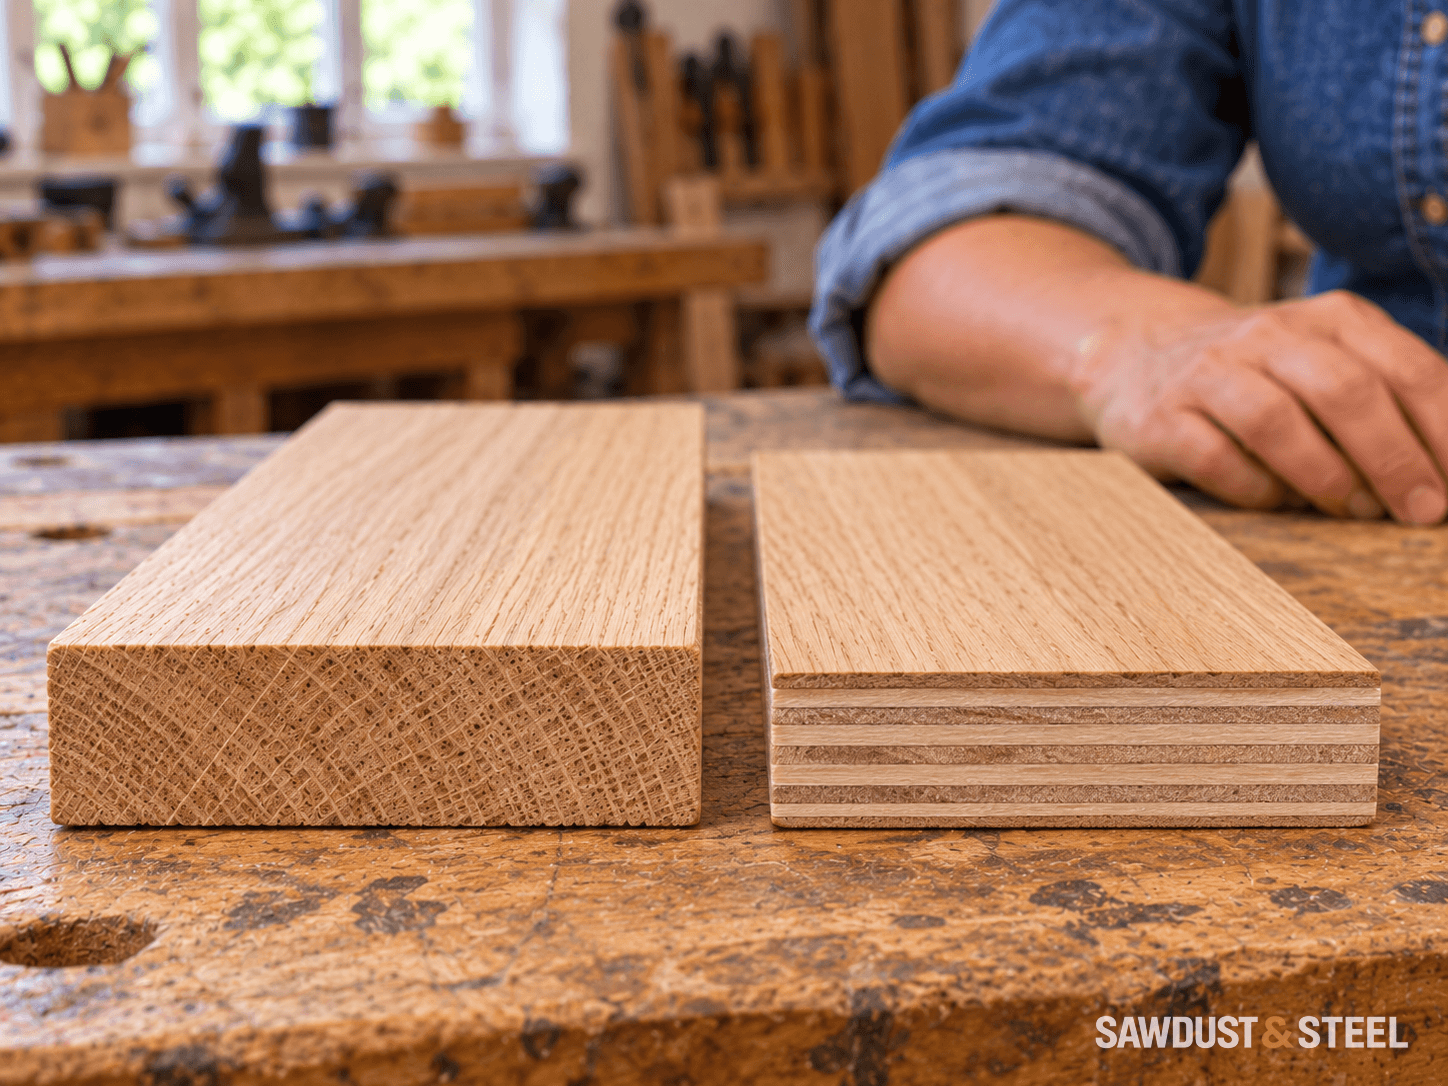
Inspect an existing exposed edge or the maker's specification. A solid top, including several edge-glued boards, is different from an oak-veneered plywood panel. A decorative edge can conceal the core, so the face grain and thickness alone may not settle it. Do not drill an exploratory hole through the good surface.
On a conventional solid top, identify the direction in which the boards run. The significant seasonal width change is across that grain. Ontario heating seasons and summer humidity can expose a connection that looked harmless on assembly day. Acclimating and finishing the wood do not turn it into a dimensionally fixed panel.
If the top has breadboard ends, unusual cross-grain construction, cracks or a previous repair, have the whole assembly assessed. Its edge detail may already include a movement arrangement that should be preserved. A new base cannot correct a top that has been constrained elsewhere.
For a table with removable leaves, also separate extension-mechanism resistance from a leaf that will not fit. A movement allowance at the base does not diagnose the sliding hardware.
Choose the connection as a complete detail
For a wood apron, one option is a tabletop mounting clip engaging a groove in the apron and fastening to the underside. Lee Valley's mounting clamps are designed around that arrangement. The clip's offset, groove position and specified screw head belong together. A random angle bracket that looks similar is not necessarily doing the same job.
Another approach uses a properly formed slot and a matching expansion washer. The Veritas expansion-washer instructions show the washer orientation following wood movement. They also specify a screw with a flat bearing surface beneath its head; a tapered head can resist the sliding that the detail is meant to allow.
| Connection question | What to confirm |
|---|---|
| Where can the top move? | The fitting's travel follows the required direction and has usable room |
| What holds the top down? | The clip, washer or specified fitting bears correctly on sound material |
| What happens at the ends of the travel? | The screw or clip does not start trapped against a stop |
| What screw fits the detail? | Head shape, diameter and penetration match the chosen hardware and top |
A steel base needs its own manufacturer's mounting detail. Some bases provide slots; others need an intermediate arrangement. Do not enlarge or relocate holes in a structural base by guesswork. Ask which top materials it supports, what fastening is required and how a solid-wood top is allowed to move.
Check the remaining wood above every screw
Measure the actual top where the screw will enter. A routed underside, bevel or previous repair can make it thinner than the edge suggests. Account for the hardware thickness and any recess when choosing the screw; nominal screw length is not the same as the length entering the wood.
For example, a 25 mm top with a 6 mm-deep underside recess has only 19 mm of wood above that recess. A 25 mm screw does not become safe merely because the top was sold as 25 mm thick. This arithmetic is a reminder to check the remaining section, not a fastening specification. The hardware maker or furniture builder must still establish adequate engagement and a margin below the visible face.
Use the specified pilot hole and a dependable depth stop. Confirm the stop against an offcut or equivalent setup before drilling the top. An awl mark is easy to hide underneath; a screw tip emerging beside someone's dinner plate takes more explanation.
Do not undo the movement detail with extra glue
A continuous glue line across a solid top and an apron can defeat the allowance provided by the fittings. So can extra rigid screws added because an unused hole looked available. Follow the complete design, including any intended fixed reference point and the locations that must move. More attachments are not automatically an improvement.
Trial-fit the base, check the overhang and make sure the attachments can be reached before finishing the assembly. Keep the top supported during handling; a large slab can injure people or damage an unfinished connection. The dry-fit checklist is useful for sequencing even where the final top-to-base connection uses no glue.
Treat a split top as a repair, not a loose-screw problem
If an existing top has cracked or pulled its base out of shape, stop forcing the parts back together. Record the grain direction, attachment positions and when the change appeared. A furniture repairer can assess the top and the restraint that caused or contributed to the damage. Filling the split while leaving the same restrictive attachment in place can simply prepare the next split.
Keep the fitting instructions with the furniture. The next person who finds a slot should understand that it has a purpose before replacing it with a very satisfying round hole.