
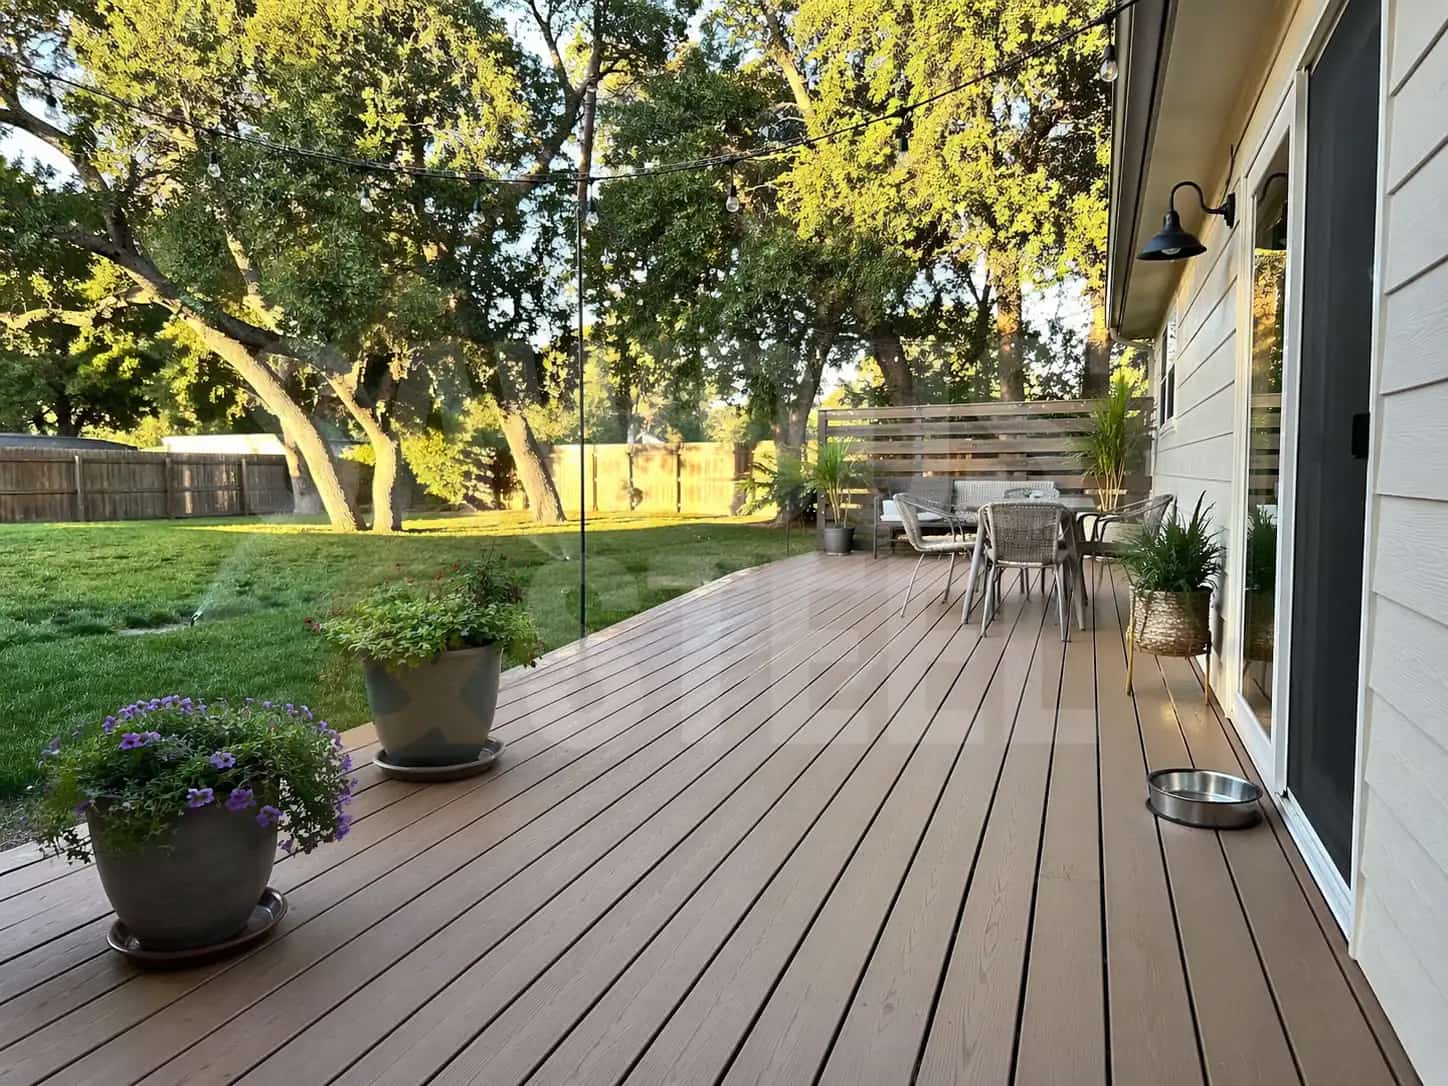
On an Oakville layout visit, the owner had taped out a deck large enough for the table and six chairs. It looked right until we opened the side gate and walked the route past the proposed stairs. We moved the stair on paper, then checked the revised footprint against the property constraints. That is the point of these seven checks: get a deck that works in your yard before it becomes a lumber order.
1. Check the permit trigger
Oakville's official deck permit guide says any size deck attached to a house requires a permit. A detached deck requires one when it is larger than 10 square metres and higher than 61 centimetres above adjacent grade. Do not turn those thresholds into design advice. A low deck can still have drainage, zoning, utility, and safety problems.
2. Confirm zoning before drawing the dream deck
Oakville requires every deck to comply with the zoning by-law for the property. Location, size, setbacks, lot coverage, easements, and site-specific rules can shrink a beautiful sketch very quickly. Confirm the buildable area first. Erasing pencil is cheaper than moving footings.
3. Check the other approvals
- Request free public utility locates through Ontario One Call before digging.
- Ask whether Conservation Halton approval applies to the property.
- Check heritage approval when the property is designated or within a heritage district.
- Identify tree-protection requirements and grading or drainage constraints.
- Confirm private utilities, irrigation, lighting, or pool lines separately; public locates do not map every private line.
4. Prepare drawings that answer construction questions
Oakville asks for a site plan, framing plan, elevations with stair and guard details, and sections showing footings and the house connection. The Town publishes sample deck drawings. They are a submission example, not a universal design to trace onto every lot.
5. Put the hidden details in the quote
- Footing type, size, depth, and inspection timing
- Ledger attachment and flashing, or a freestanding design
- Beam, joist, blocking, stair, guard, and hardware specifications
- Excavation, spoil removal, grading, and final cleanup
- Permit application, revisions, inspection bookings, and deficiency corrections
Our deck ledger flashing guide covers the detail most likely to disappear behind the first board. Our deck-material comparison can wait until the structure and water path make sense. Colour is patient.
6. Name the inspection caller
The permit holder or contractor must call for inspections at the required stages while the work is visible. Put that responsibility in writing. A final payment tied to permit closeout is clearer than everybody assuming somebody else called City Hall.
7. Keep the final file
Keep the permit, approved drawings, revisions, inspection record, product warranties, invoice and concealed-work photos in one folder. Label photos by location, such as house-side ledger or garden-side corner, before all the close-ups start looking alike. We also leave the decking and guard product names there. It saves a surprisingly long conversation when someone needs a matching part.