
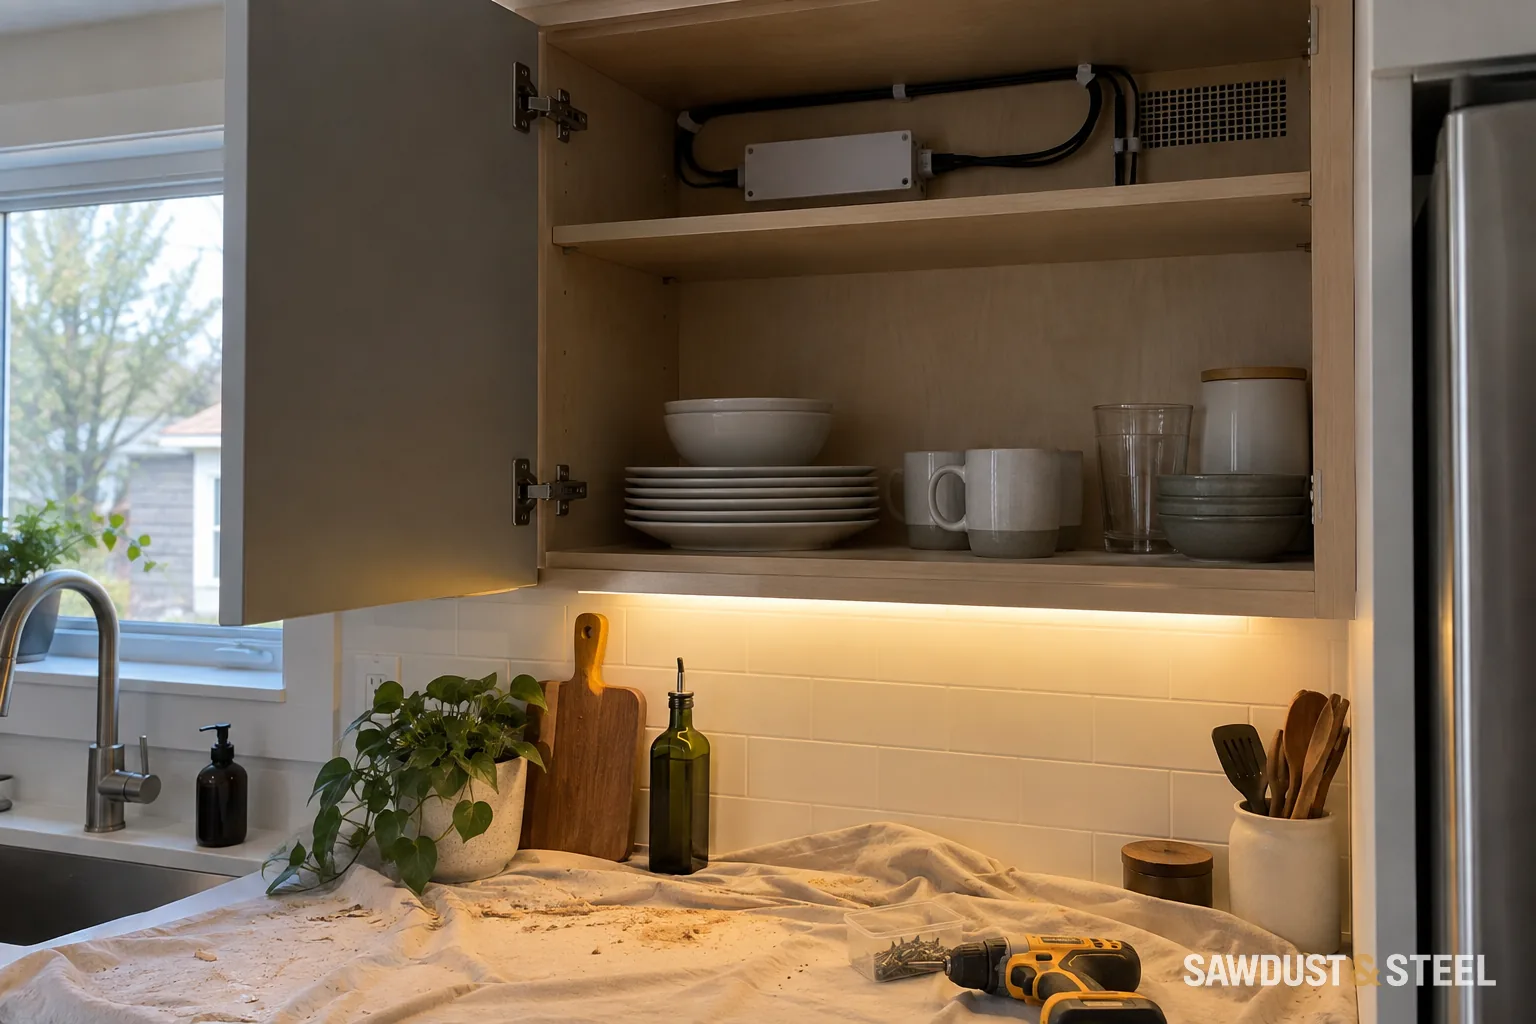
The light strip disappears beneath the cabinet. Its reflection does not. A neat row of bright dots now lives permanently across the polished counter.
Judge the effect from more than one height
Kichler's channel guide describes channels with different depths and snap-in lenses. Test the actual combination at working height and from a dining chair. We use a short section of the proposed light and channel with the actual counter sample beneath it, rather than holding a bare strip in the air. Move the sample through the likely positions and photograph the one you approve. The cabinet lip can hide the fixture while leaving its reflection plainly visible. A showroom display with a different counter finish can give a misleading impression.
Plan controls and service access together
Compare task brightness with a lower evening setting, using compatible drivers and dimmers. Keep drivers and connections accessible as required. Coordinate wiring before the cabinet installation and backsplash. The best light is useful while chopping vegetables and comfortable when the rest of the room is dark.
Separate the light you see from its reflection
Direct glare is the luminous strip or lens visible to your eyes. Reflected glare is its image in the countertop or backsplash. A cabinet lip may hide the strip from a standing person while the polished worktop still reflects it toward a seated person. Moving the channel changes both paths, so there is no universally correct distance from the cabinet front.
Build a short mock-up at the actual cabinet height using the proposed strip, channel, diffuser and counter sample. Test a forward position, a position farther back and any angled channel under consideration. Keep the lamp output the same for the first comparison, then test the planned dimming range. A deeper channel or diffuser can change how individual LEDs appear; it does not guarantee that a glossy surface stops reflecting the light.
Stand at the preparation position, sit in the nearest chair and look from the doorway. Check whether your body shadows the board, whether the splash is uneven and whether a bright line sits in the seated sightline. Label photographs with channel position, diffuser and dimmer setting. The photo is a record of an in-person decision, not a reliable brightness measurement.
Keep the chosen position on the cabinet elevation alongside the backsplash outlets. Ask the installer to confirm compatible dimming and reachable drivers before the cable route is fixed. Changing a loose mock-up is easy; changing a recessed channel after finishing is considerably less entertaining.
Direct path
Light to eye: check standing and seated views.
Reflected path
Light to glossy counter to eye: move, diffuse and retest.
Task path
Light to chopping board: keep the work surface well lit.
Approval
Try the actual materials at full and dimmed output.
Conceptual light paths; fixture position depends on the actual cabinet, surface and viewing height.
Before the next step
- Test with the actual counter sample.
- View it standing and seated, at full and dimmed output.
- Confirm accessible drivers and compatible controls.
Test the light with the actual counter sample before fixing the channel. Check the reflection from the seats as well as the preparation area.
After choosing the visible light position, plan the hidden equipment: leave the LED driver ventilated and reachable for replacement.